At times, you do not want the users to type out the queries, but instead, choose from the menu options provided to give them directions. To do that you first need to disable the tying area. Once you have done that, then you can simply add menu options and various quick replies in your bot, for the user to get to the end goal.
This approach usually works with e-commerce business sites. For example, you can have menu options like Product information, track order, return, or refund. And each of these options would have an actionable ahead. Here, the user just needs to select the options that are presented to him and go ahead with the conversational journey. You cannot have a disabled composer area or typing area on bots that deal with customer service as users like explaining their problem in their own words instead of following a set journey.
How to hide the typing area?
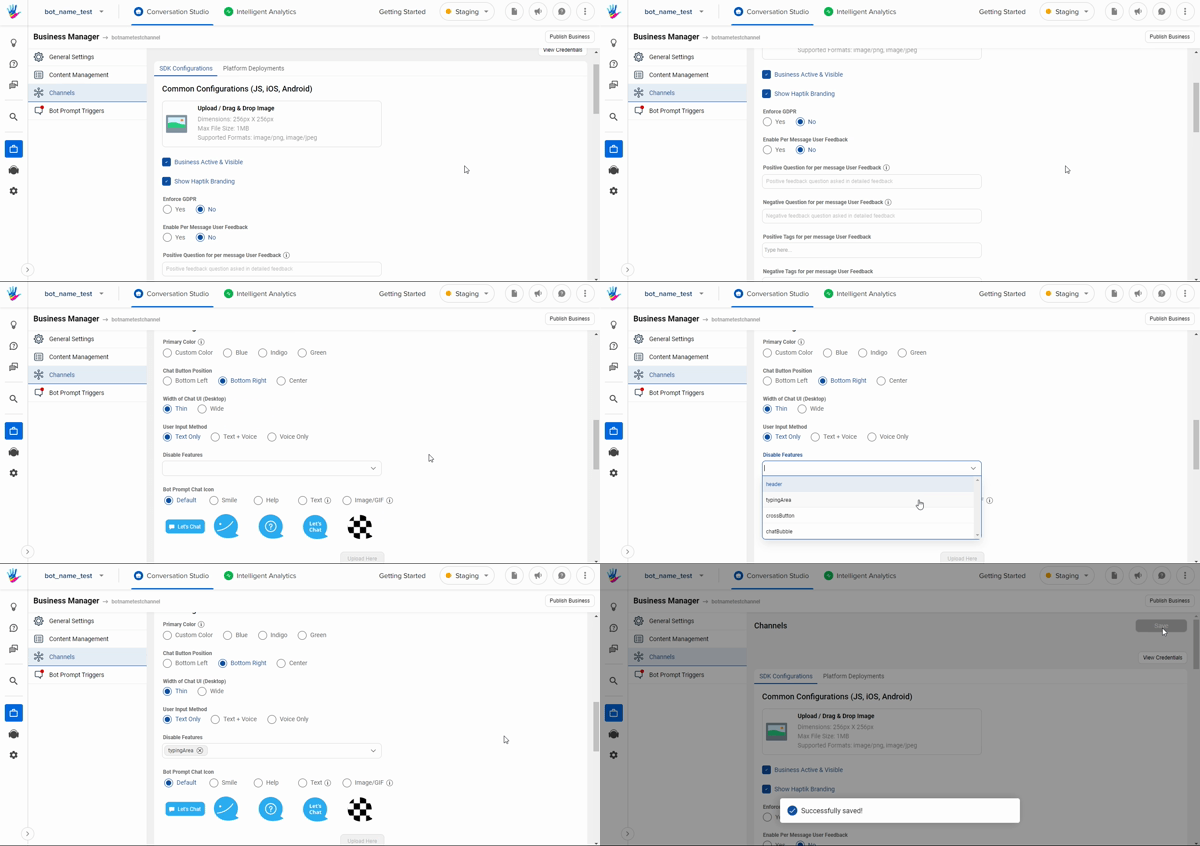
In order to hide or disable the typing area of your bot, you need to navigate to the Business Manager > Channels > SDK Configurations.
Here, you need to scroll and select the typingArea in the Disable features dropdown, as shown -
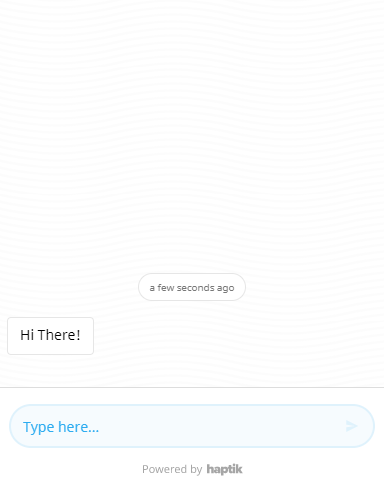
Initially, when the typing area was not hidden, the bot screen looked as shown below where you could see the typing area
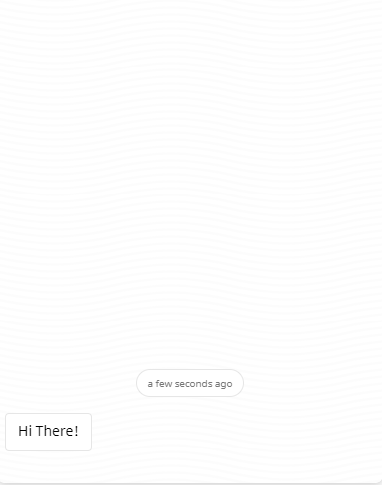
When we disabled the typing area, it looked like this
What would happen when the bot UI does not have a composer area and the chat has been transferred to an agent? The user would need the composer area to send messages to the agent.
- If the composer is hidden, it will stay hidden when the chat is with the bot.
- When the chat goes to an agent, the composer becomes visible and will be available throughout the user-agent conversation.
- When the agent marks the chat as complete, the composer will be hidden again.