How to deploy Haptik's bot on Facebook?
- Getting Started
- Bot Building
- Smart Agent Chat
- Conversation Design
-
Developer Guides
Code Step Integration Static Step Integration Shopify Integration SETU Integration Exotel Integration CIBIL integration Freshdesk KMS Integration PayU Integration Zendesk Guide Integration Twilio Integration Razorpay Integration LeadSquared Integration USU(Unymira) Integration Helo(VivaConnect) Integration Salesforce KMS Integration Stripe Integration PayPal Integration CleverTap Integration Fynd Integration HubSpot Integration Magento Integration WooCommerce Integration Microsoft Dynamics 365 Integration
- Deployment
- External Agent Tool Setup
- Analytics & Reporting
- Notifications
- Commerce Plus
- Troubleshooting Guides
- Release Notes
Table of Contents
Prerequisites of a Facebook Messenger BotSetting up a Facebook account for a botStep 1: Creating an AppStep 2: Add an App AdminCurrently, there are more than 1.3 billion Facebook users and this provides a bigger opportunity for businesses to reach their consumers. Facebook allows businesses to converse with their consumers using Facebook Messenger.
There are several advantages for using Facebook Messenger -
- Customer service is readily available for the consumers.
- Easily identifies leads.
- Your business can reach your consumers.
Prerequisites of a Facebook Messenger Bot
The following are pre-requisites for having a Facebook Messenger Bot -
- A Facebook page is the page where the bot will be deployed.
- An Admin for the page. Ideally, the owner of the page should be the admin too.
Setting up a Facebook account for a bot
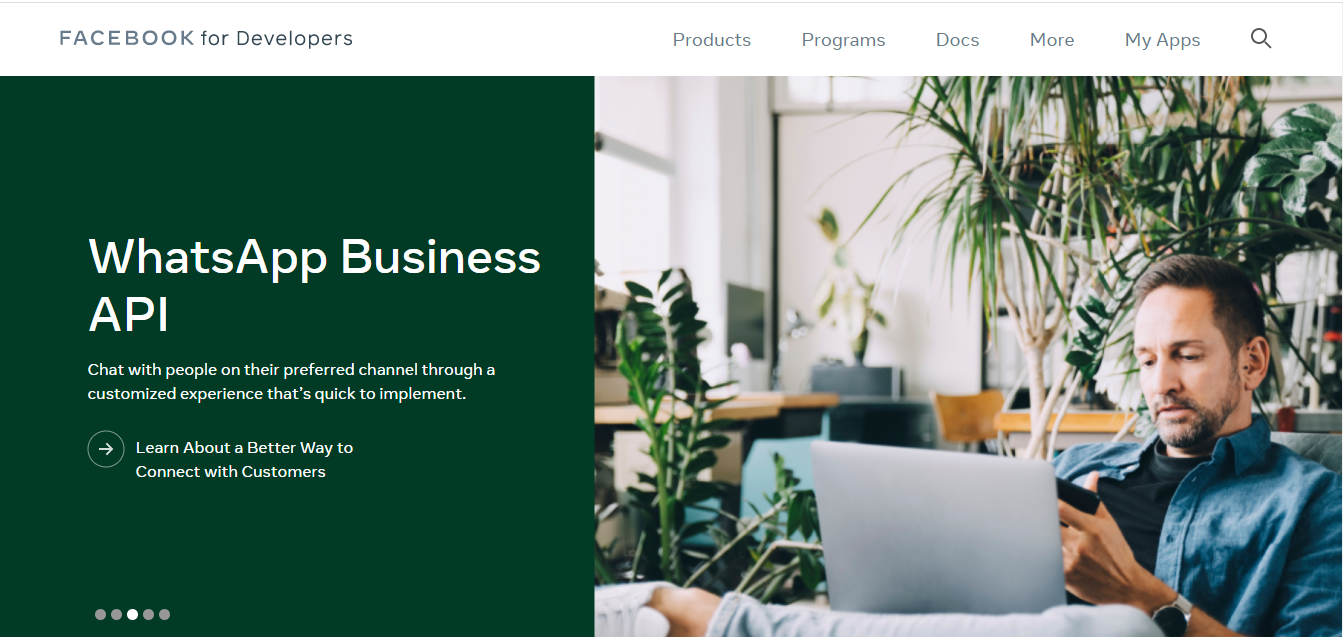
Facebook Developer account enables users to create third-party applications which access Facebook's data. To create a Developer Account, navigate to https://developers.facebook.com
Creating new Developer Account
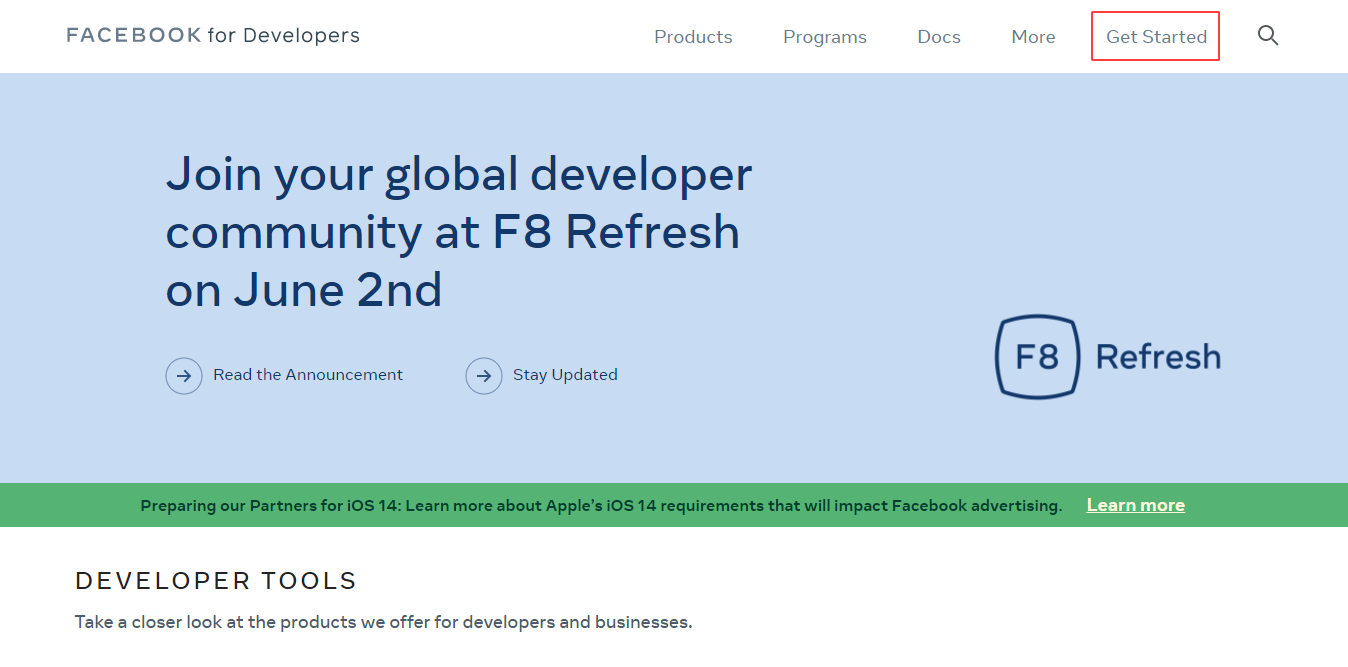
If you have never used a Developer Account, then the first login from the Facebook account and click on Get Started as shown below:
You will be prompted with 3 questions, as shown -
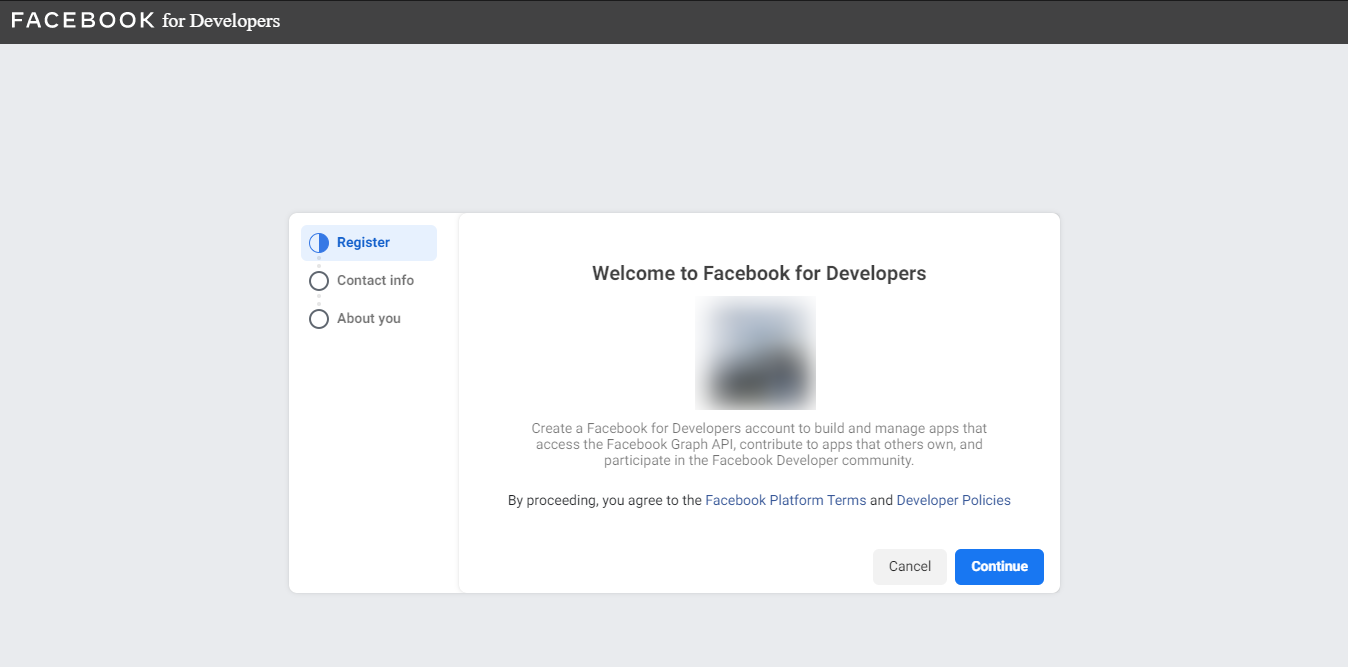
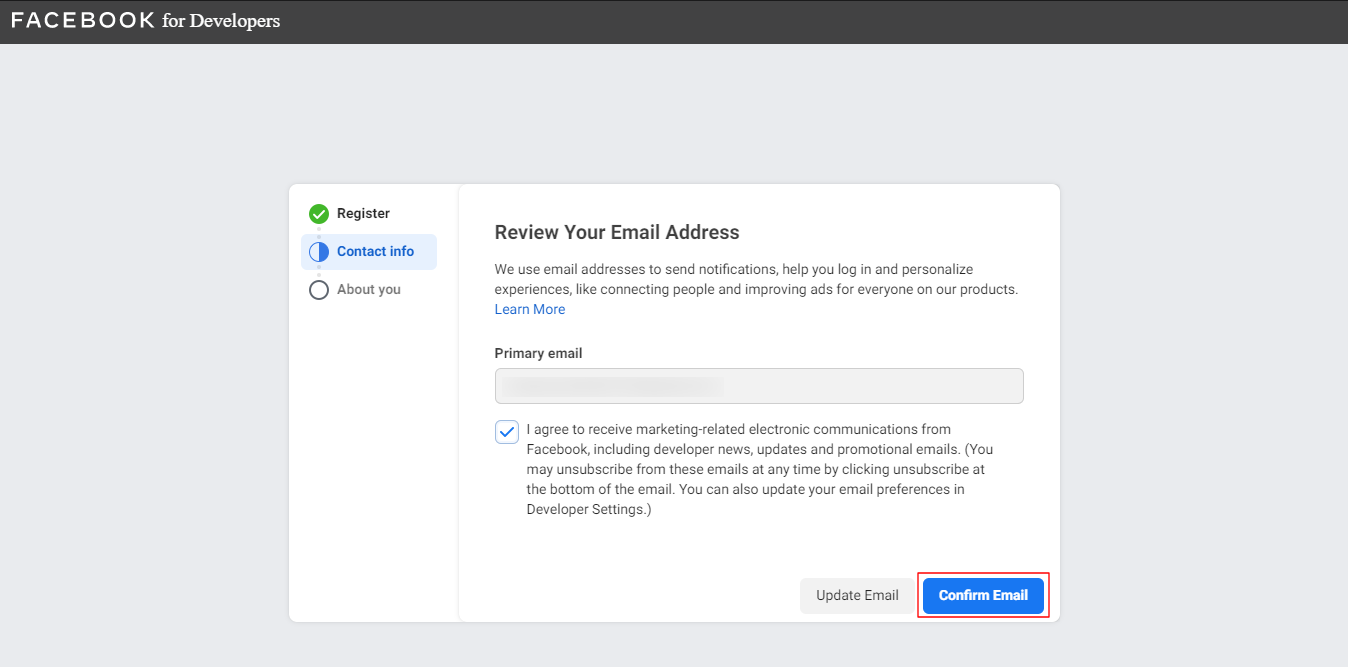
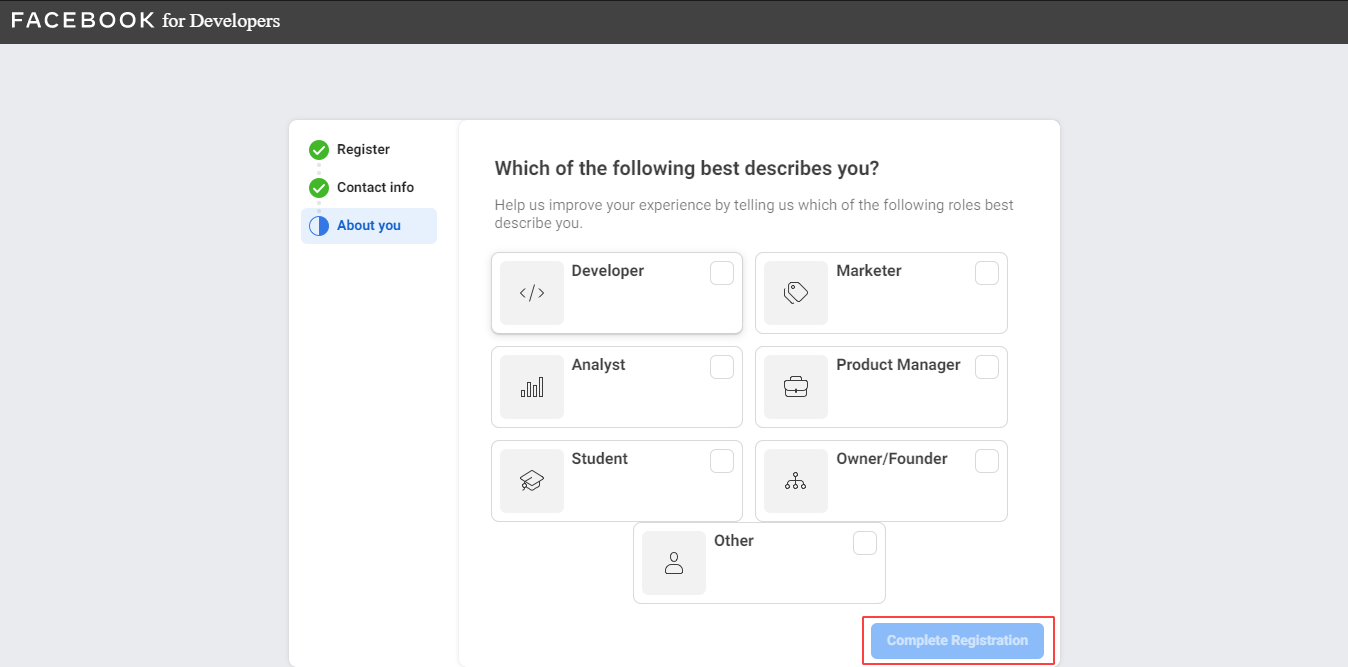
Once you have provided the primary email and description, click on Complete Registration.
If you already have an account, you can log in and click on MyApps to get started.
Step 1: Creating an App
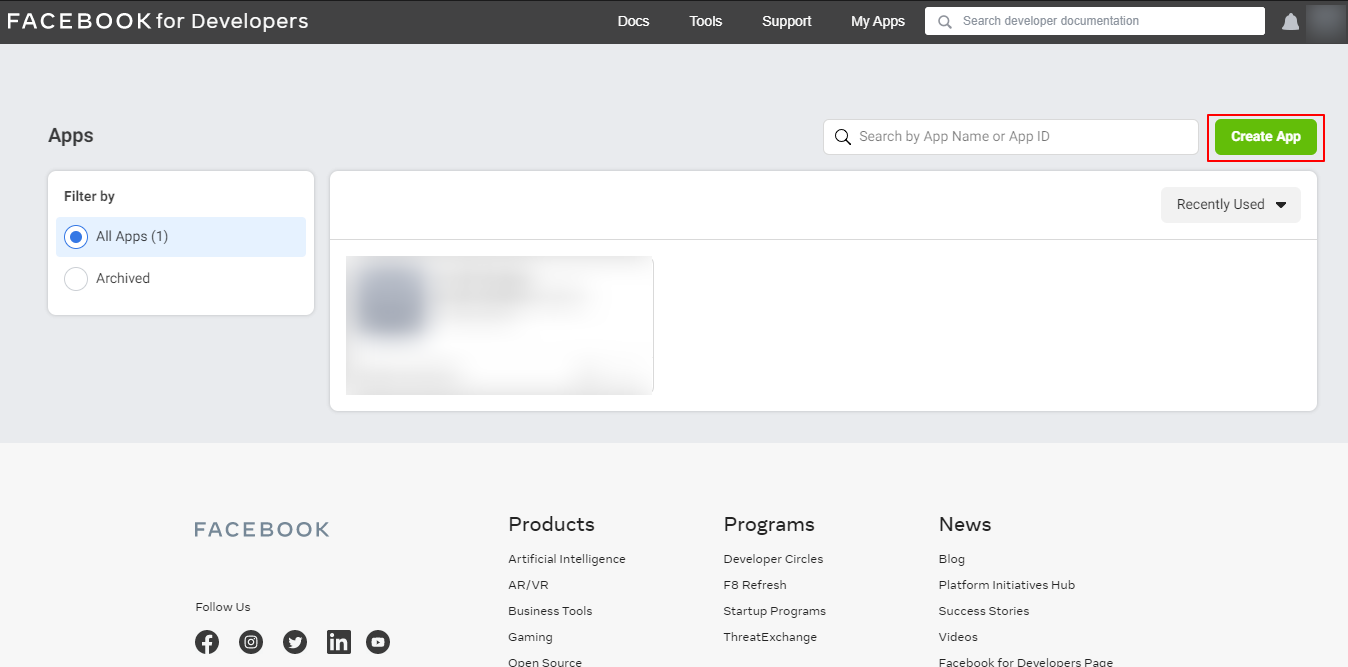
Step 1a: Click on the Create App button to create a new App.
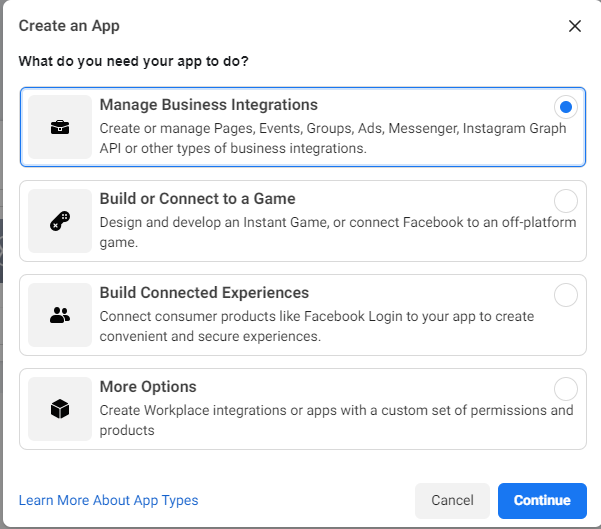
Step 1b: Select Manage Business Integrations, and click on Continue.
Step 1c: Create an App by adding App Display Name, your Email id and App Purpose.

You can add different products as per your requirement but here we need Messenger. Open the created App and click on Messenger’s Setup button as shown below:

Step 2: Add an App Admin
Step 2a: Get FB_id/username of Admin Account who manages their Facebook page
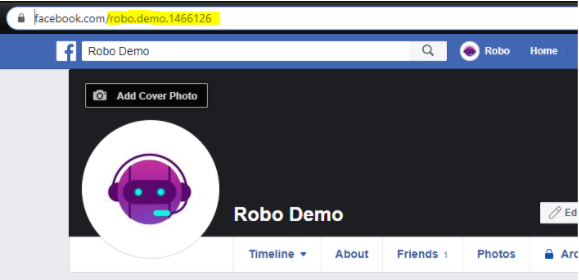
Step 2b: Add the user as admin using FB_id/username
Click on the Roles option on the right sidebar. Upon clicking Add Administrators, paste the FD_id/username and click on Submit button.

Once Admin has been added, we will now see the configurations an Admin will have to do. You can read this article to follow the steps and finish configuring your bot with Facebook.
