Step 1 - How to create a bot on Haptik?
- Getting Started
- Bot Building
- Smart Agent Chat
- Conversation Design
-
Developer Guides
Code Step Integration Static Step Integration Shopify Integration SETU Integration Exotel Integration CIBIL integration Freshdesk KMS Integration PayU Integration Zendesk Guide Integration Twilio Integration Razorpay Integration LeadSquared Integration USU(Unymira) Integration Helo(VivaConnect) Integration Salesforce KMS Integration Stripe Integration PayPal Integration CleverTap Integration Fynd Integration HubSpot Integration Magento Integration WooCommerce Integration Microsoft Dynamics 365 Integration
- Deployment
- External Agent Tool Setup
- Analytics & Reporting
- Notifications
- Commerce Plus
- Troubleshooting Guides
- Release Notes
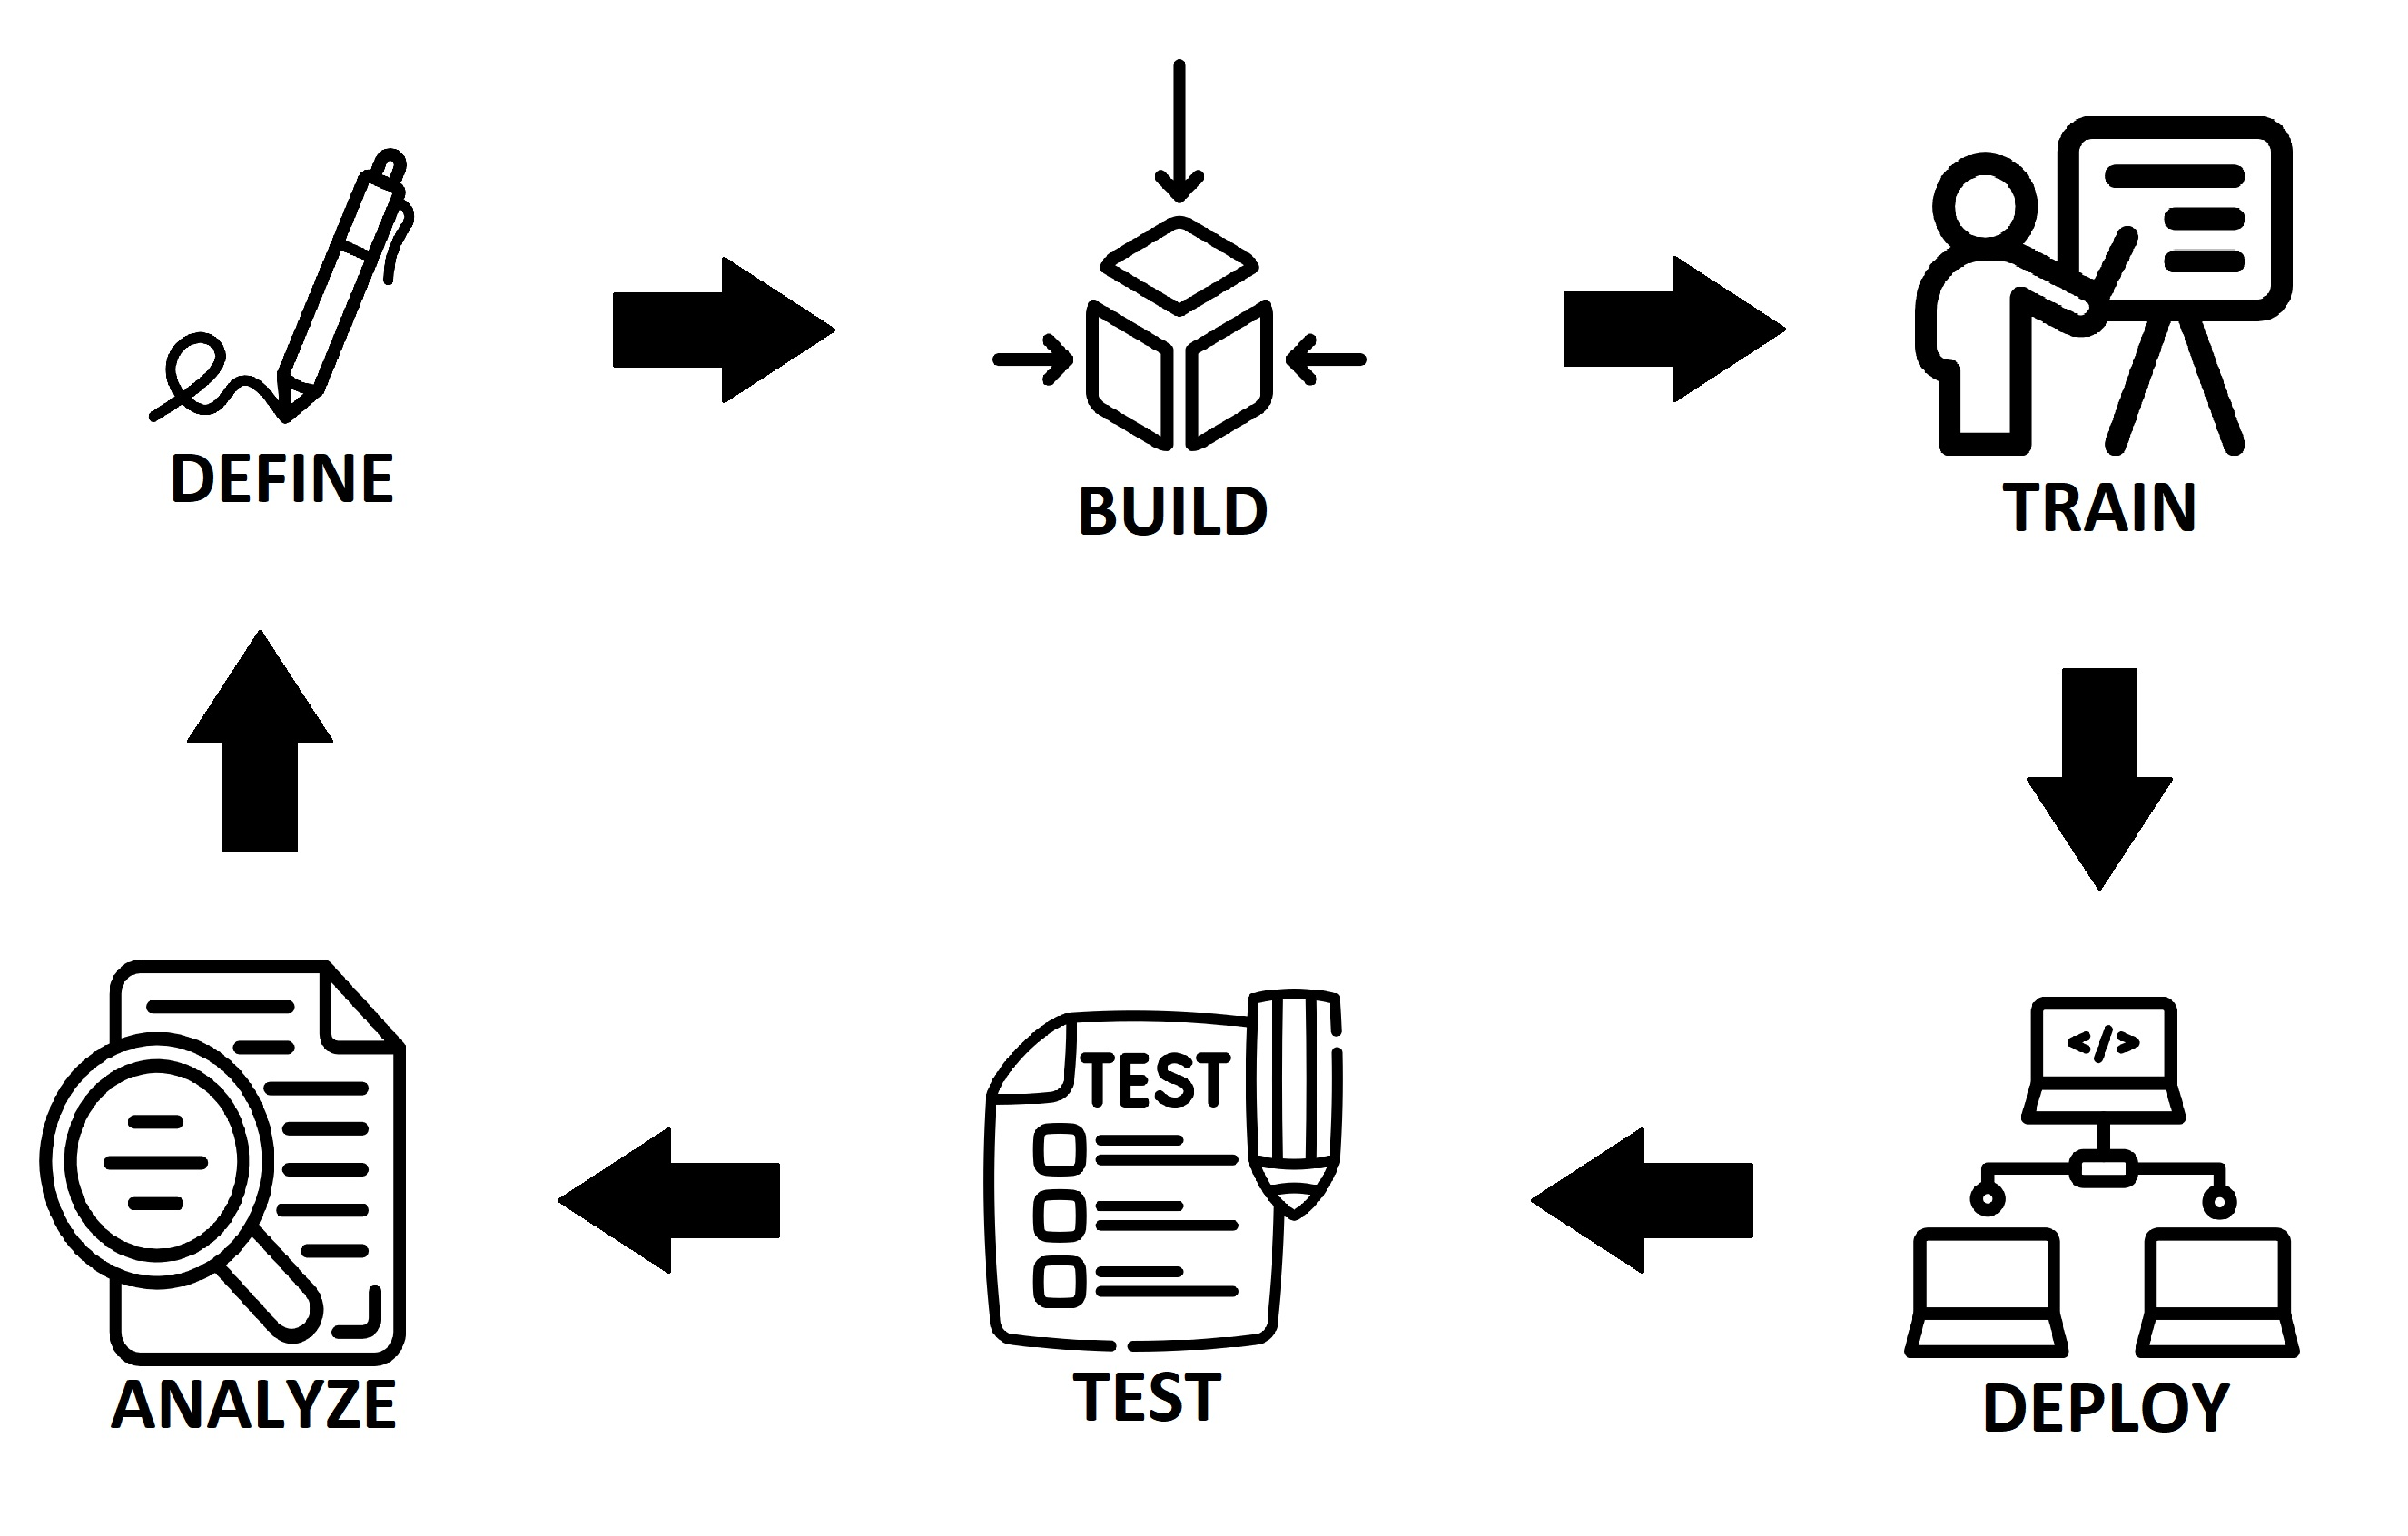
Once you get access to Haptik, you can build your first bot within no time by following the steps mentioned in the BUILD category. But before we jump into this, it is very important to understand the basics around this. Bot building comprises of the cycle shown below -

All the above steps are carefully curated to create a powerful and meaningful bot that ultimately solves users' queries.
Before you start building, you need to define the goals of the bot, i.e. what all queries will it handle? Every bot that you build needs to solve a well-defined use case. You can talk to various stakeholders and understand what they are expecting from the bot, and accordingly, you can define your bot's use cases. Once you have this ready in your mind or on paper, you are ready to go to the BUILD stage.
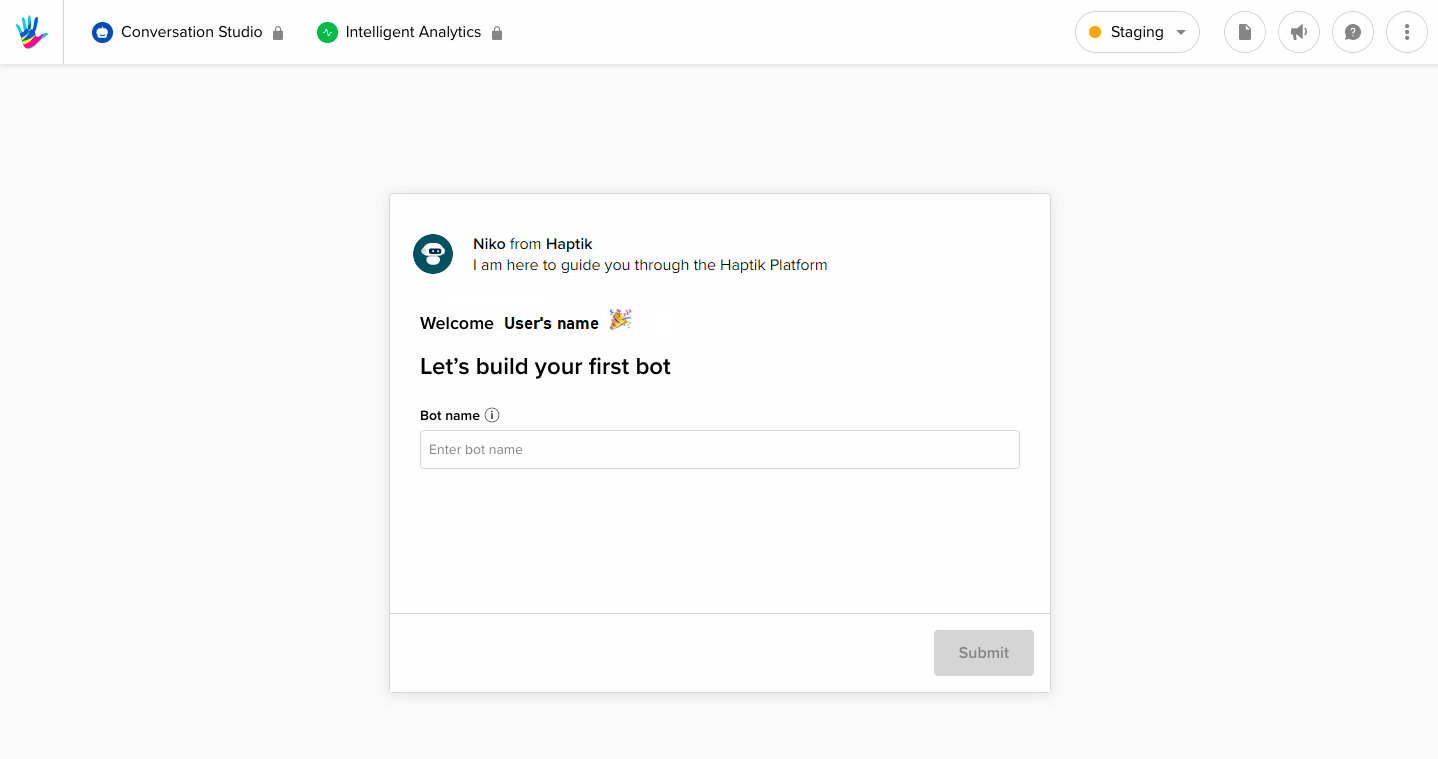
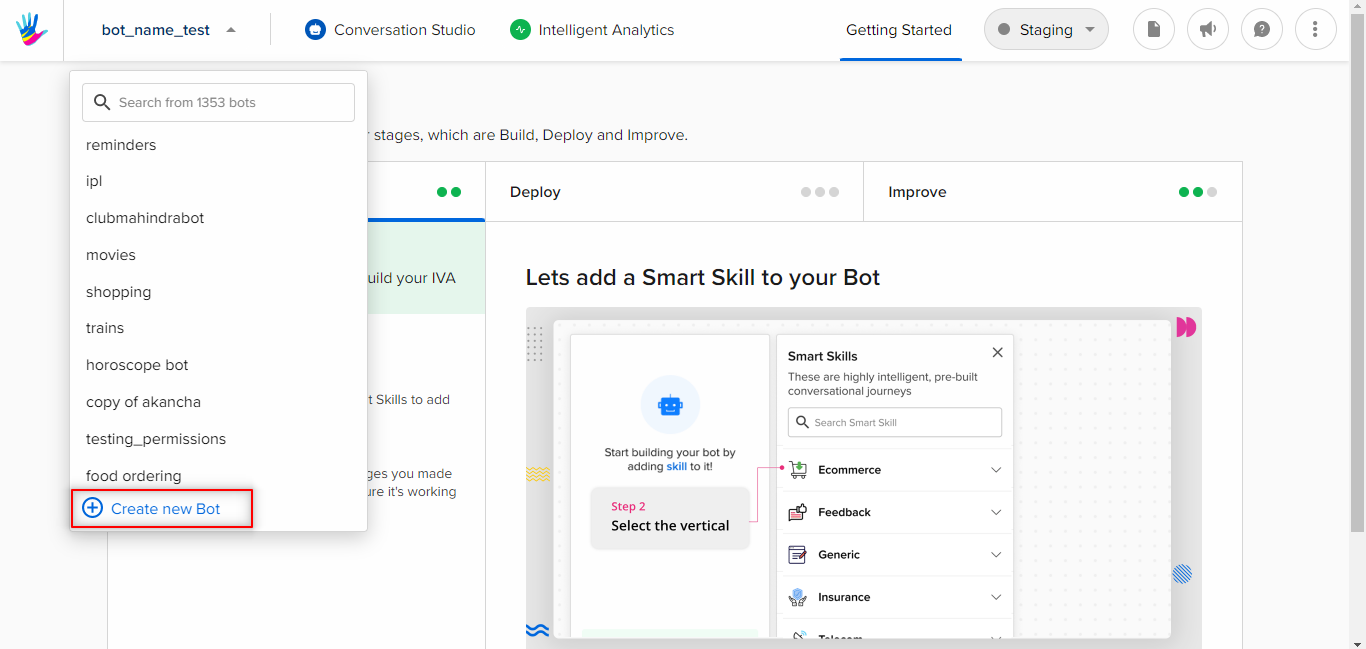
If you are a first-time user, then you would land on the following page post sign up. Here, you can add a name to your bot. This page will lead you to the Getting Started page.

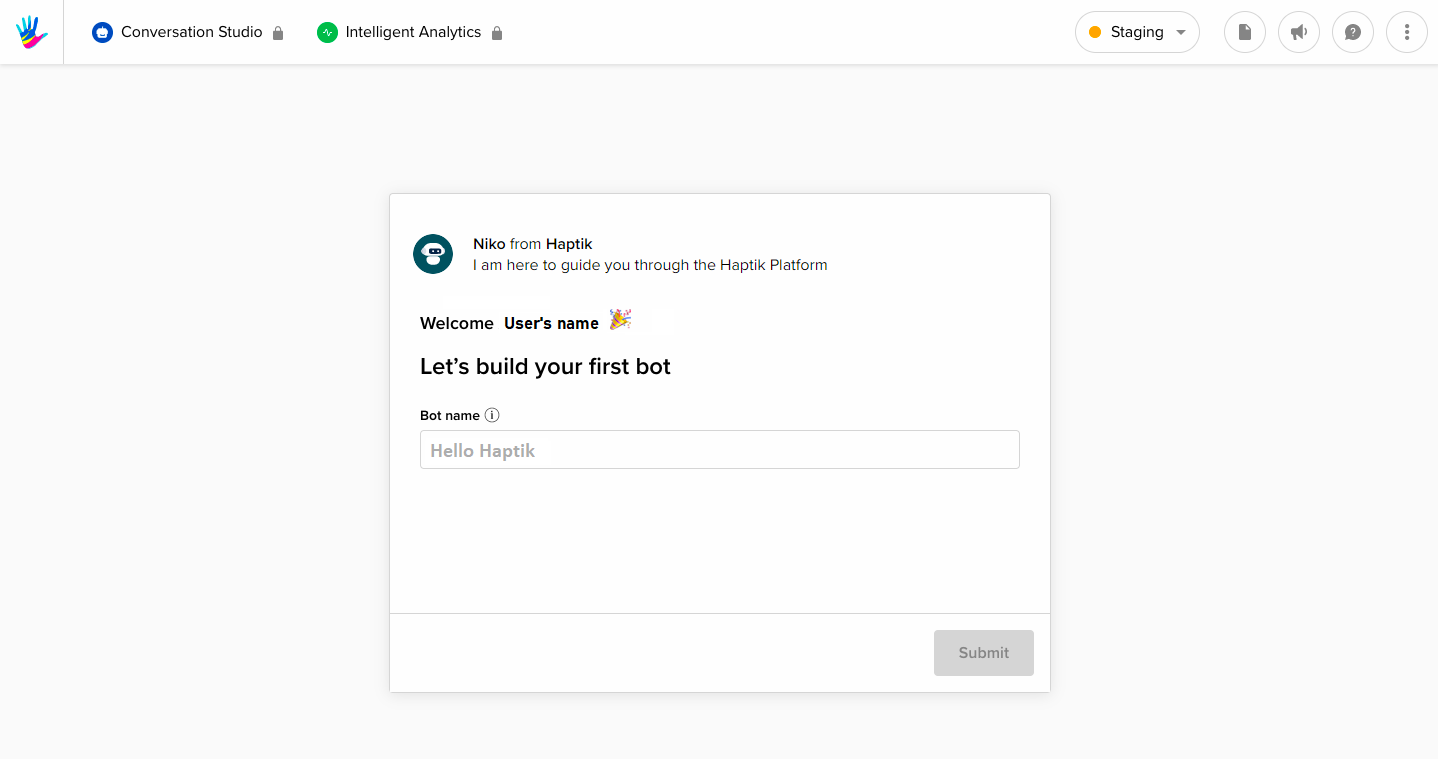
Let us take an example and build a sample bot called "Hello Haptik" as shown in the image below.

After adding the name, you can click on Submit. Great job - you are done with the First step. Now please proceed with Step 2 to start your bot-building journey.

