Step 4 - How to add Bot Responses?
- Getting Started
- Bot Building
- Smart Agent Chat
- Conversation Design
-
Developer Guides
Code Step Integration Static Step Integration Shopify Integration SETU Integration Exotel Integration CIBIL integration Freshdesk KMS Integration PayU Integration Zendesk Guide Integration Twilio Integration Razorpay Integration LeadSquared Integration USU(Unymira) Integration Helo(VivaConnect) Integration Salesforce KMS Integration Stripe Integration PayPal Integration CleverTap Integration Fynd Integration HubSpot Integration Magento Integration WooCommerce Integration Microsoft Dynamics 365 Integration
- Deployment
- External Agent Tool Setup
- Analytics & Reporting
- Notifications
- Commerce Plus
- Troubleshooting Guides
- Release Notes
Bot Response is where a step stores the replies used in response to the user's query. It is a very important part of defining the conversational journey.
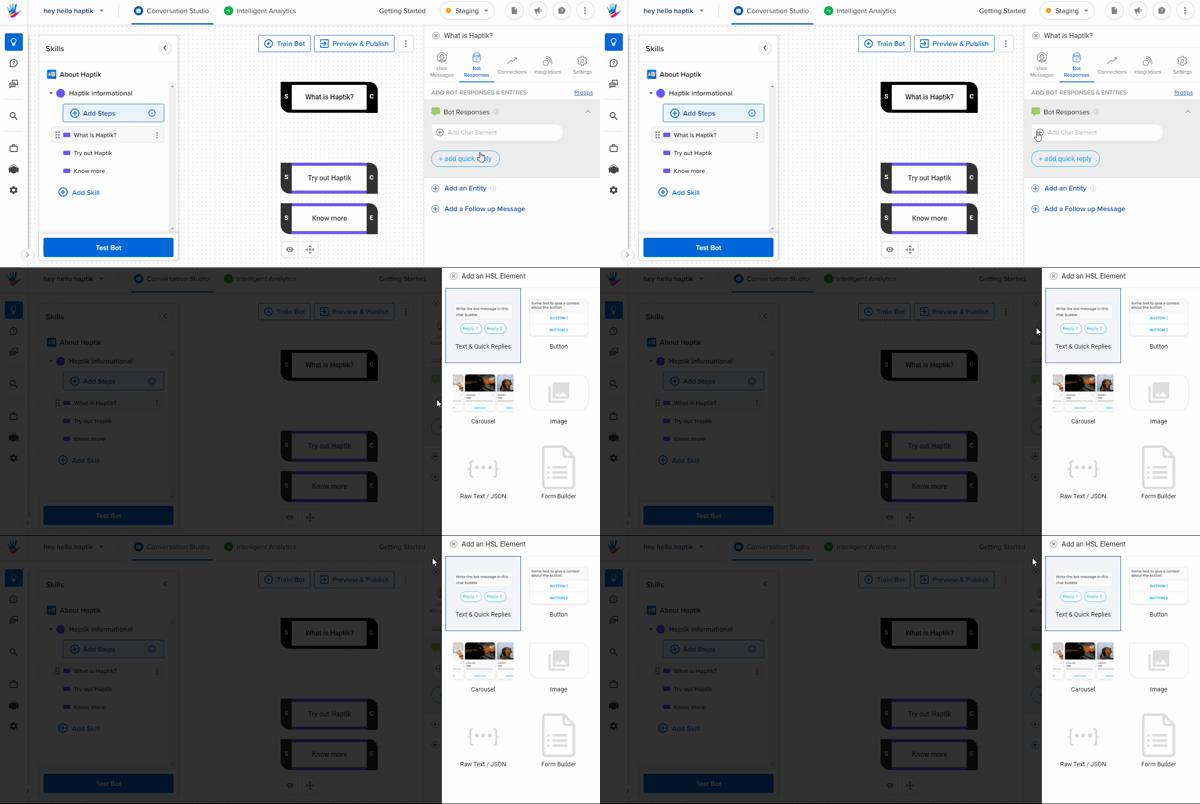
You can add Bot responses, as shown -

Here, you will see various options. These are called HSL elements or Chat elements. There are 6 chat elements that you can choose from, namely -
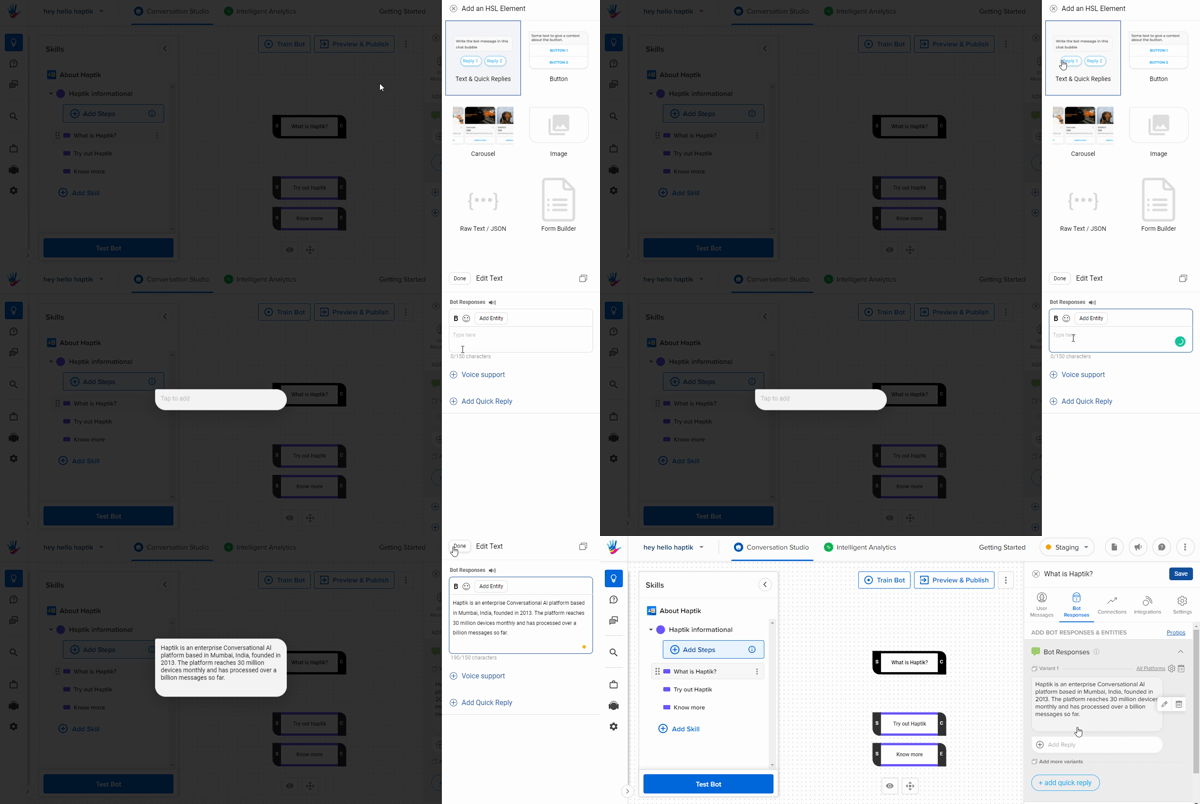
We would be using the "Text & Quick Replies" chat element for our sample bot -

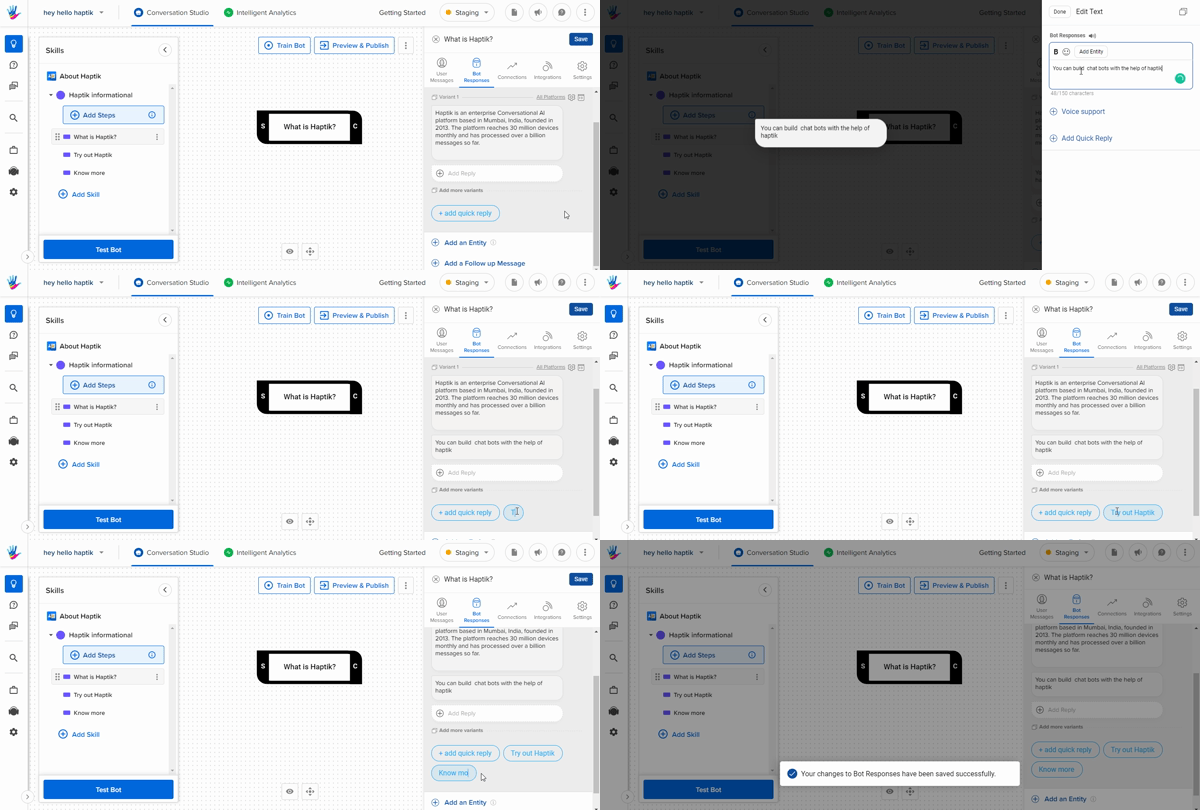
You can add options to your response as well. These are called Quick replies. For our sample bot, we have added "Try out Haptik" and "Know more" as the options.
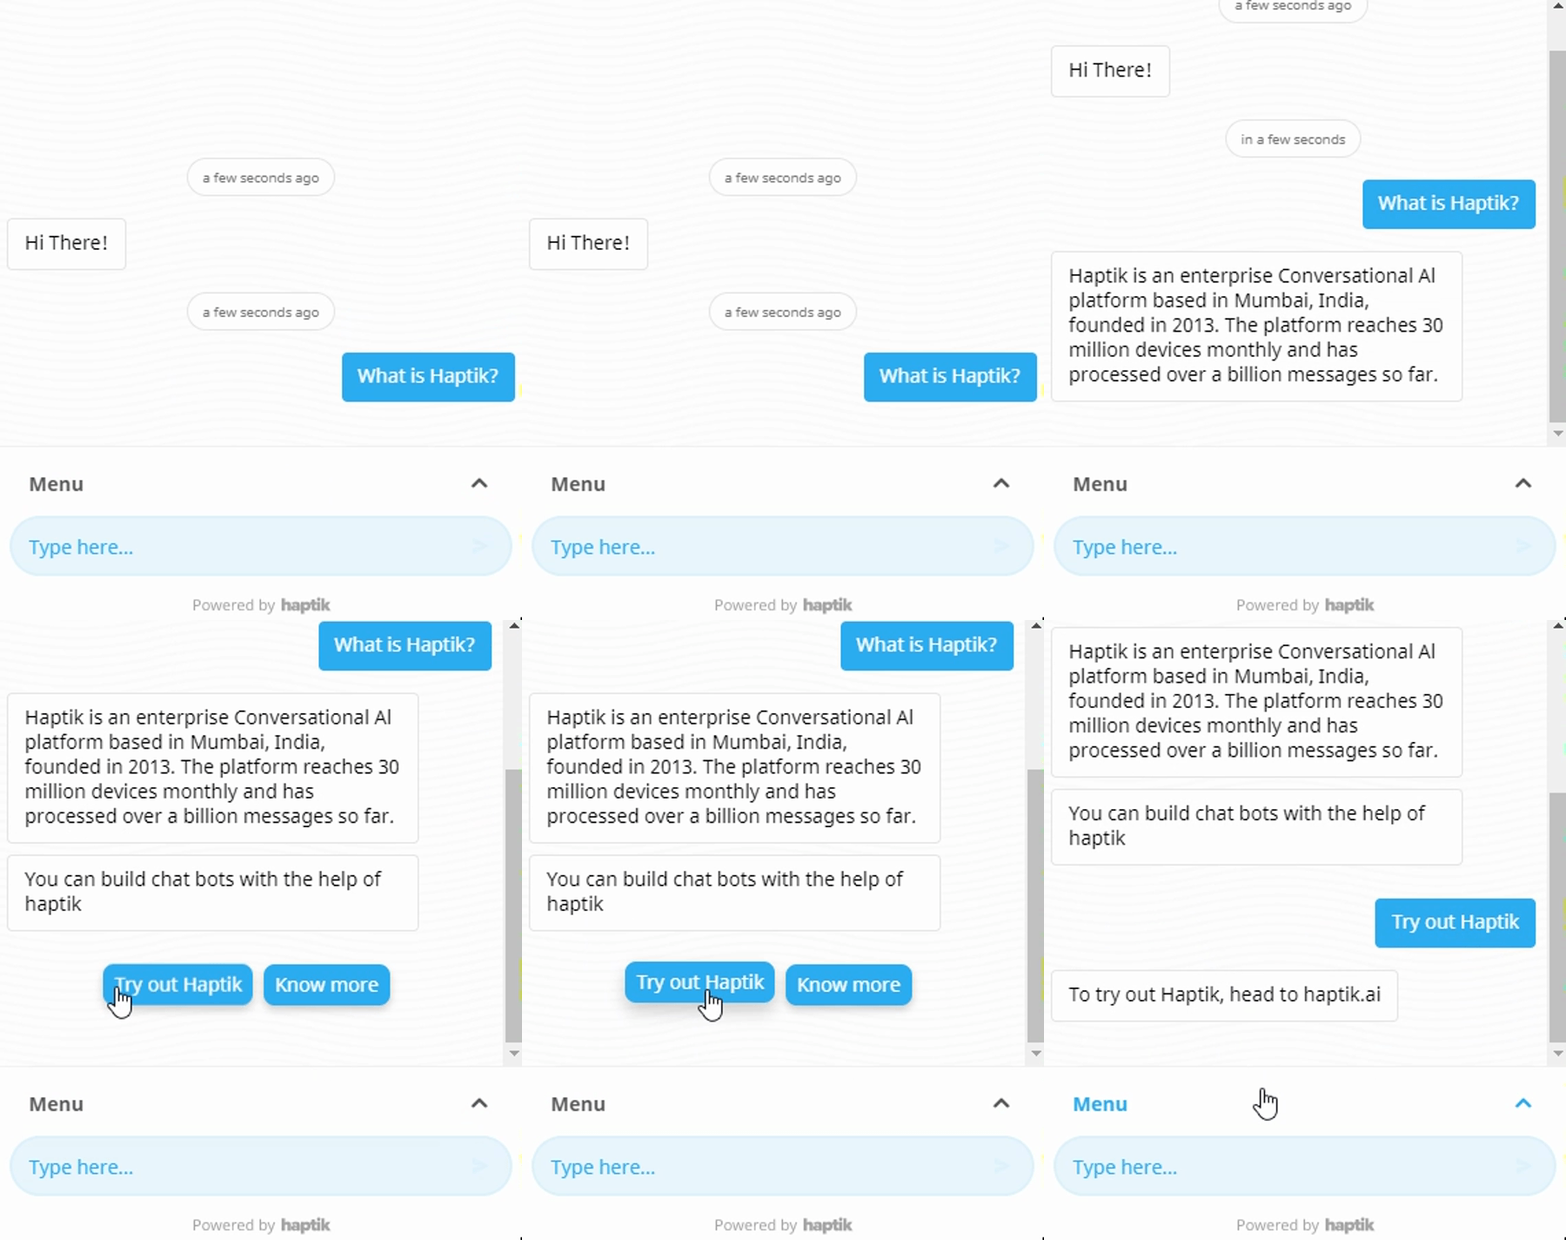
 Quick replies would be shown on the bot, in the following way -

Now that you have added the Bot Responses, you have successfully completed your "What is Haptik?" step. Users might click on the options available in the Bot Response or type out the query. You can create two more steps - "Try out Haptik" and "Know more" to handle those queries.
There might be situations where you would need to connect queries with one another to formulate a conversational journey like it is happening in our example. To achieve this, we can create connections, which is Step 5 of our bot-building journey.
