Step 2 - How to add an agent handover to my bot?
- Getting Started
- Bot Building
- Smart Agent Chat
- Conversation Design
-
Developer Guides
Code Step Integration Static Step Integration Shopify Integration SETU Integration Exotel Integration CIBIL integration Freshdesk KMS Integration PayU Integration Zendesk Guide Integration Twilio Integration Razorpay Integration LeadSquared Integration USU(Unymira) Integration Helo(VivaConnect) Integration Salesforce KMS Integration Stripe Integration PayPal Integration CleverTap Integration Fynd Integration HubSpot Integration Magento Integration WooCommerce Integration Microsoft Dynamics 365 Integration
- Deployment
- External Agent Tool Setup
- Analytics & Reporting
- Notifications
- Commerce Plus
- Troubleshooting Guides
- Release Notes
When a user chats with a bot, it might happen that he would ask a few queries for which the bot has not been trained. In this scenario, the bot will give a bot break message as it was not able to resolve the user's query.
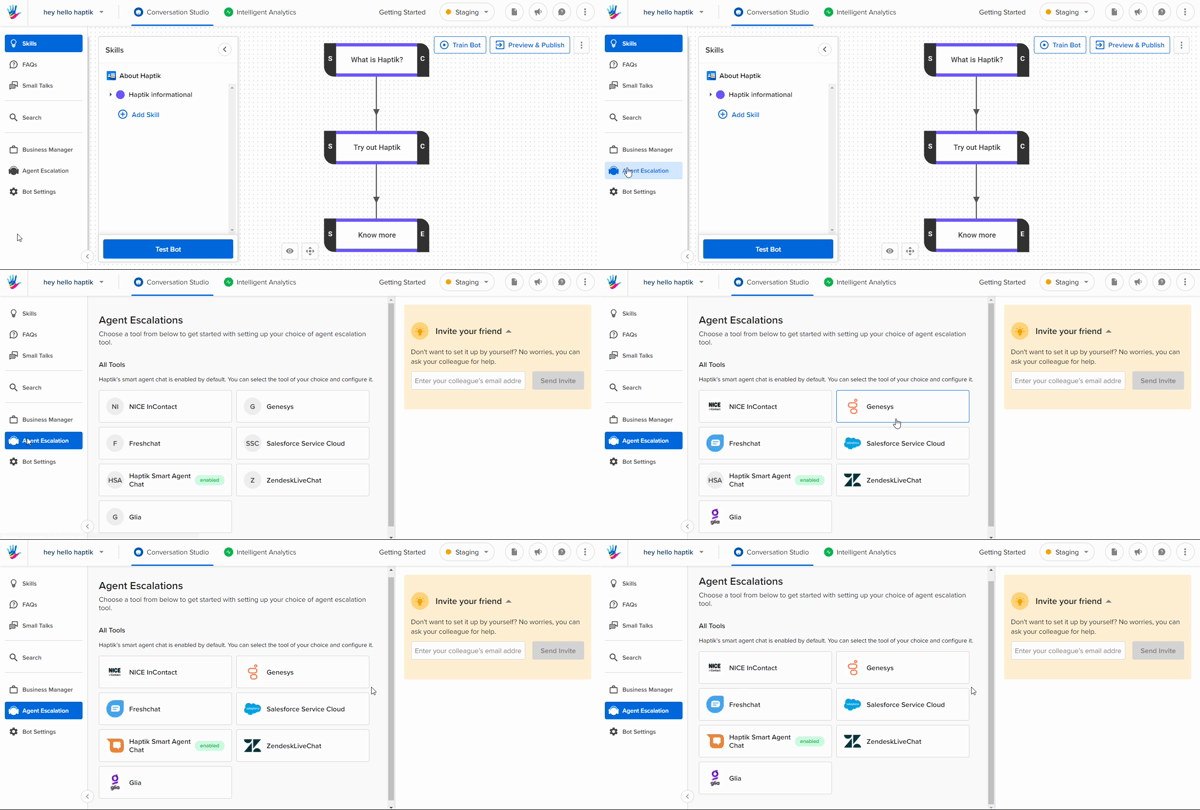
To avoid such scenarios, you can add an agent handover to your bot. So instead of a bot break, the conversation will be handed over to an agent. You can navigate to Agent Escalation, and set up Agent handover. You can learn more about Agent Escalations here.

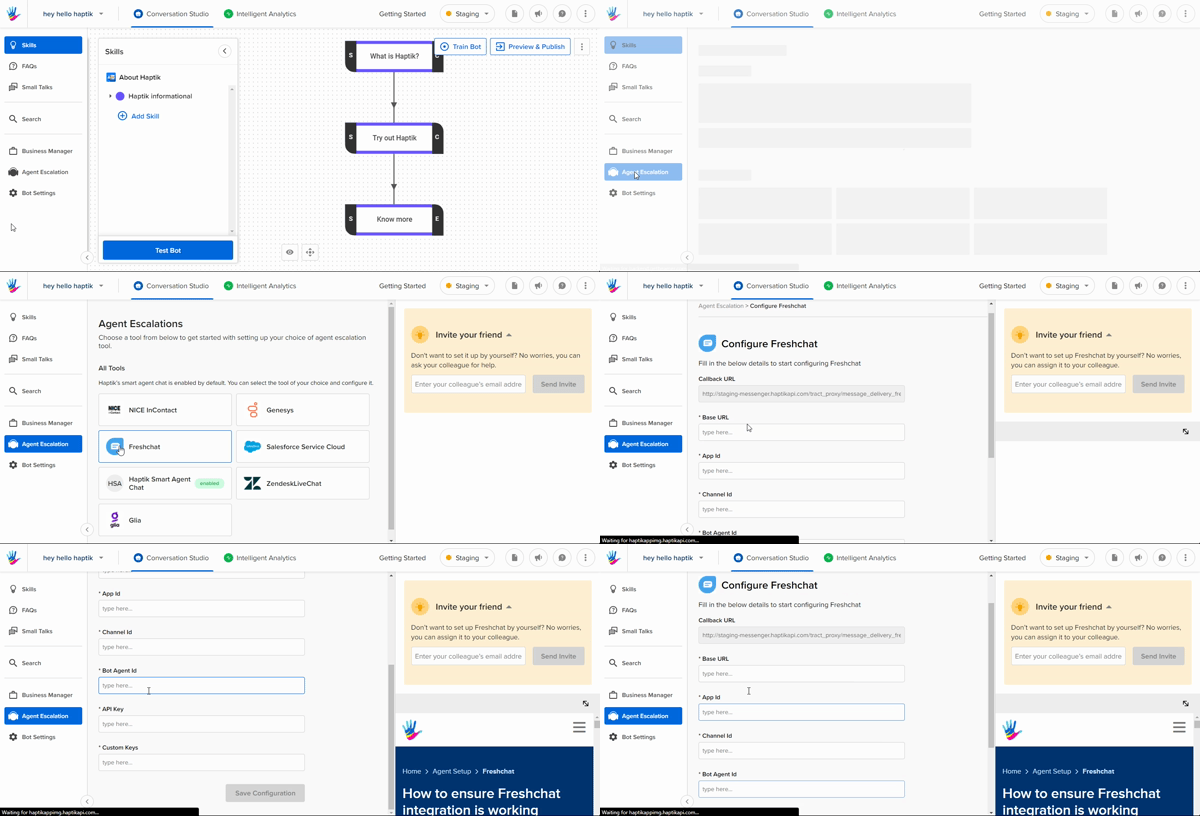
For example, you decided to use Freshchat for your agent handover. In this case, you can navigate to Freshchat as shown in the GIF, and fill in the required details.

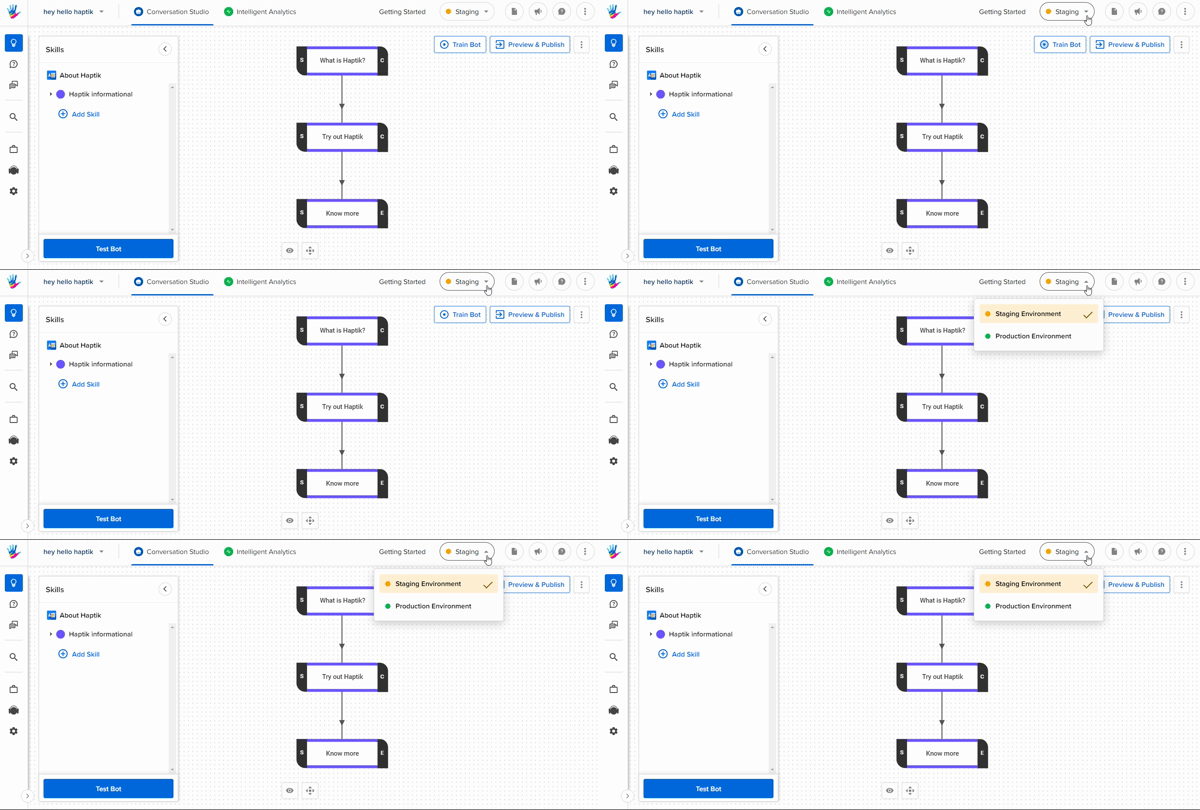
Now, you have deployed your bot and added agent handover but is it LIVE yet? NO! As all this is happening in the Staging environment (development environment), and we need to take everything in the Production environment (live environment).

Please proceed to Step 3 to understand how to take your bot to the Production environment.
