Why?
There might be times when there is an existing bot with a flow already built on another platform or through custom code. It is possible to connect this external bot flow to the Haptik tools through the Conversation Studio tool.
Process to integrate
1. Create a bot on Conversation Studio
The first stage is to create a new bot on the Conversation Studio tool. This bot will act as a gateway between the Haptik Platform and the external bot.
2. Create a step to transfer data
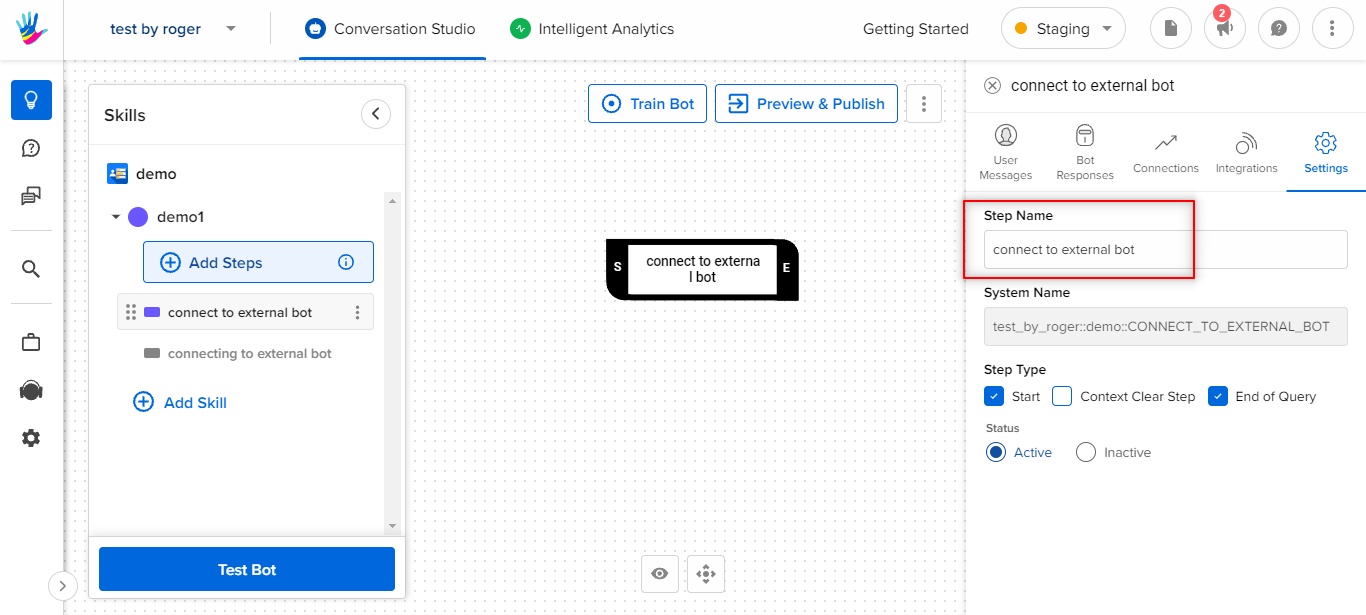
The second stage is to create a step in the bot. The job of this step is to take any user input that comes in and pass it along to the external bot. The step is also responsible to accept the input that comes in from the external bot and send it back to the user.
3. Accepting all inputs
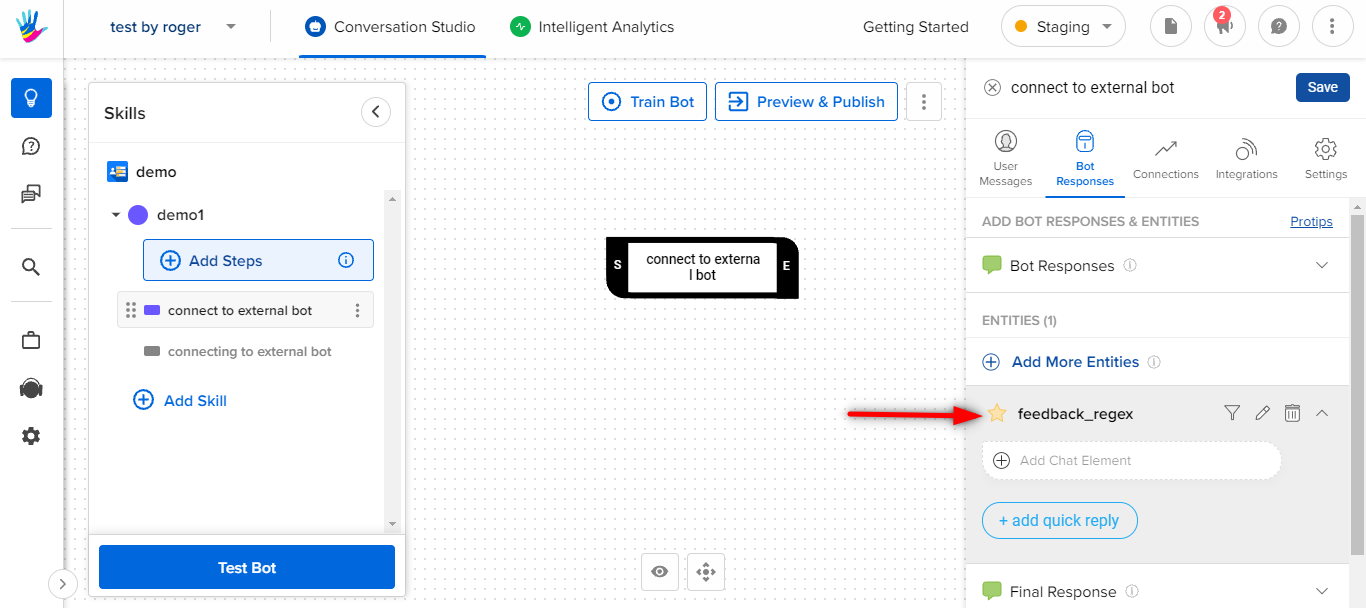
We get the step to capture all the input messages by using a catchall entity. You can do this by adding an entity called "feedback_regex". This entity uses regex to capture the complete user message in the entity called "feedback_regex".
You can add an entity by going to bot_says the section of the step. In the bot response section click on them + Add an Entity and then search for feedback_regex. Finally, click on Add to Bot responseit to add it to the step.
4. Communicating with the external bot
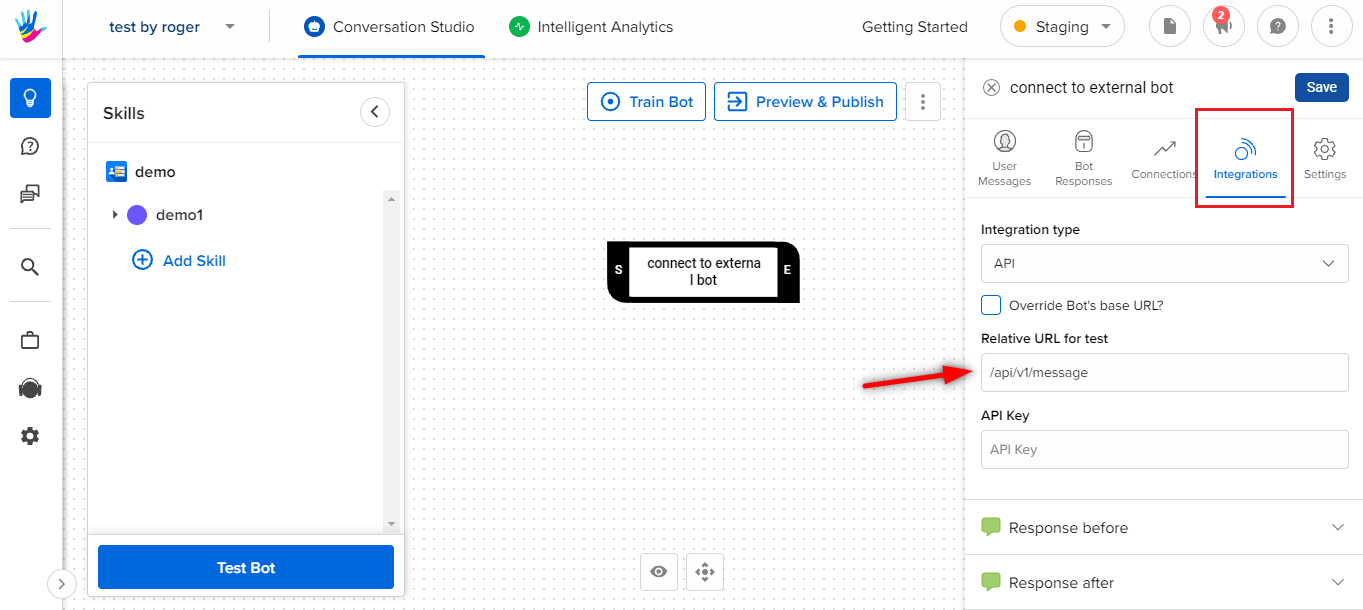
Once the user message is captured it can be sent to the external bot using the integrations section of the step. The first stage is to set the base URL of the external bot in the bot settings section. If the external bot has different test and production endpoints you can set them accordingly. Or you can set it to be the same URL in both cases.
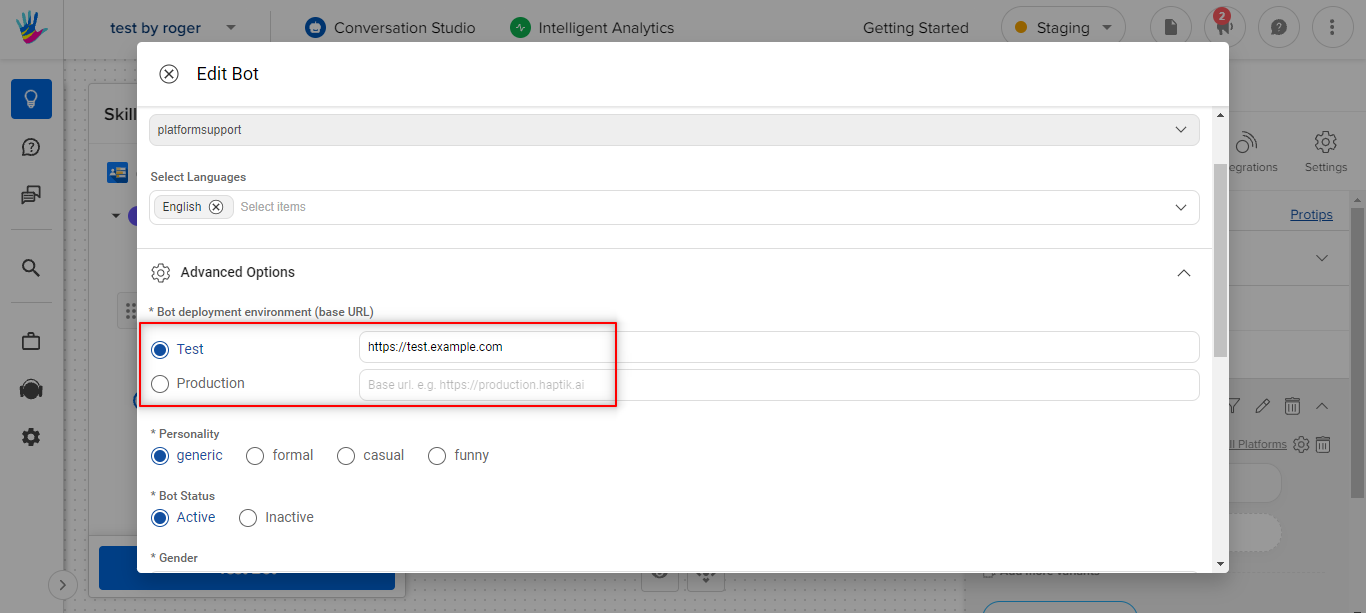
Once that is done, we can add the specific path where we need to send the message to. It should be noted that the endpoint will receive the message in a parameter called feedback_regex because that is what the entity is called. The external bot can then use this message and return a bot response in a HSL format. This HSL will then be sent back to the user who sent the message.
To read more about how the data is sent to the endpoint, click here.
5. Completing the setup
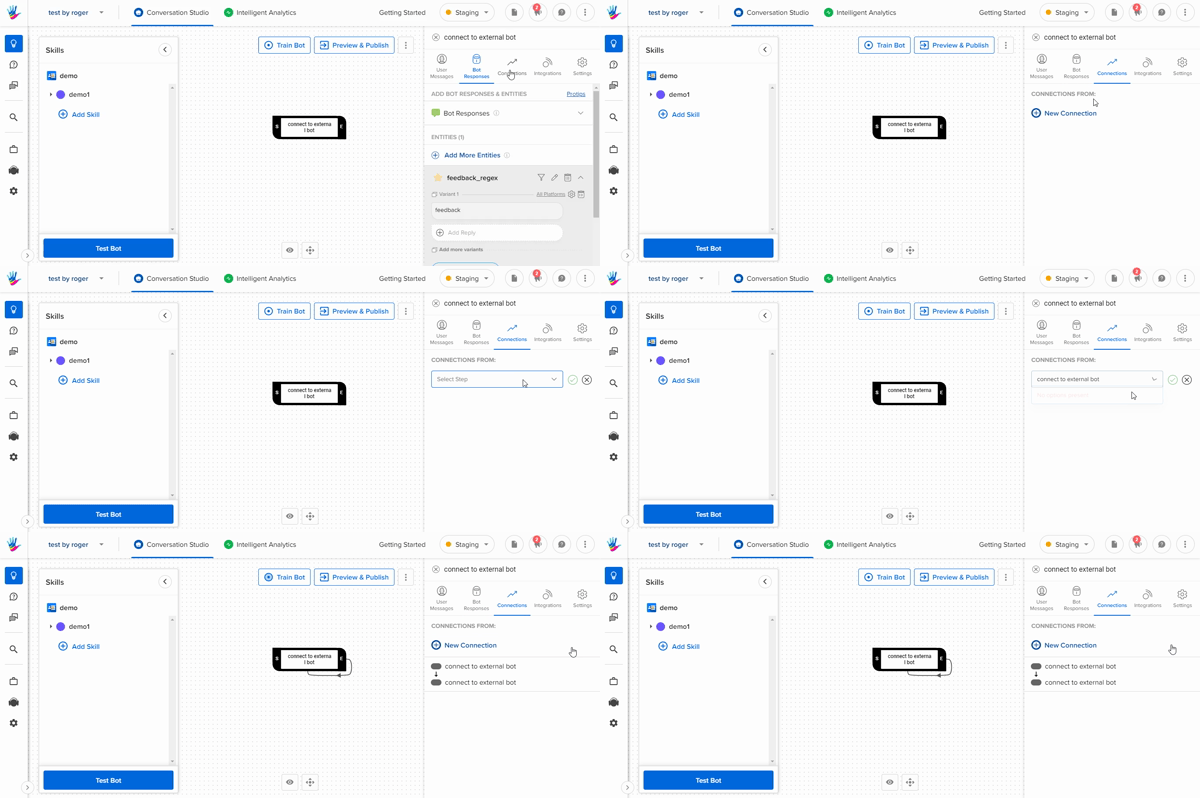
Finally, we want the above stages to be repeated for all user messages. To do this we make the step self connecting. This means that all incoming messages and responses will loop through this step which is what we want.