How to build voice bots?

Written by Medha Anand
Updated on August 26th, 2022
- Getting Started
- Bot Building
- Smart Agent Chat
- Conversation Design
-
Developer Guides
Code Step Integration Static Step Integration Shopify Integration SETU Integration Exotel Integration CIBIL integration Freshdesk KMS Integration PayU Integration Zendesk Guide Integration Twilio Integration Razorpay Integration LeadSquared Integration USU(Unymira) Integration Helo(VivaConnect) Integration Salesforce KMS Integration Stripe Integration PayPal Integration CleverTap Integration Fynd Integration HubSpot Integration Magento Integration WooCommerce Integration Microsoft Dynamics 365 Integration
- Deployment
- External Agent Tool Setup
- Analytics & Reporting
- Notifications
- Commerce Plus
- Troubleshooting Guides
- Release Notes
Table of Contents
Table of Contents
What is a Voice bot?How to build a Voice bot?Enabling Auto Mic optionUsing SSML TagsDo's & Don'ts for building a Voice botHow to use a voice bot?Using Text + Voice InputUsing only Voice inputChanging the voice personalityWhat is a Voice bot?
Voice is an efficient mode of communication because of its speed, accuracy, and effortless measures. A voice bot diminishes the user's attempt to type out a message and leads them to have a hassle-free conversation with the bot.
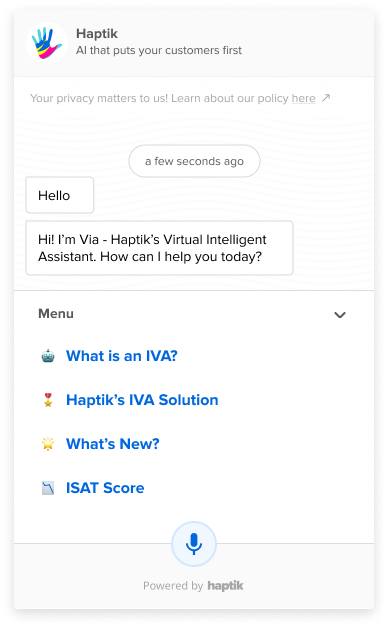
A voice bot primarily uses voice/audio as an input for communication. Once the voice option is enabled for the business, you can see the mic icon on the bot as follows

When the user clicks on the mic icon, the bot captures the audio from the user and converts it into text. This text becomes the user input and then the bot responds accordingly.
How to build a Voice bot?
There are few steps to enable voice on your bot. These are explained below in detail.
Firstly, the business needs to be configured to accept voice input. Under Channel page of Business Manager, enable the Text + Voice user input method, as shown below.
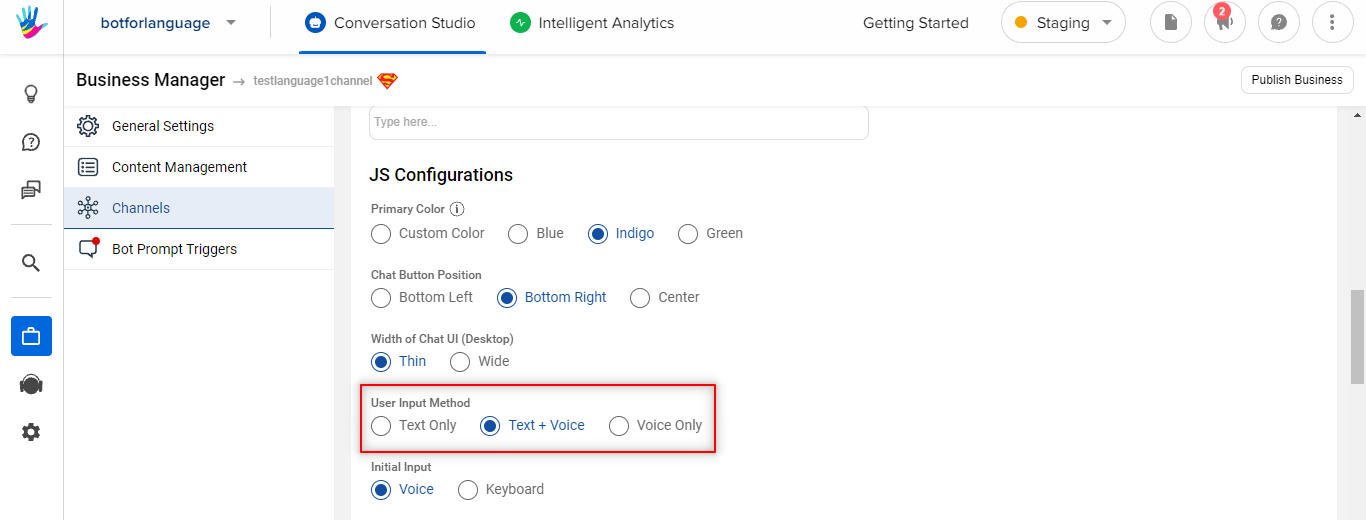
Once this is configured, you should be able to see the mic icon on the bot.
Secondly, to configure audio responses on a voice bot on Conversation Studio, go to a step to set voice-specific bot responses.
On a step, you can tap on +Add a chat element in Bot Response. Once you click on it, a slide bar opens on the right-hand side. Click on the preferred chat element. Here for your element, you can configure the response via two fields:
- Bot Response: This is the response which will be sent as a text to the user.
- Voice Says: This is what the bot responds out loud i.e. the output from your device speaker. You tap on +Voice support and add message details.
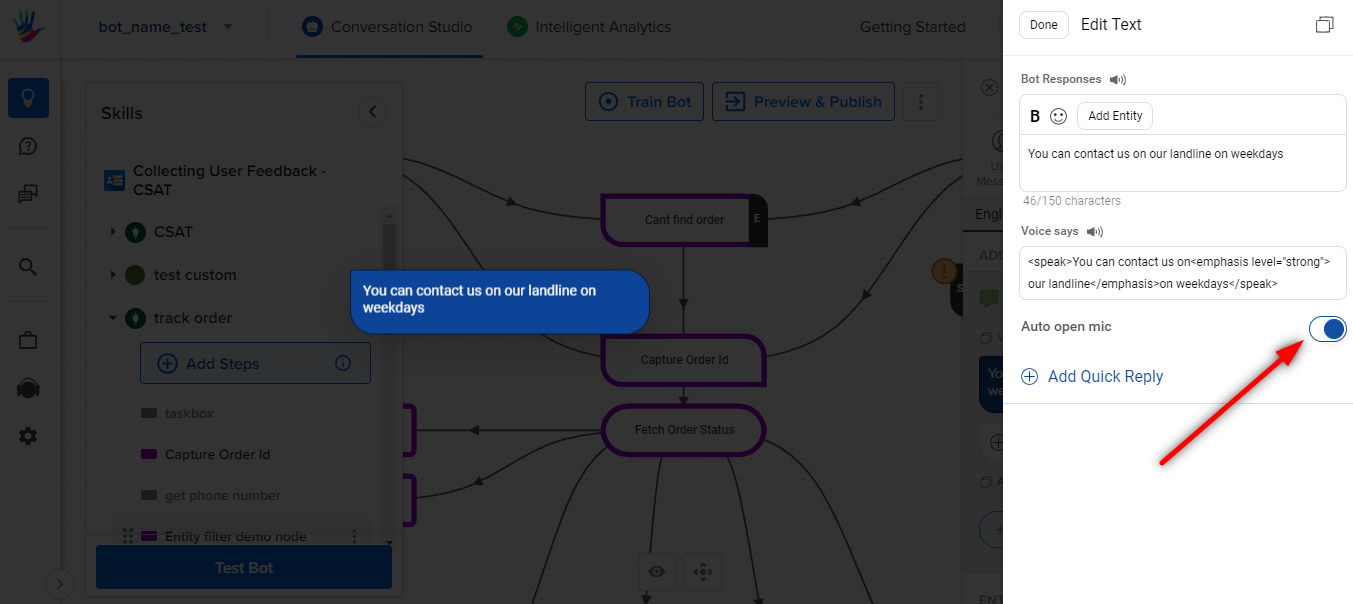
It will look as shown in the image below

Enabling Auto Mic option
Once a bot response is sent, the user has to click on the mic icon to send a new message. When we enable the Auto Open Mic option, after the bot response is sent, bot opens up the mic automatically and user can send their message. This makes the bot more user friendly.
Using SSML Tags
Let’s suppose you have to add various voice features such as emphasizing the tone on a specific sentence or spell out a word to the user, you can make use of SSML tags in such instances.
SSML tags are to be added in the Voice Says field box as shown in the image above.
For understanding how SSML tags are to be added, check the syntax details below -
- Adding a break
<speak> Not sure. <break time="2s"/> Please reach out on our email-id. </speak>As per the SSML tags used above, after Bot responds "Not sure." there will be a break time of 2 seconds and then bot speaks the rest.
- Adding emphasis
<speak> You can contact us on <emphasis level="strong"> our landline </emphasis> on weekdays. </speak>As per the SSML tags used above, after Bot responds "You can contact us on" there will be emphasis on "our landline" phrase and then bot speaks the rest of the text.
You can use the following SSML tags while adding Voice Says:
- effect: This can be used to enhance the volume of certain sounds in your audio file.
- emphasis: This can used to emphasize words. Emphasizing words changes the speaking rate and volume.
- p: This can be used to add a pause between paragraphs in the text.
- phoneme: This can be used for phonetic pronunciation for specific text.
- s: This can be used to add a pause between lines or sentences in your text.
- lang: This can be used to specify another language for a specific word, phrase, or sentence.
- sub: This can be used with the alias attribute to substitute a different word (or pronunciation) for selected text such as an acronym or abbreviation.
Example
<speak> My favorite chemical element is <sub alias="Mercury">Hg</sub>, because it looks so shiny. </speak>Do's & Don'ts for building a Voice bot
- Bot tends to read out some special characters. Avoid using special characters which aren't SSML tags.
- Too much content may lead to boredom in the users. Do not use long message copies for Voice support.
- To make the bot pause while reading out a sentence add respective punctuations like commas, full stops.
- Bot does not read two separate messages together, it takes a pause before reading the second message.
- Add spaces between numbers so that the bot will read them individually. Example - you type “99” in voice support, bot will read it as “ninety nine”. Instead type “9 9” in voice support, and the bot will read it as “nine nine”.
- Keep different message copies for text support and voice support.
- Bot does not read out the Button Text and Quick Reply Text, it will only read the header message.
- Voice bot may sometimes not pronounce the words properly. Misspelling the word in “Voice says” may help at times.
Currently, there is Voice Support only for English and Hindi languages on our SDK.
How to use a voice bot?
You can use bots with text + voice option or with only voice option. Let us understand that in detail.
Using Text + Voice Input
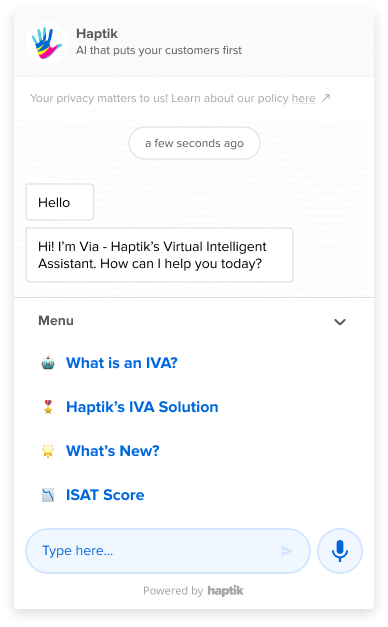
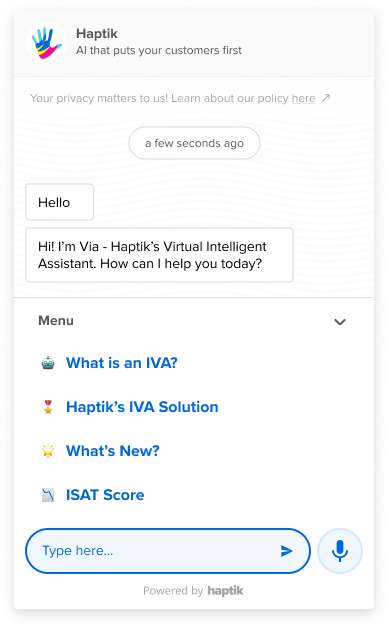
You can configure a bot that can take both Text and Voice input. When the bot has this combination, you can see both, the message composer and the mic icon. The following image depicts a default state of the bot with a task box and both inputs enabled.
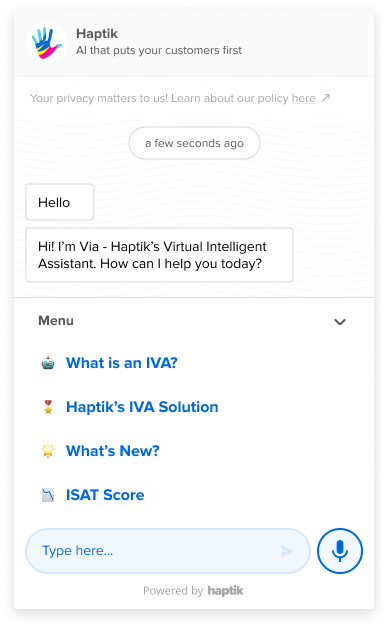
When the user selects their mode of input, for instance, voice, the mic icon is highlighted and the user can start sending their message.
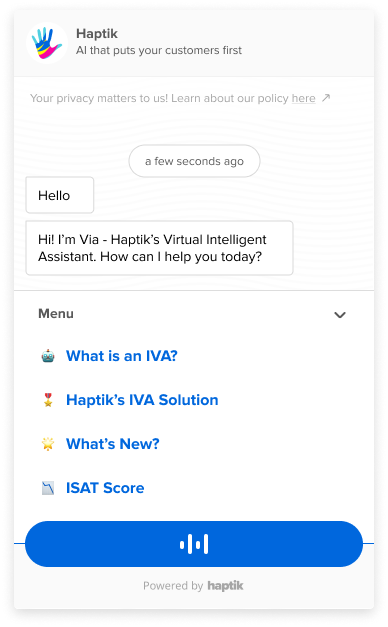
When the user is recording the audio, the message composer disappears and the bot goes into voice reading state, to record what the user is speaking.

To stop the recording of the message, the user can click on the blue button which indicates that bot is recording the mesage. The bot will then go back to default state, where the user can see the message composer and mic option.
Once the message is recorded, the bot translates the audio to text and it is sent as a user message. The taskbox closes as soon as the message is sent and then the bot replies according to the message.
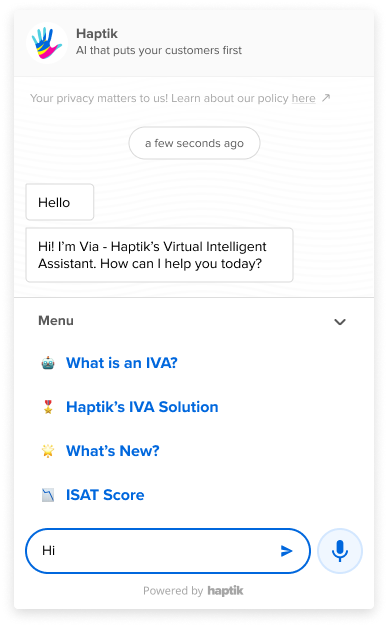
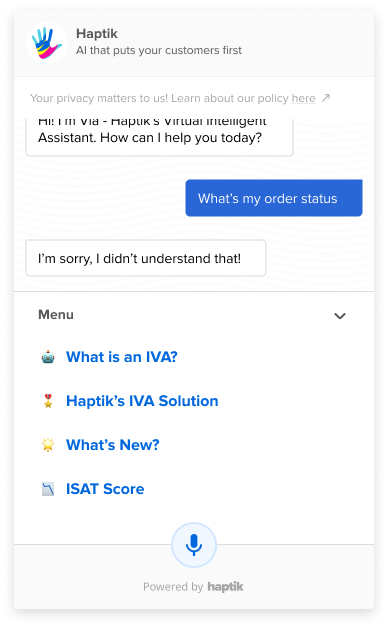
When the user wants to provide text input to the bot they can switch to send a text message. When the user chooses text as input type, the message composer is highlighted and appears as follows
The user can then type their message and then send it to the bot. The bot will process the user message and reply accordingly.
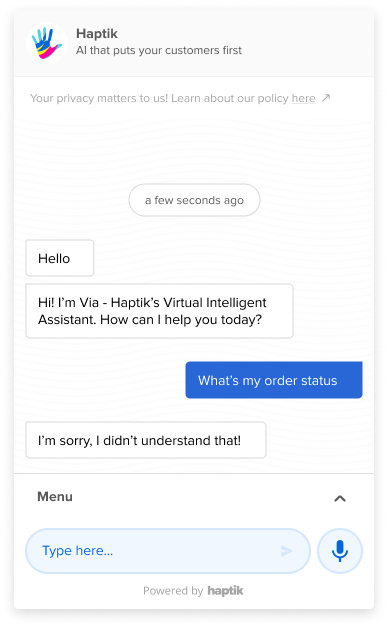
In certain cases where there is no taskbox configured, the bot would appear as follows,
Using only Voice input
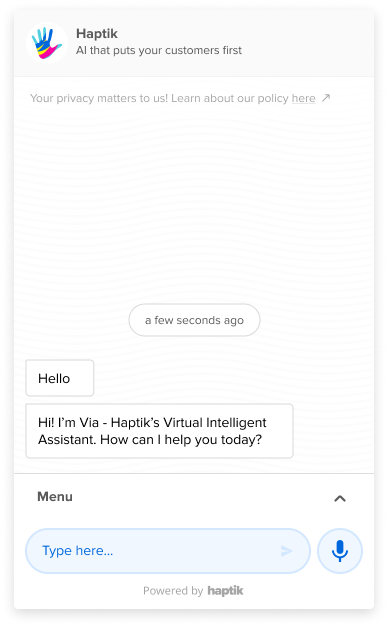
When the bot is only accepting voice as an input the message composer disappears and only the mic icon appears on the bot. In the following image you can see a Voice only bot having a taskbox, in its default state.
When the user clicks on the mic icon, the bot goes into voice reading state. This is how the bot looks when it is converting the message into text.
Once the user has finished recording the message, the bot converts the message into text and sends it as a text message. The bot then sends responses according to the user message.
Changing the voice personality
Each language has its own default voice personality already set i.e. when the Voice support is configured, the voice assistant has a tone and personality to it. However, you can choose to change the voice personality as per they align with the business requirements. The list of all supported personalities with their corresponding languages can be found here.
To override the default voice personality for a language, you can set the voice_type property in the HaptikInitSettings as shown in the below image -
var haptikInitSettings = {
 "voice_type": {
 "en": "Amy",
 "hi": "Aditi"
 }
}
To change the personality for any language, follow this format -
var haptikInitSettings = {
 "voice_type": {
 "<language_code>": "Personality name"
 }
}
You can now test the bot by sending voice messages.
