How to Add & Manage Agents

Written by Product Team
Updated on June 17th, 2024
- Getting Started
- Bot Building
- Smart Agent Chat
- Conversation Design
-
Developer Guides
Code Step Integration Static Step Integration Shopify Integration SETU Integration Exotel Integration CIBIL integration Freshdesk KMS Integration PayU Integration Zendesk Guide Integration Twilio Integration Razorpay Integration LeadSquared Integration USU(Unymira) Integration Helo(VivaConnect) Integration Salesforce KMS Integration Stripe Integration PayPal Integration CleverTap Integration Fynd Integration HubSpot Integration Magento Integration WooCommerce Integration Microsoft Dynamics 365 Integration
- Deployment
- External Agent Tool Setup
- Analytics & Reporting
- Notifications
- Commerce Plus
- Troubleshooting Guides
- Release Notes
Table of Contents
Overview of ‘Manage Agents’
On this page, you can:
- Add Agents
- Edit Agent Settings
- Search for Agents
- Remove Agents
- View Queue related information for Agents
Add Agents
To add an agent to your account, start by clicking on the “Add Agent” button on the top right corner of the Manage Agents section.
Adding new Agents are subject to Permissions
Team Leads can only add `new Agents, whereas Admins can add new Agents, Team Leads, as well as new Admins.
In the popup that appears, add all the required information to invite a new Agent to your Account.
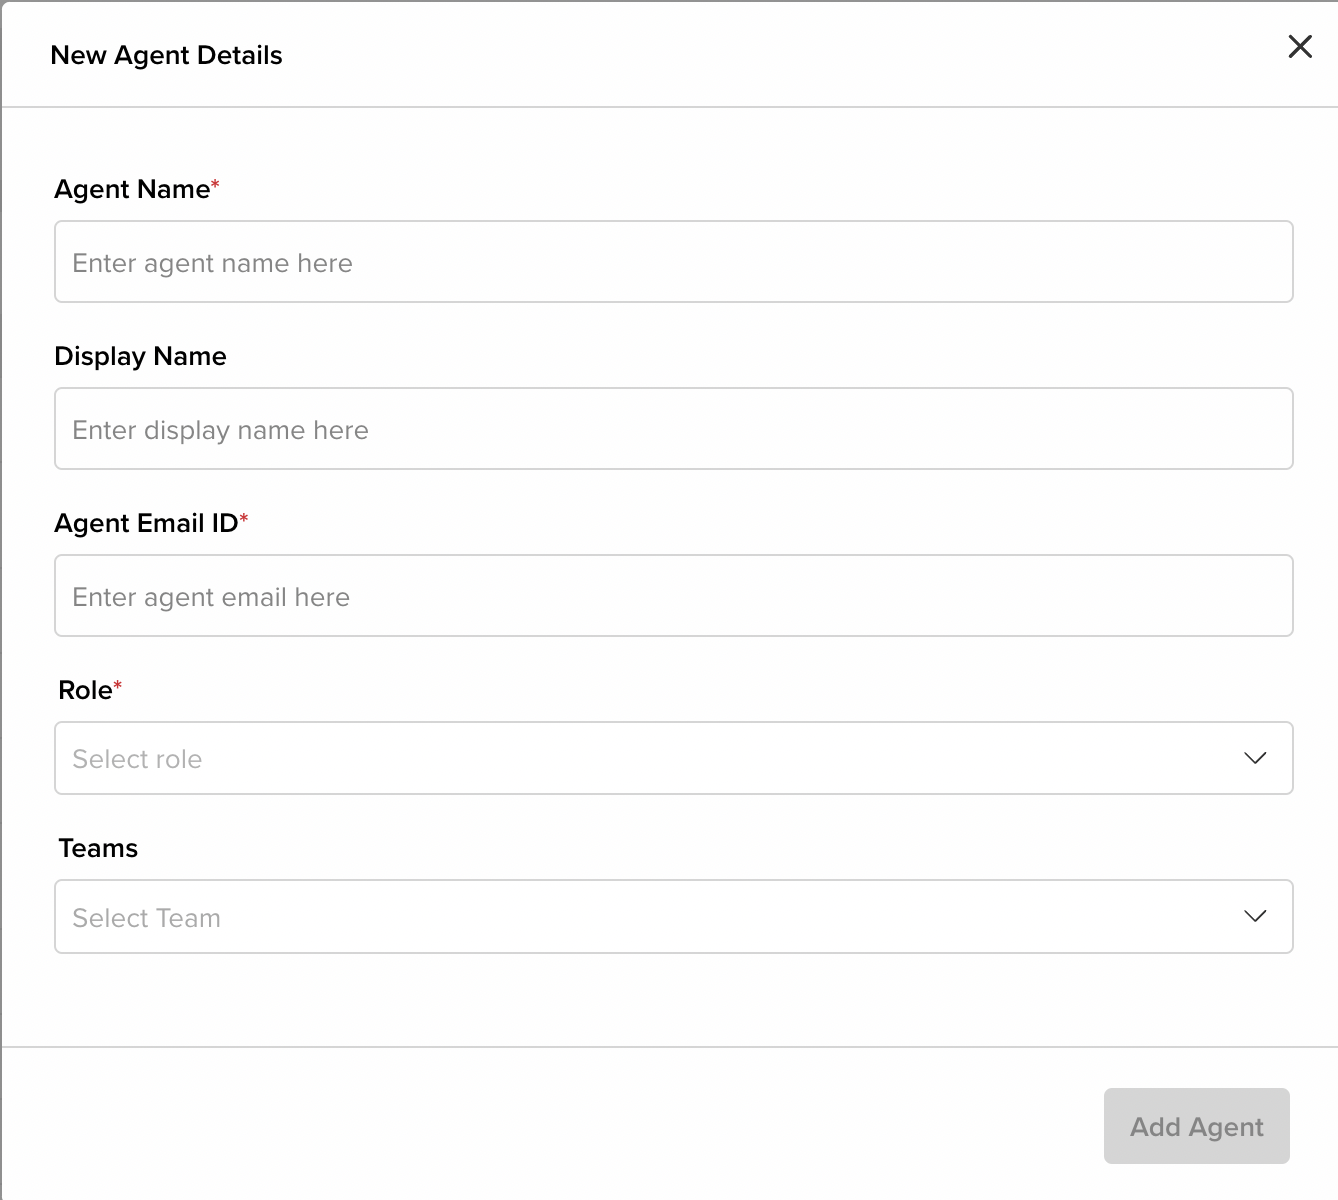
The following fields of the form are mandatory fields:
- Agent Name: This is a unique name associated with the Agent on our system.
- Agent Email ID: This is a unique email ID associated with the Agent being added. The invite to the Agent to join the account will be sent over this email ID.
- Role: This determines the role assigned to the Agent. Refer to this article to learn more about User Roles & Permissions on SAC.
The following fields of the form are Optional, and can be skipped if you wish to add them later:
- Display Name: This is the Agent name that is displayed to your customers when an Agent enters into a chat. By default, the Agent Name is automatically used as the Display Name, unless a separate Display Name is provided.
- Teams: This field allows you to add the Agent to 1 or more Teams that are already created on your Account. By default, an Agent is not assigned to any Team. Agents cannot receive any chats unless they are a part of at least 1 Team.
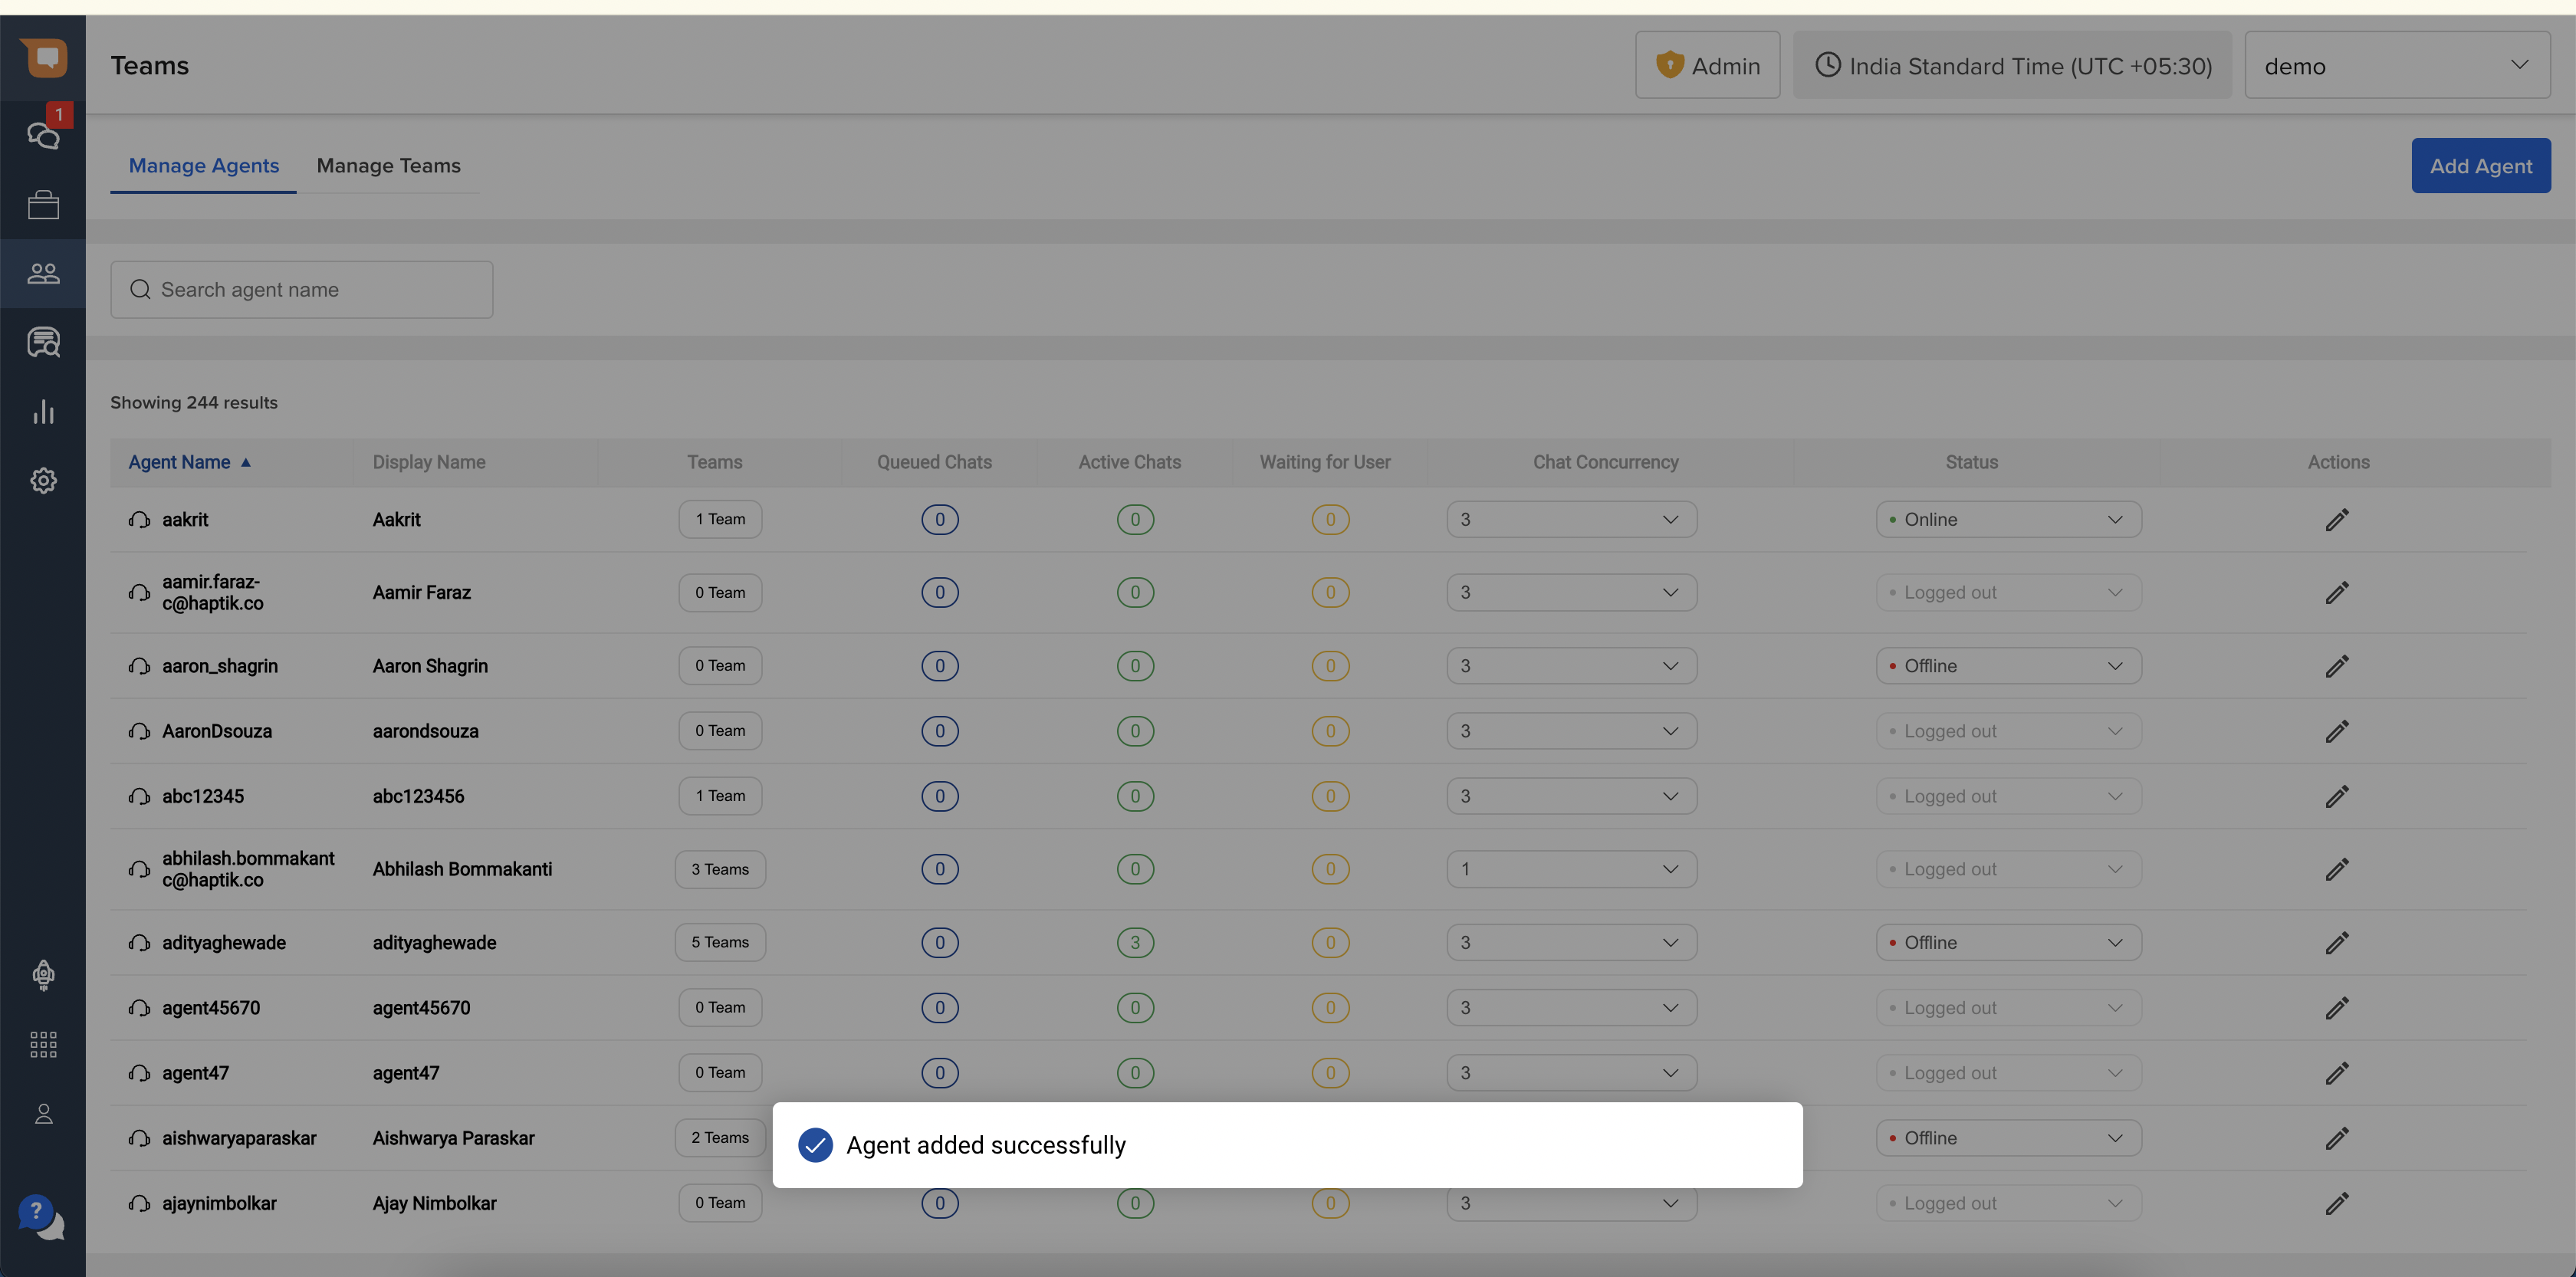
Once all the details have been filled up, click on the “Add Agent” button on the bottom right corner of the popup.
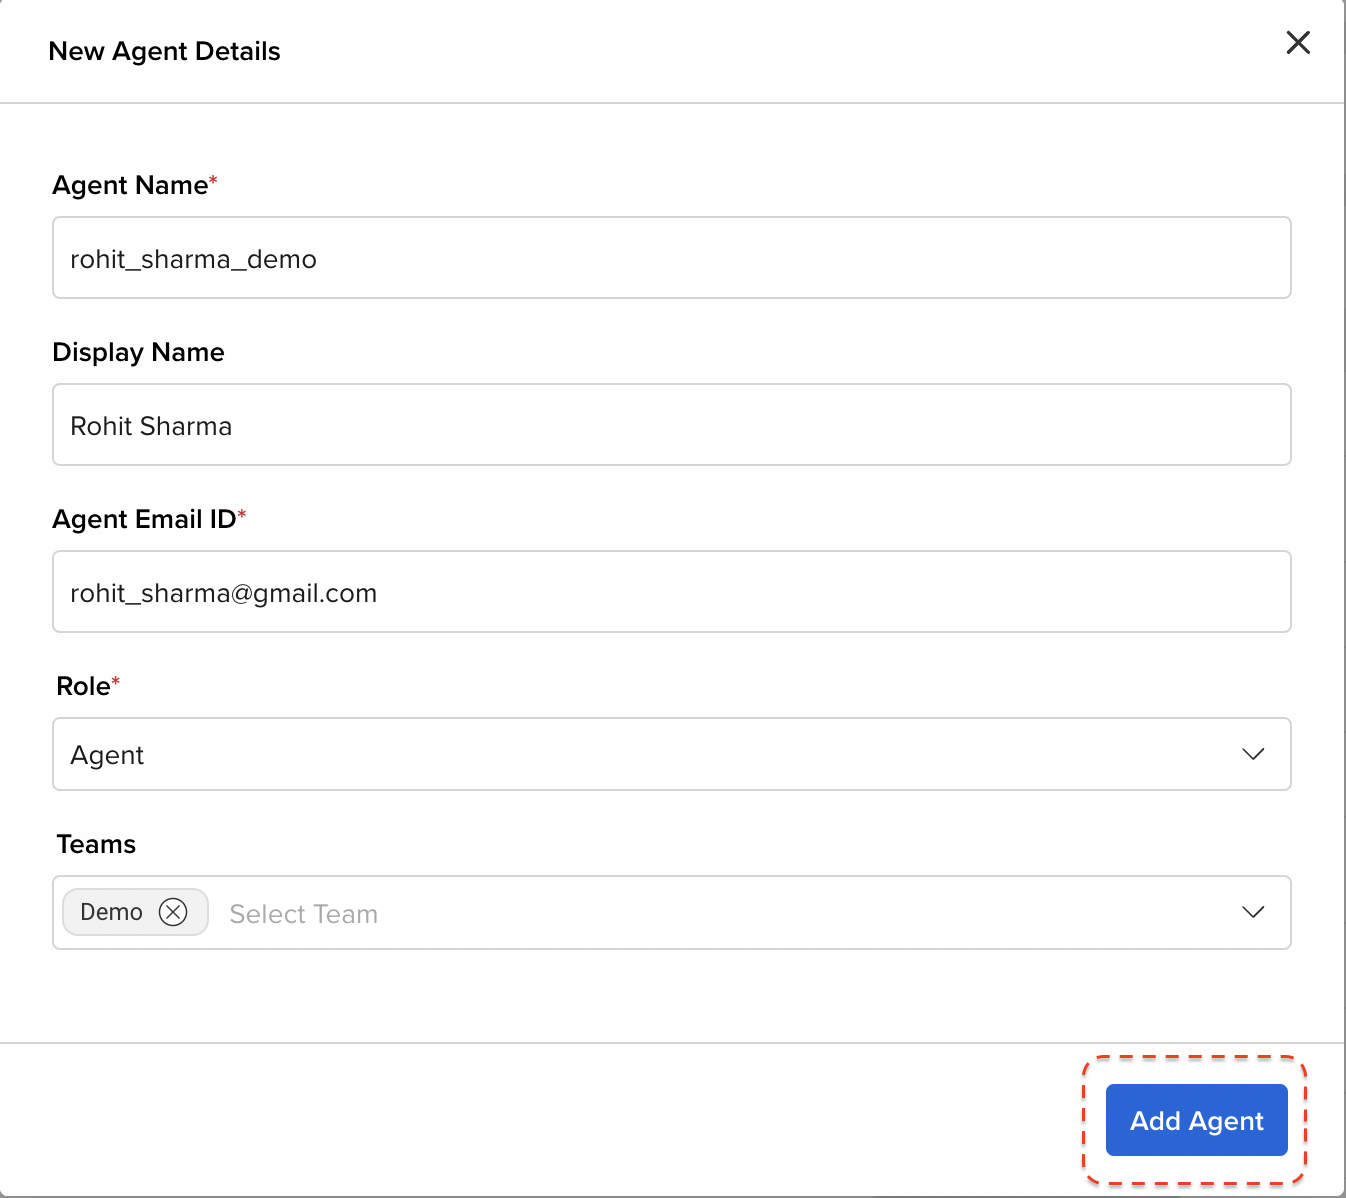
Once an Agent is added, you will see a confirmation message on the bottom of the Manage Agents page.
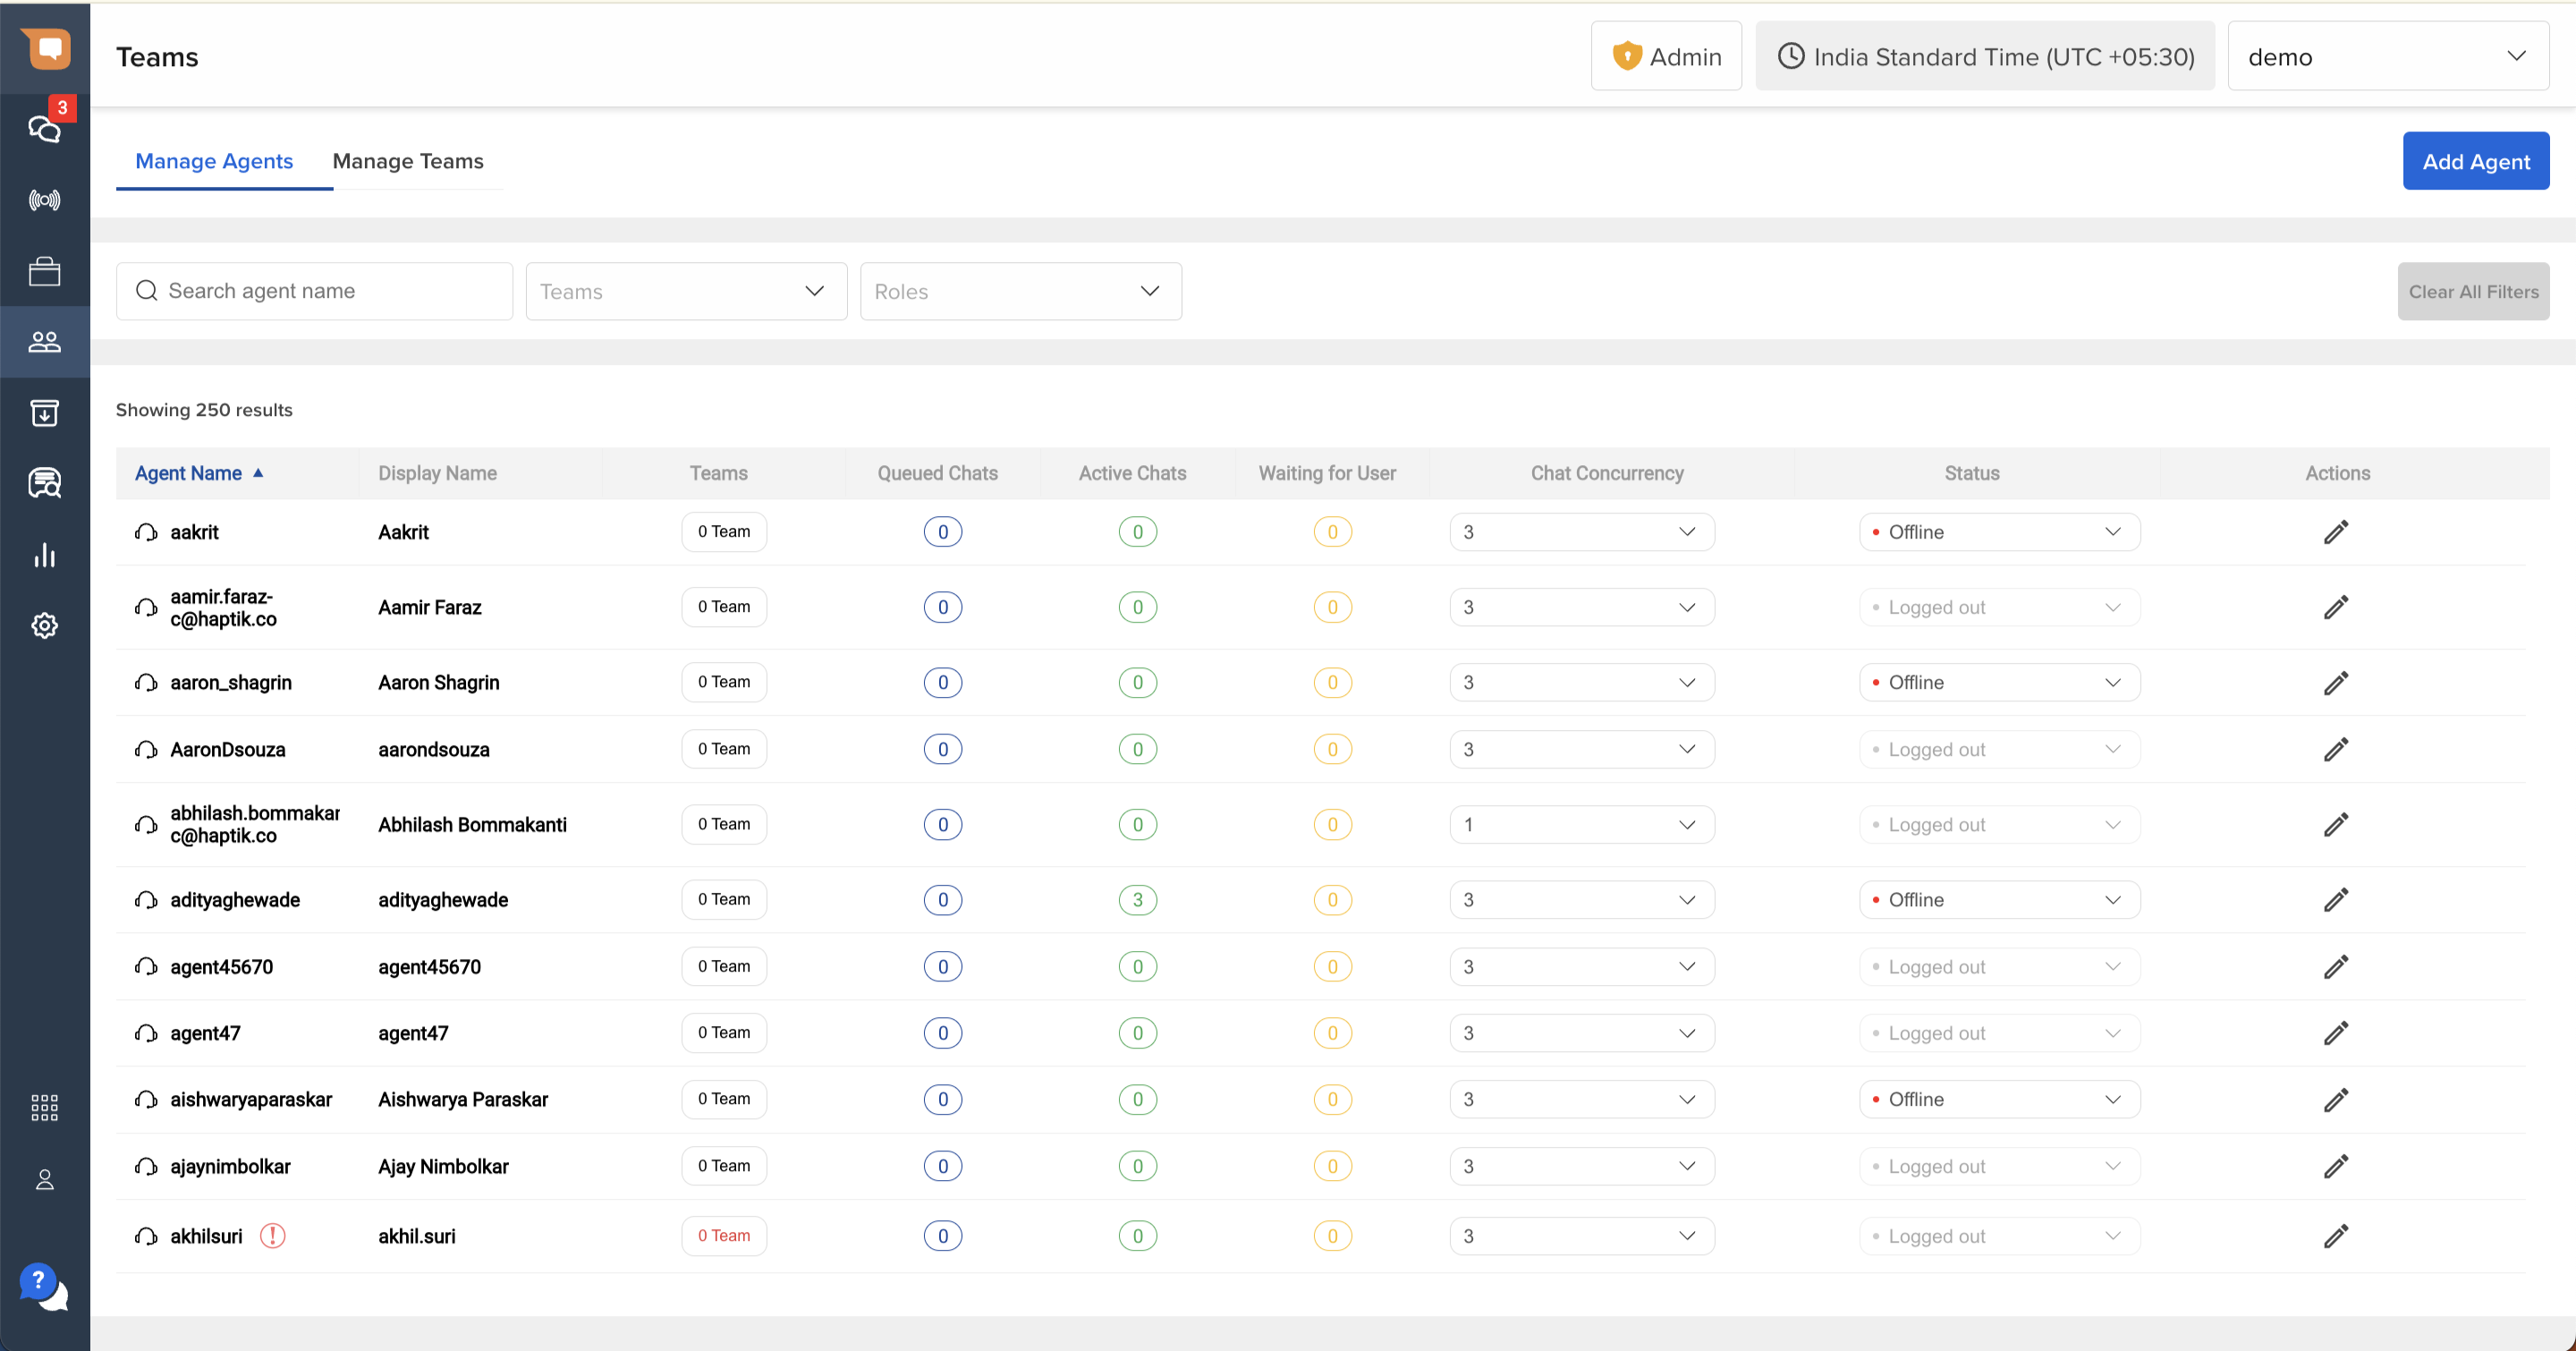
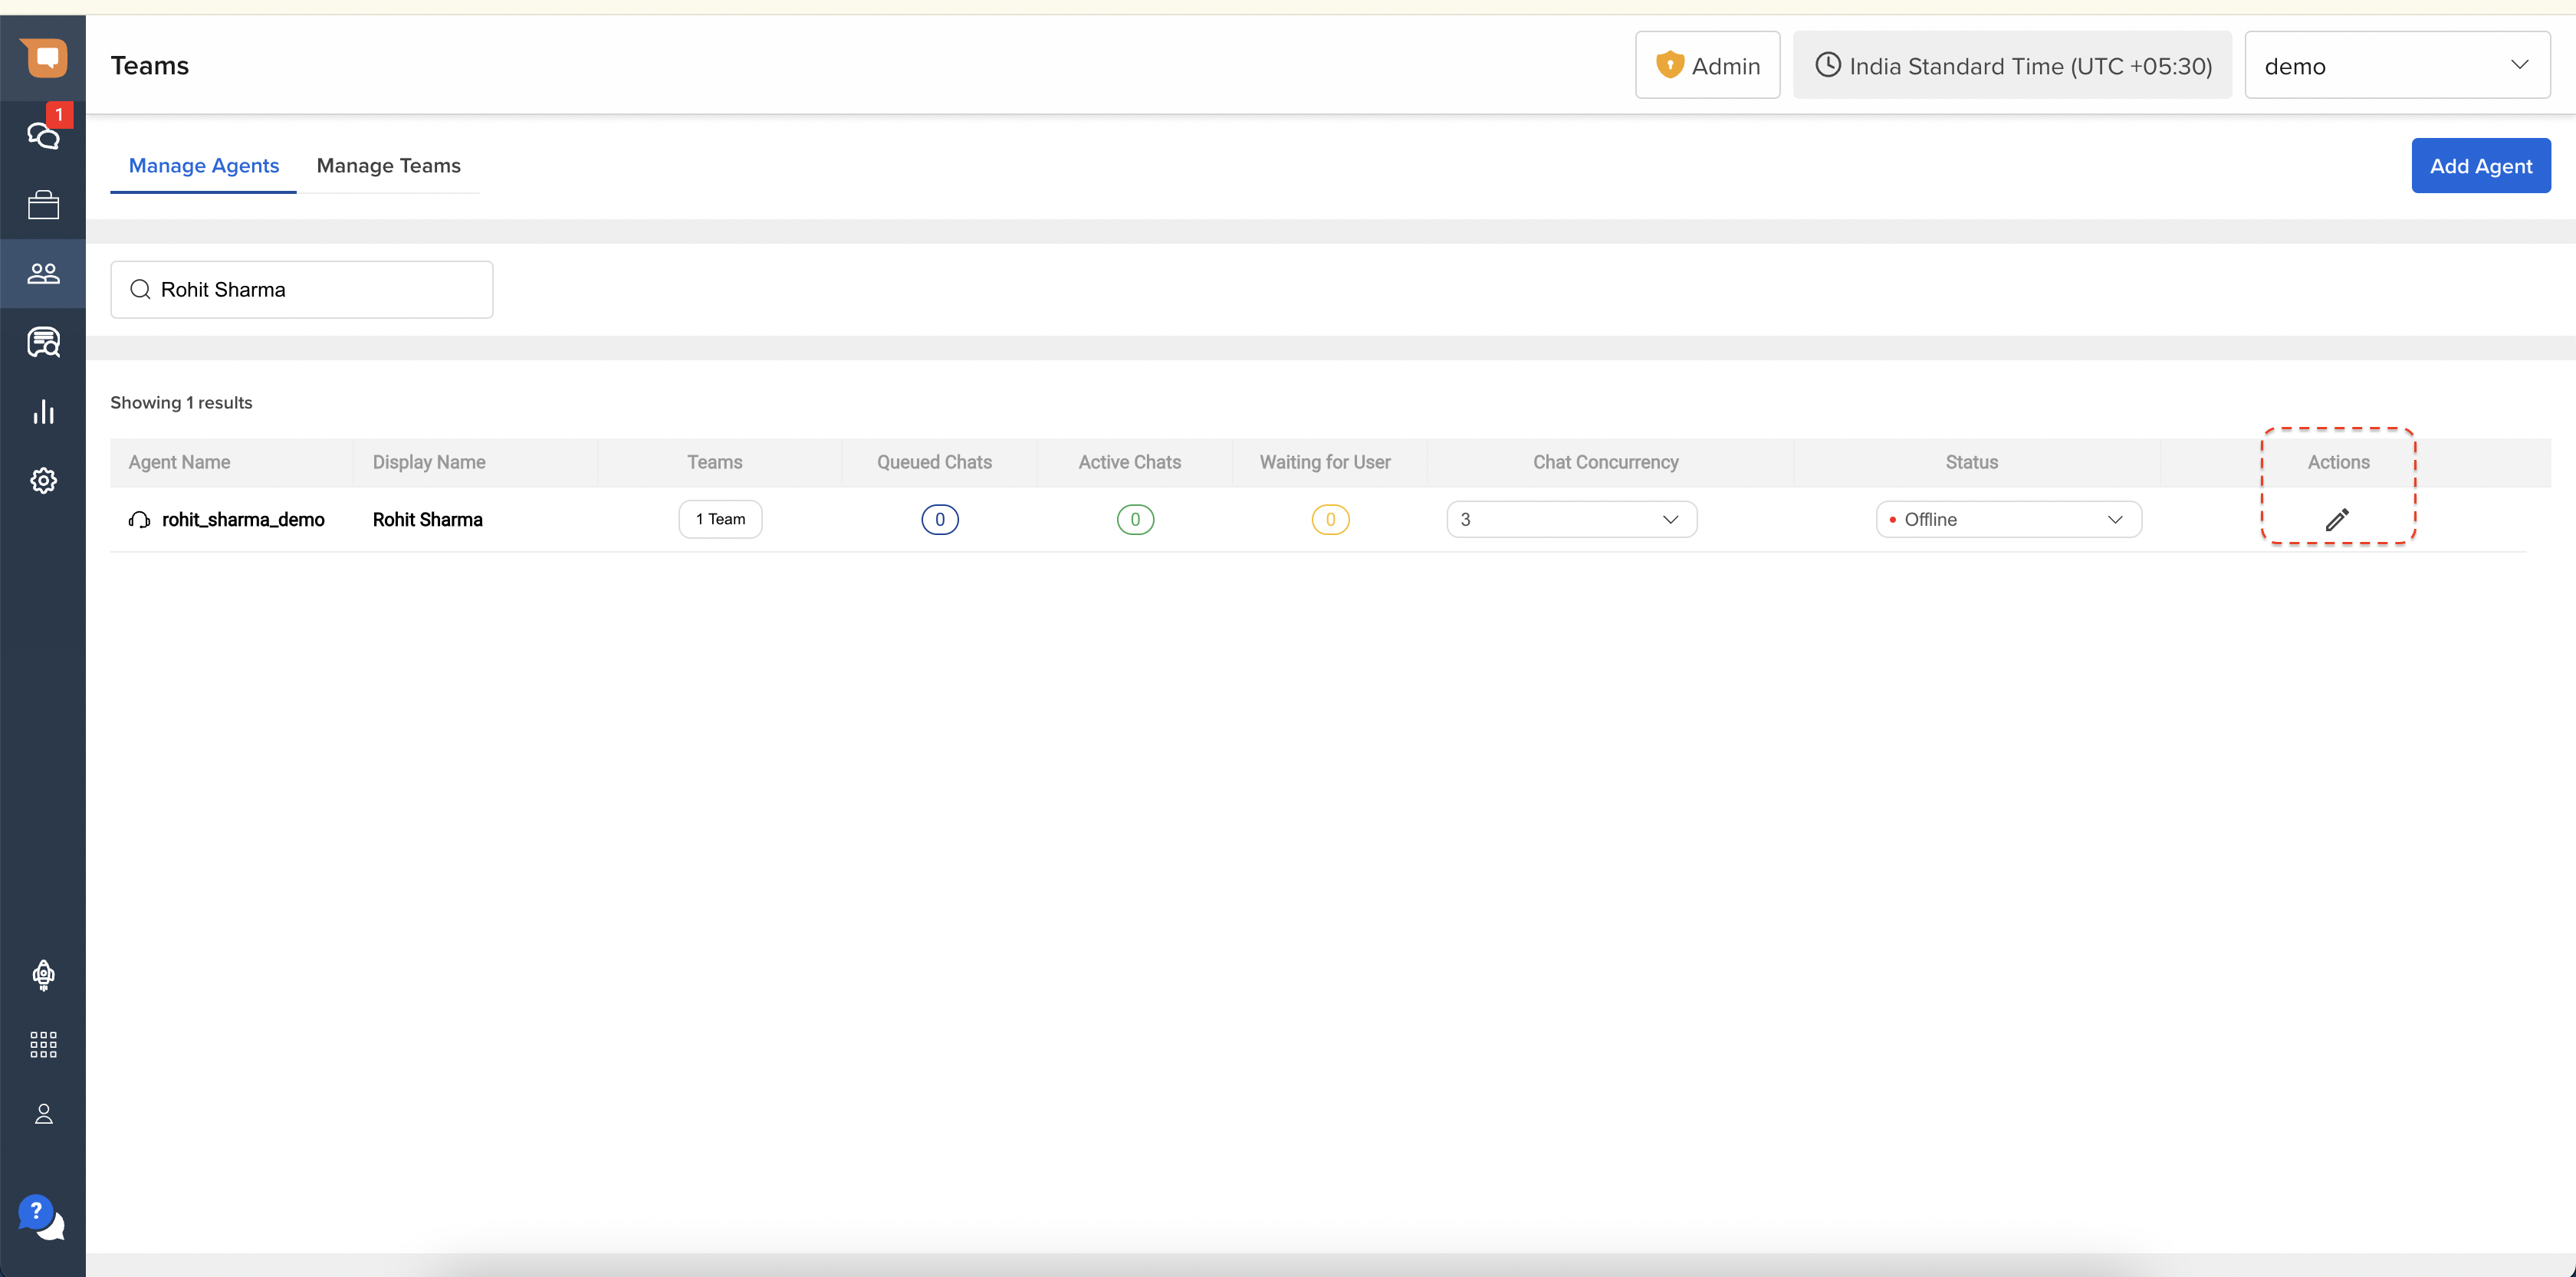
Search for Agents
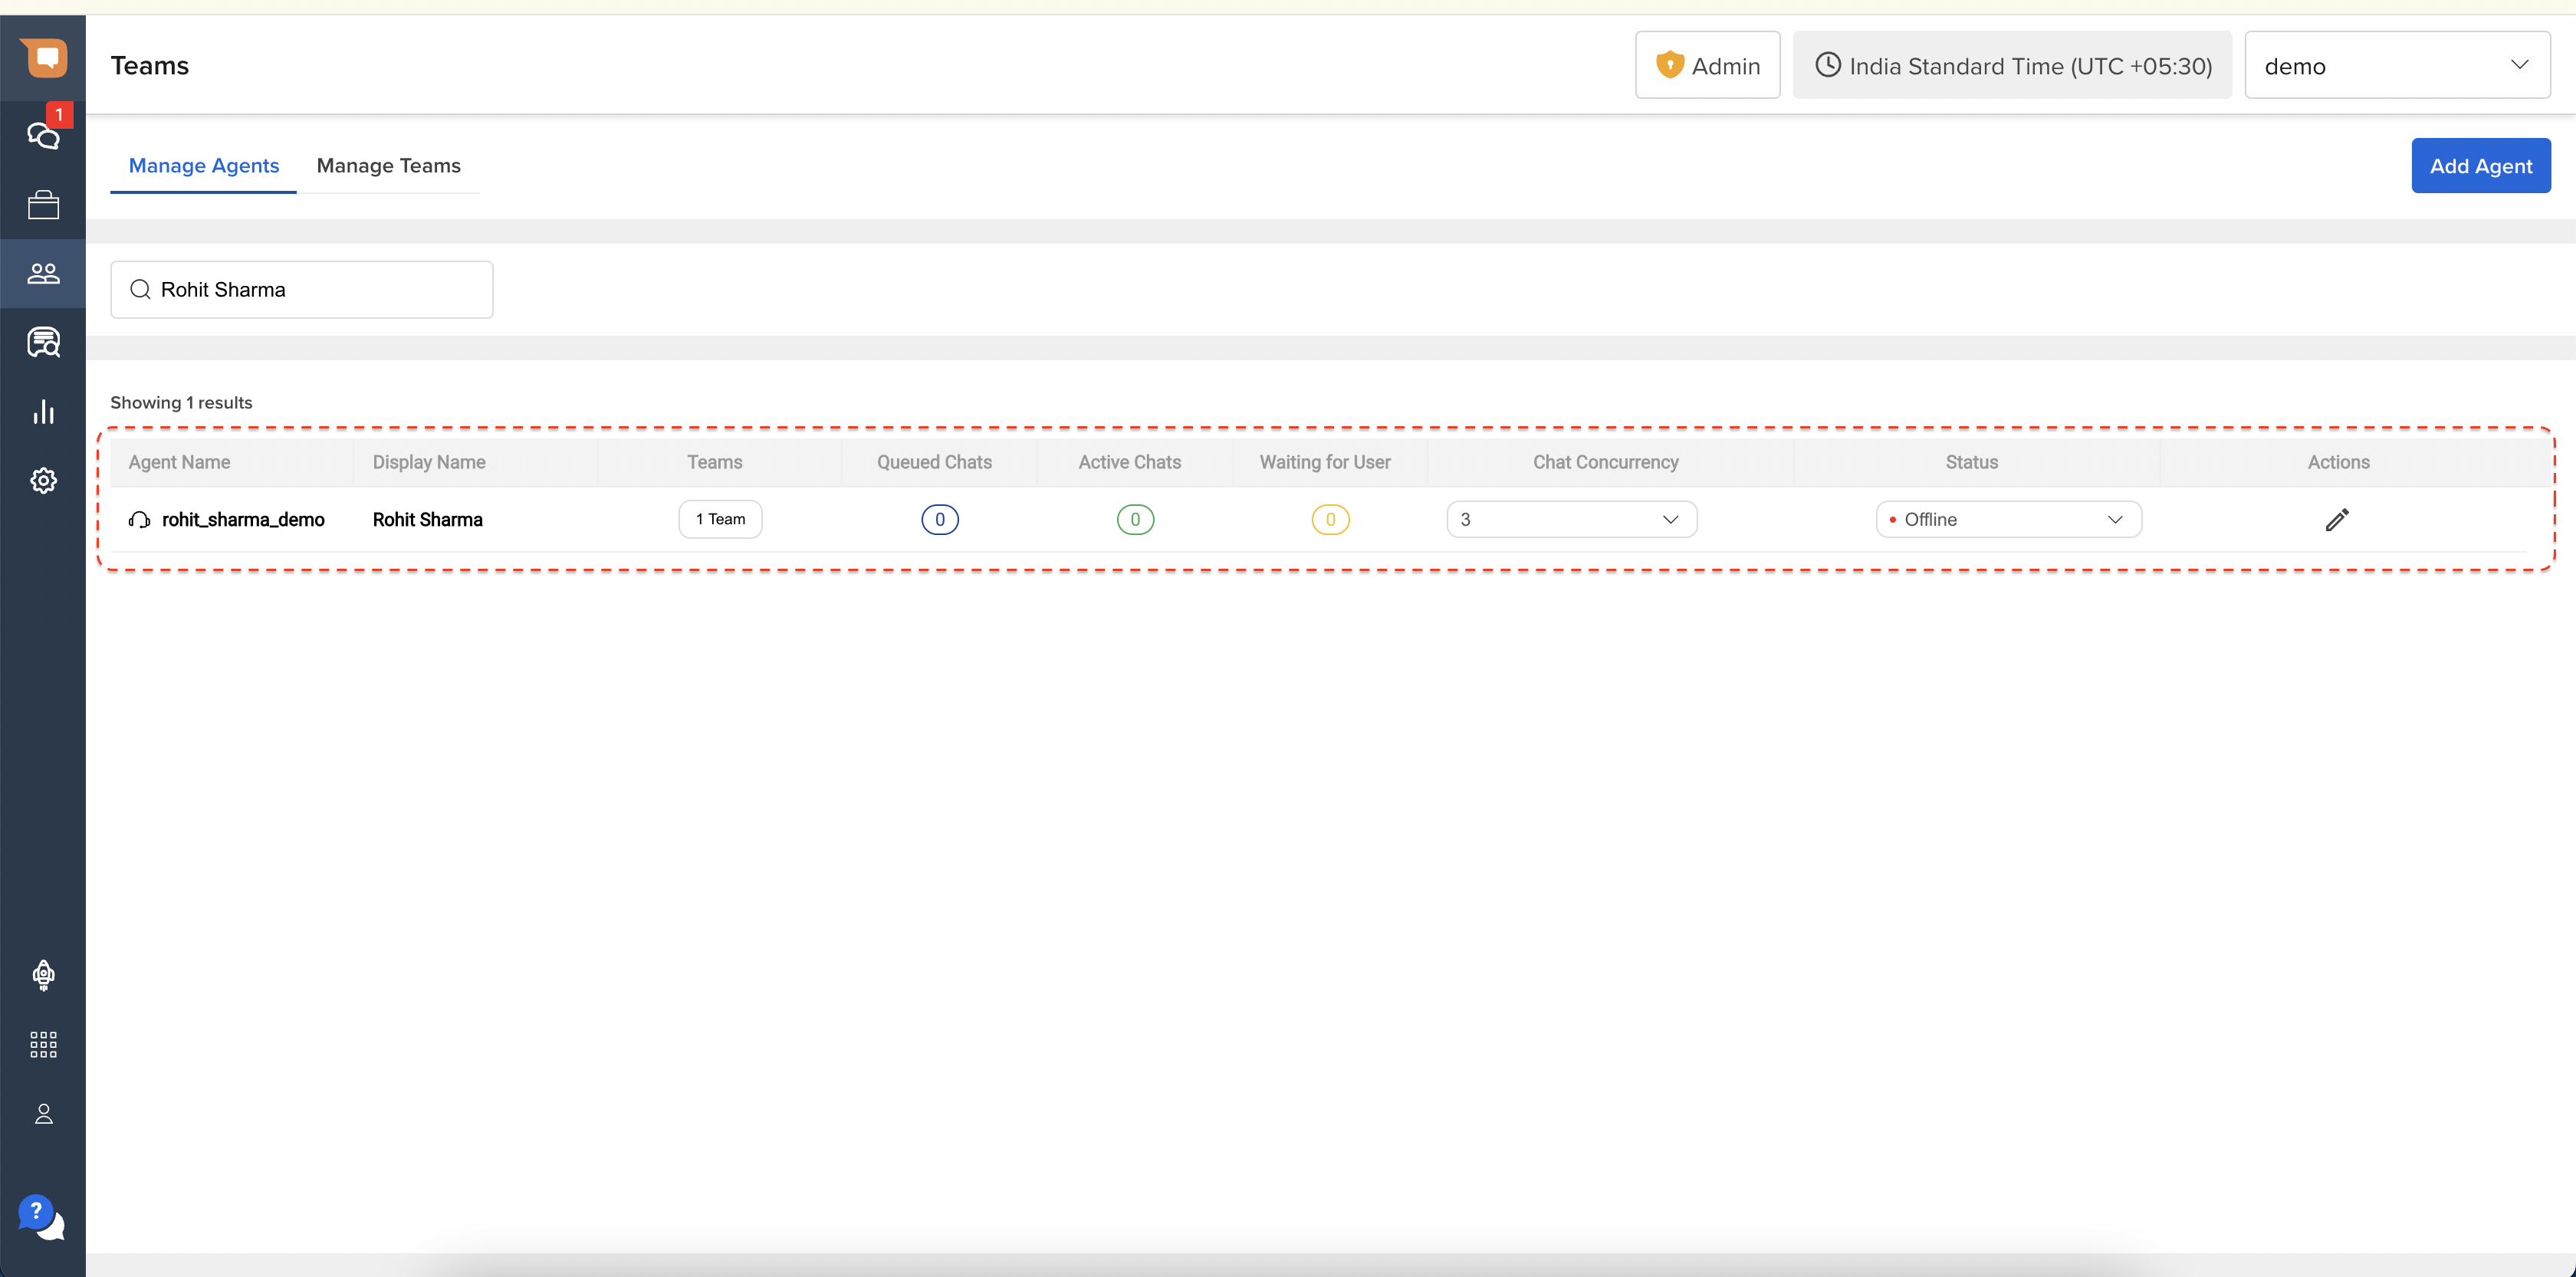
You can search for an Agent using the search bar, by typing either the Agent's display name, user name, or their registered email ID, as shown below.
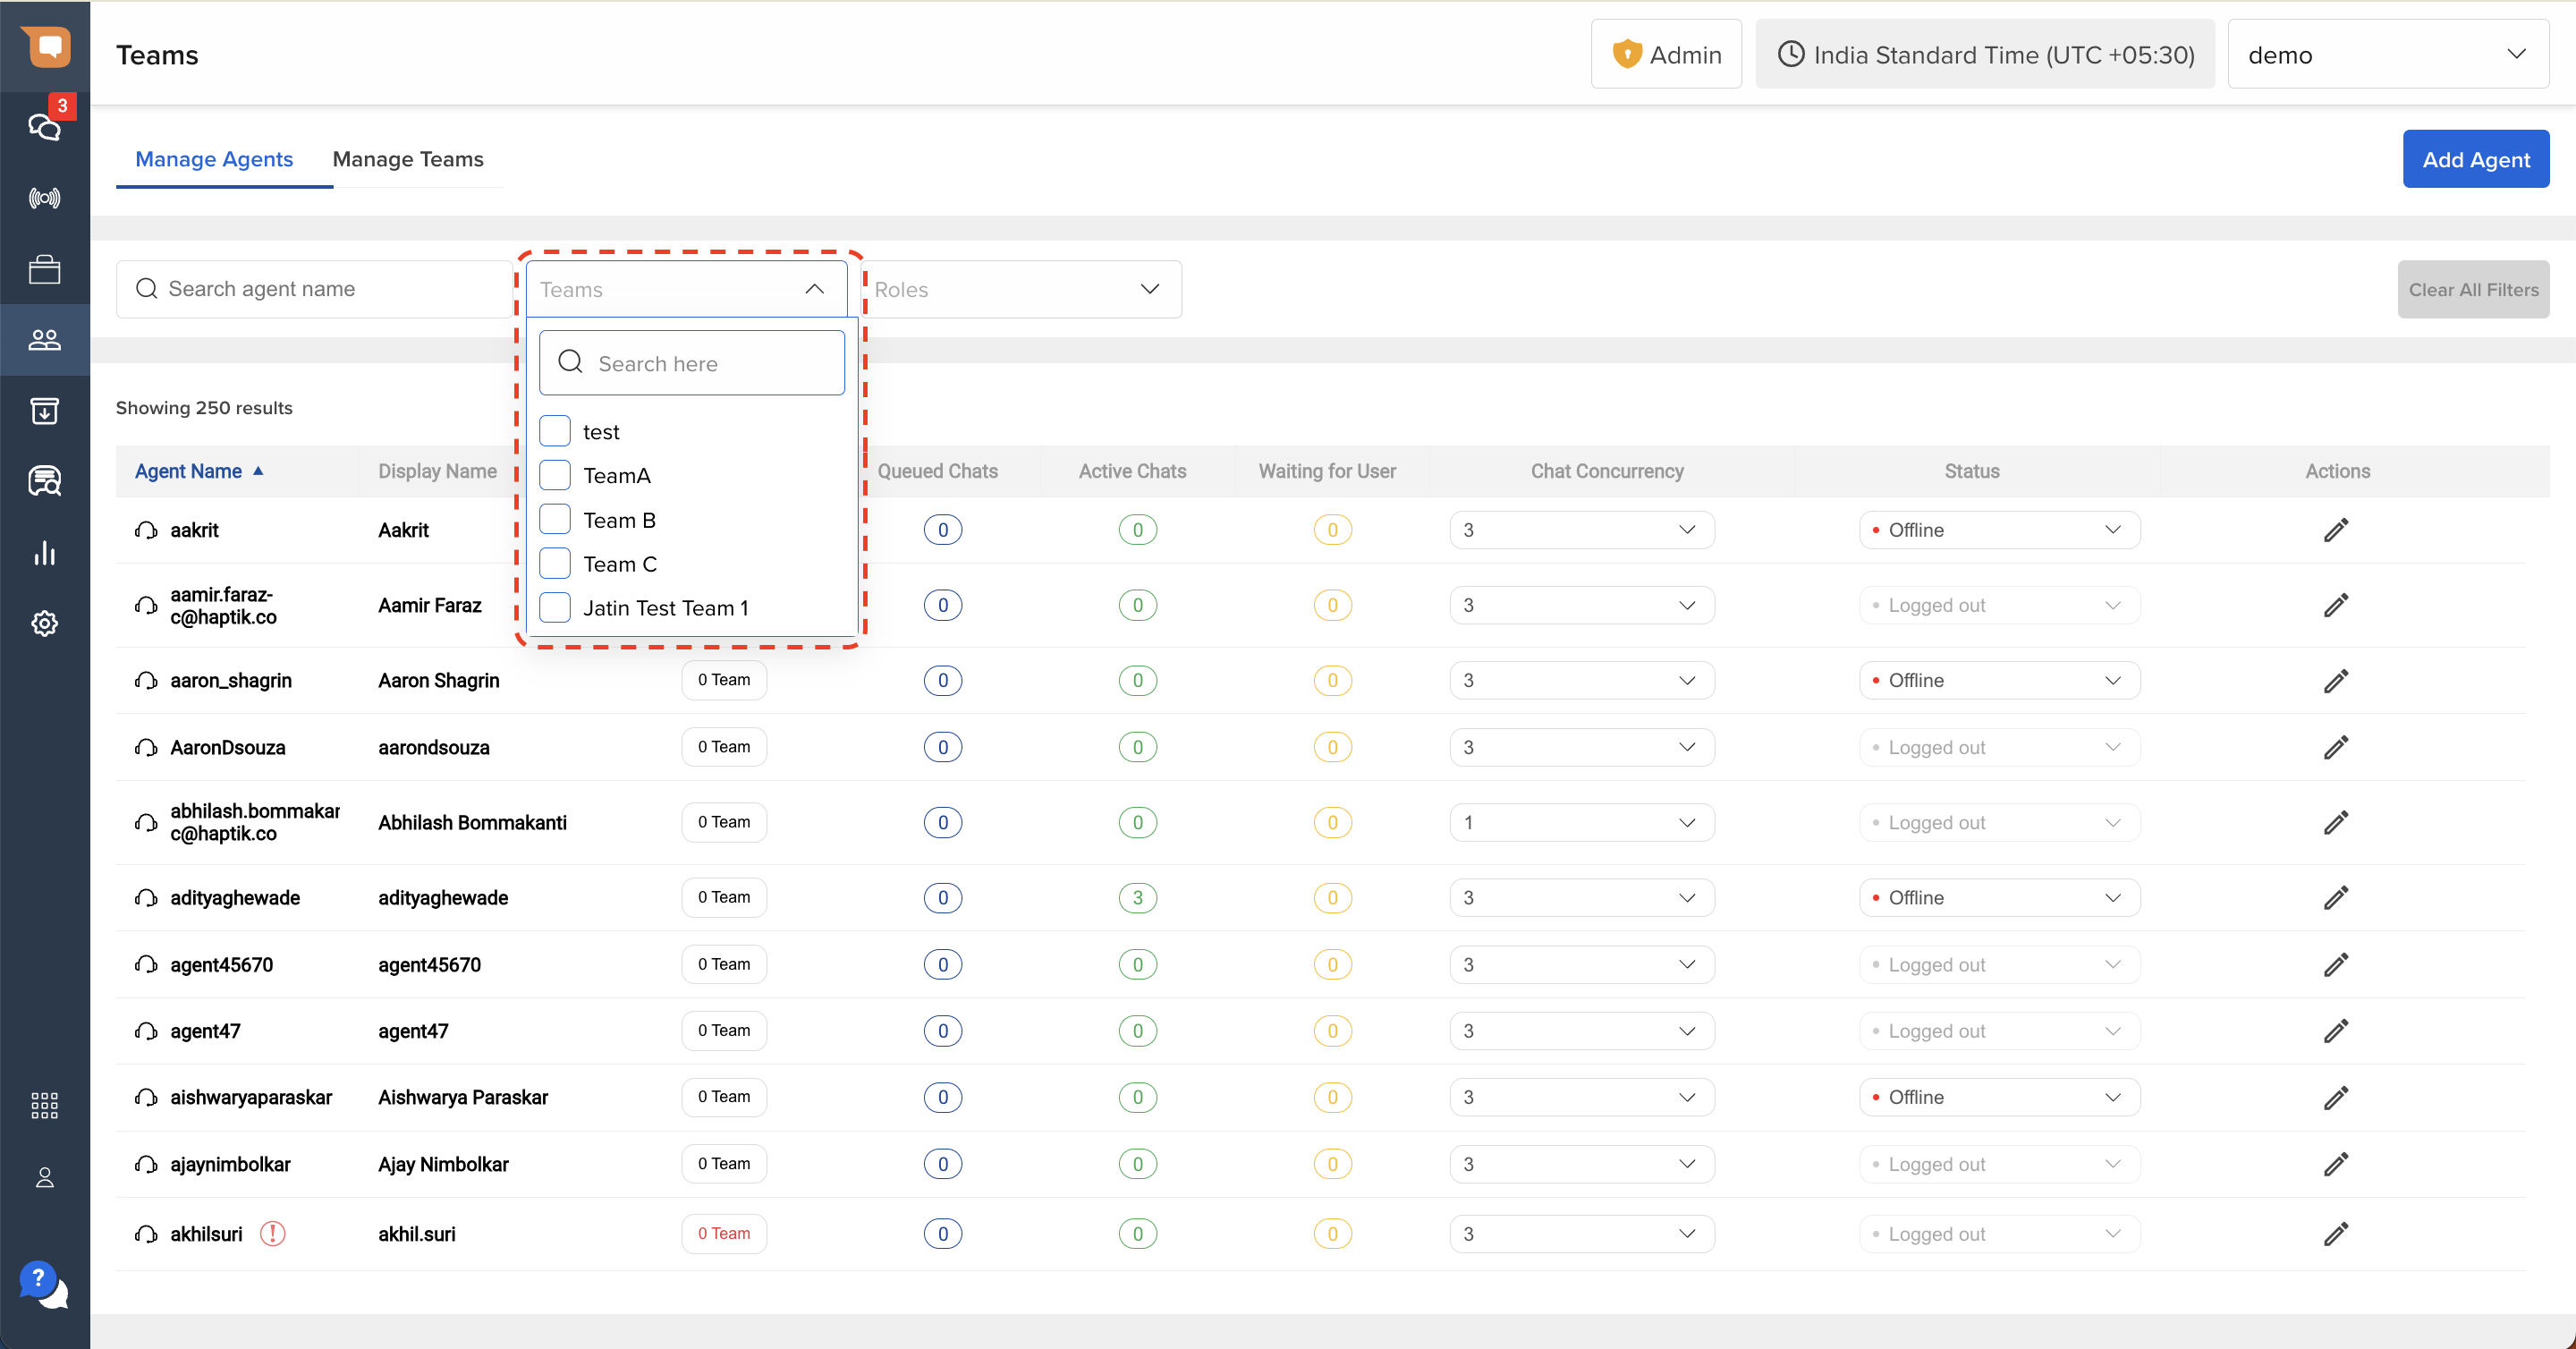
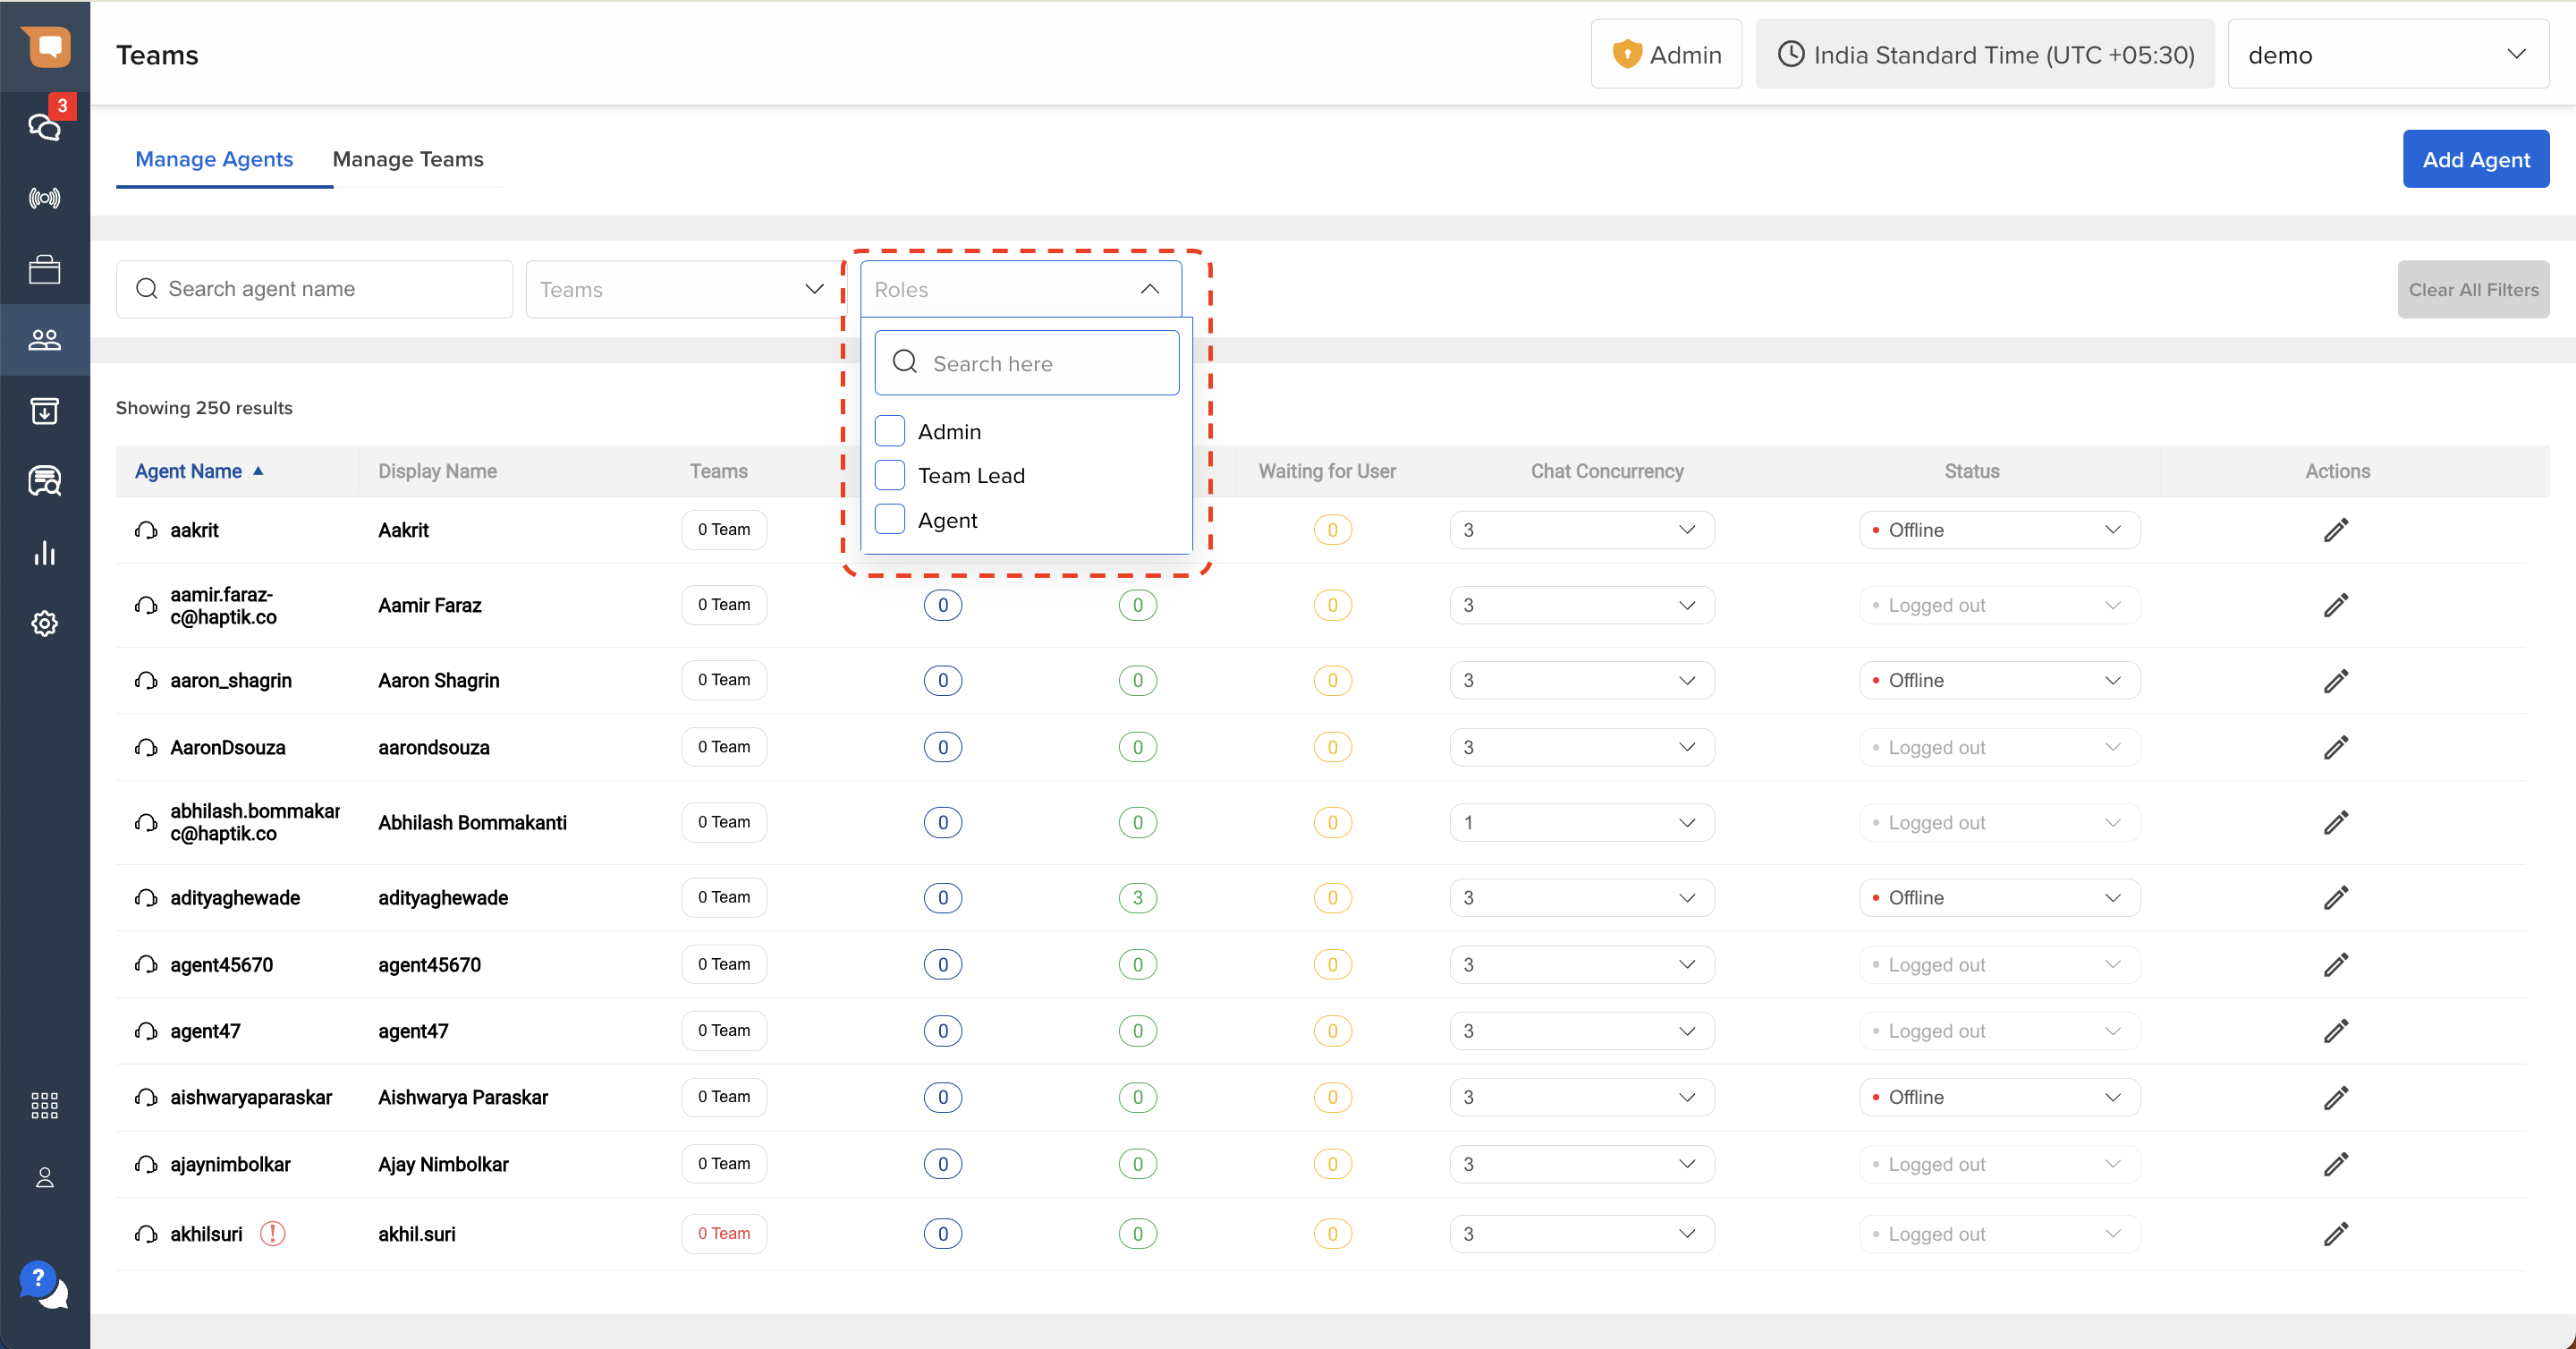
You can also use search filters to search for Agents belonging to a specific Team, or having a specific Role.
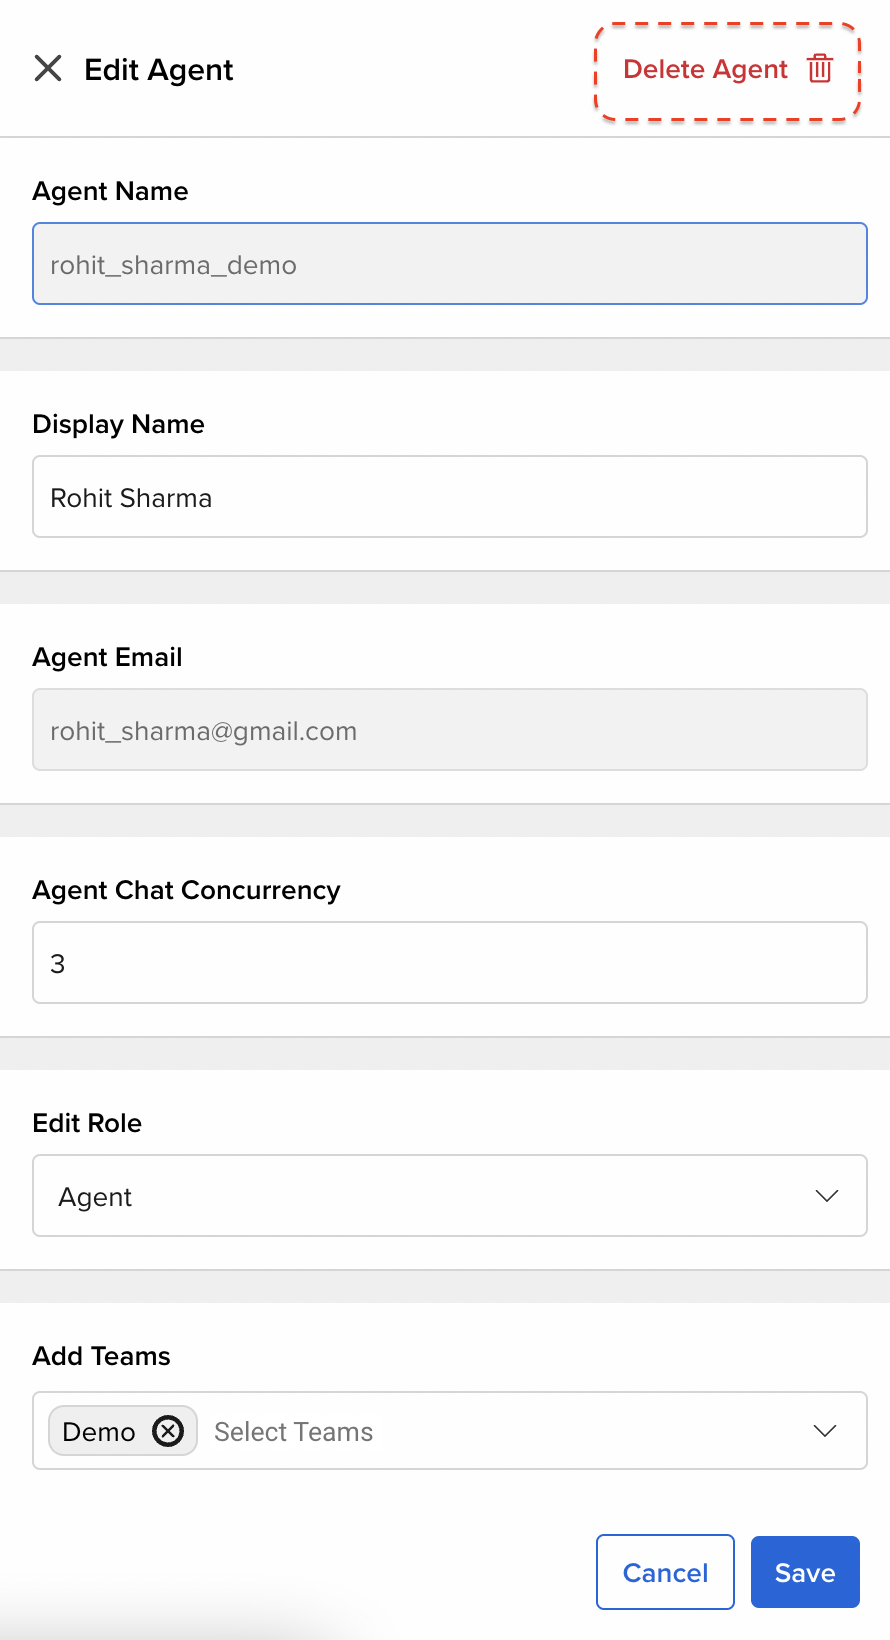
Edit Agent Settings
Once an Agent has been added, you can edit their settings by clicking on the “Edit” icon present at the right edge of the Agent row.
Upon clicking this, a modal will open up on the right edge of the screen containing all the details of the Agent.
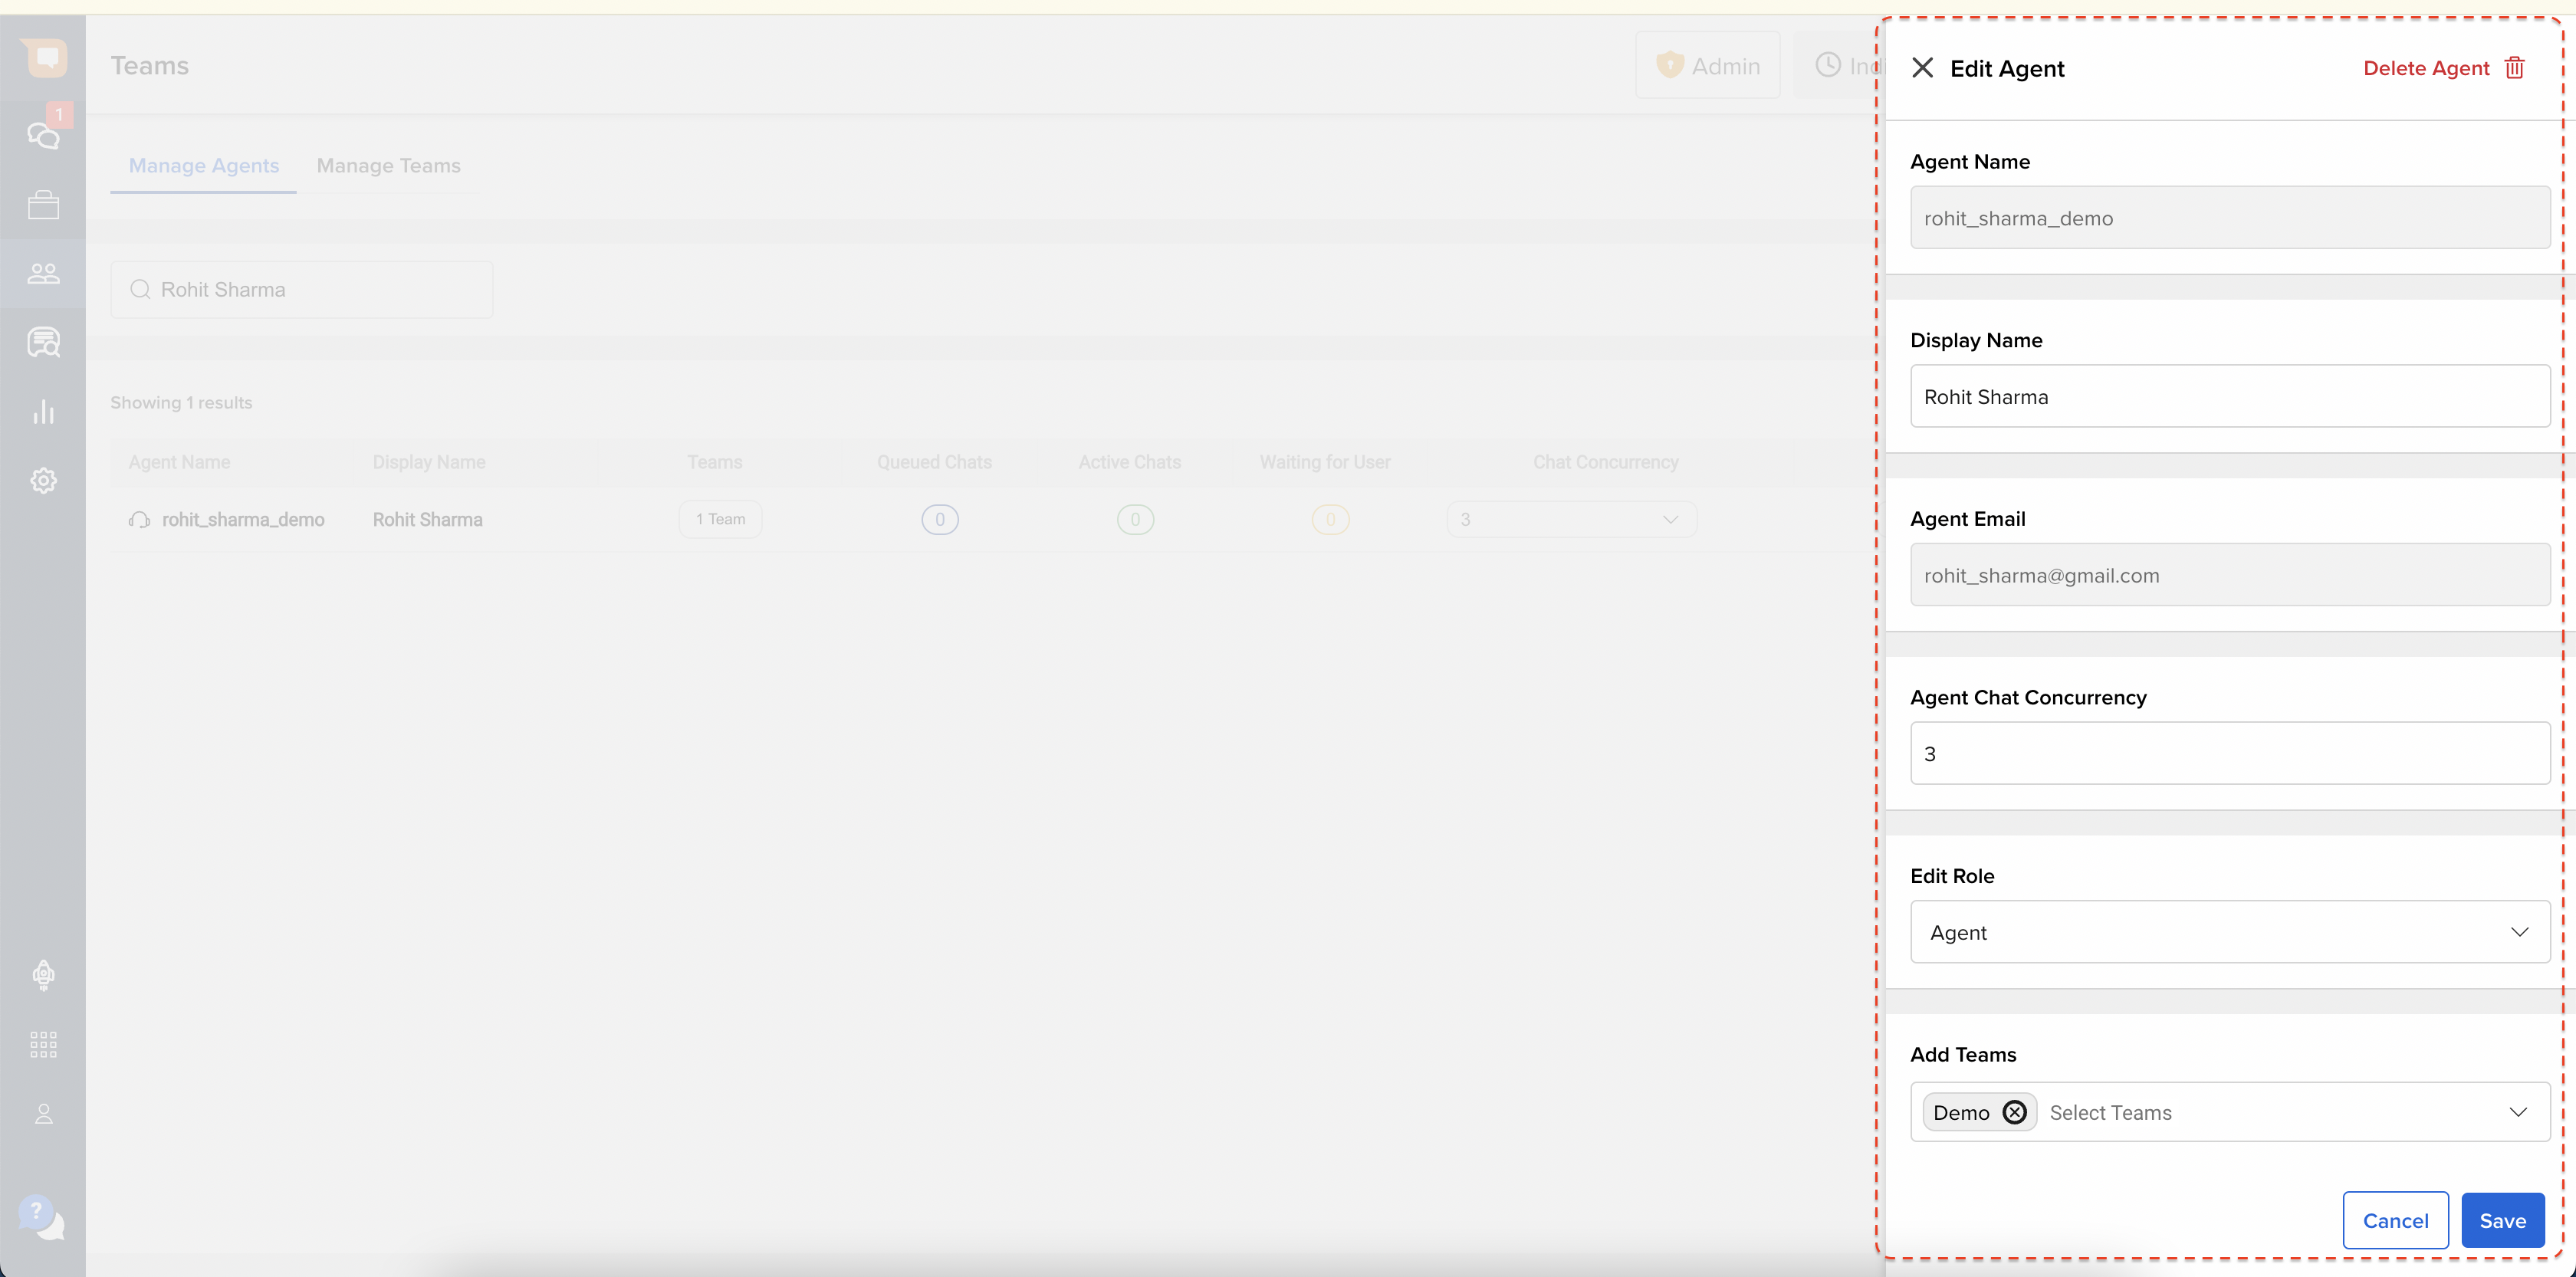
You can now use this Modal to modify the following details associated with that Agent:
- Display Name
- Agent Chat Concurrency
- Role
- Teams
- Status
Note: Once an Agent has been added to SAC, their “Name” and “Email” cannot be modified, as they serve as unique identifiers for that Agent on SAC.
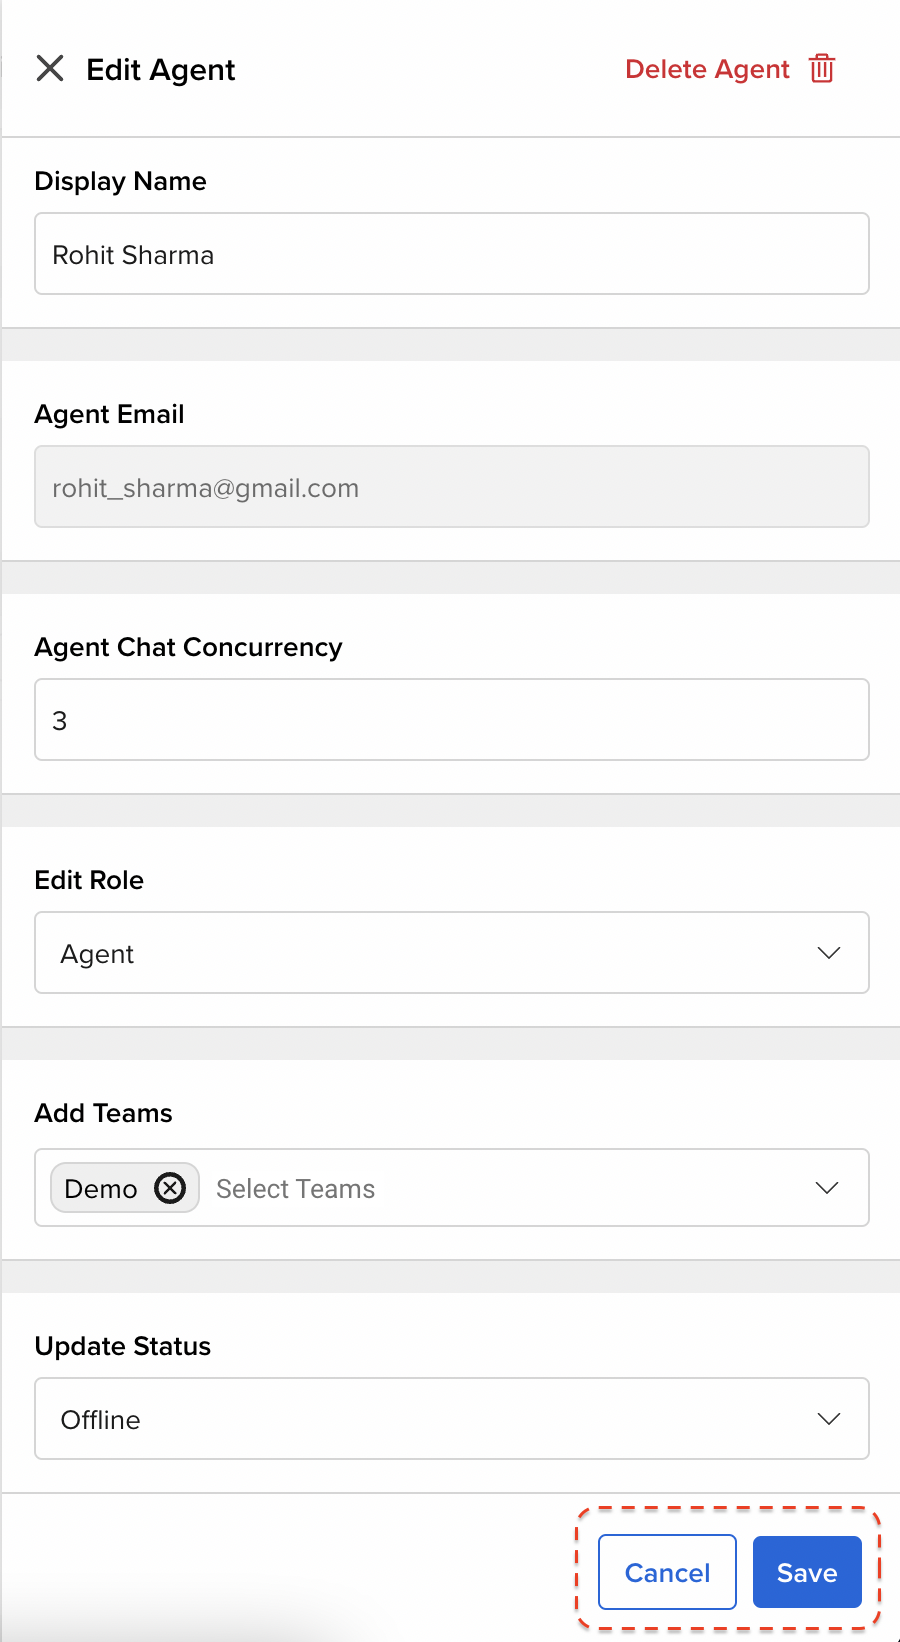
To save any changes made to the Agent's settings, click on the “Save” button on the bottom right. Or else, click on “Cancel” to revert any changes made.
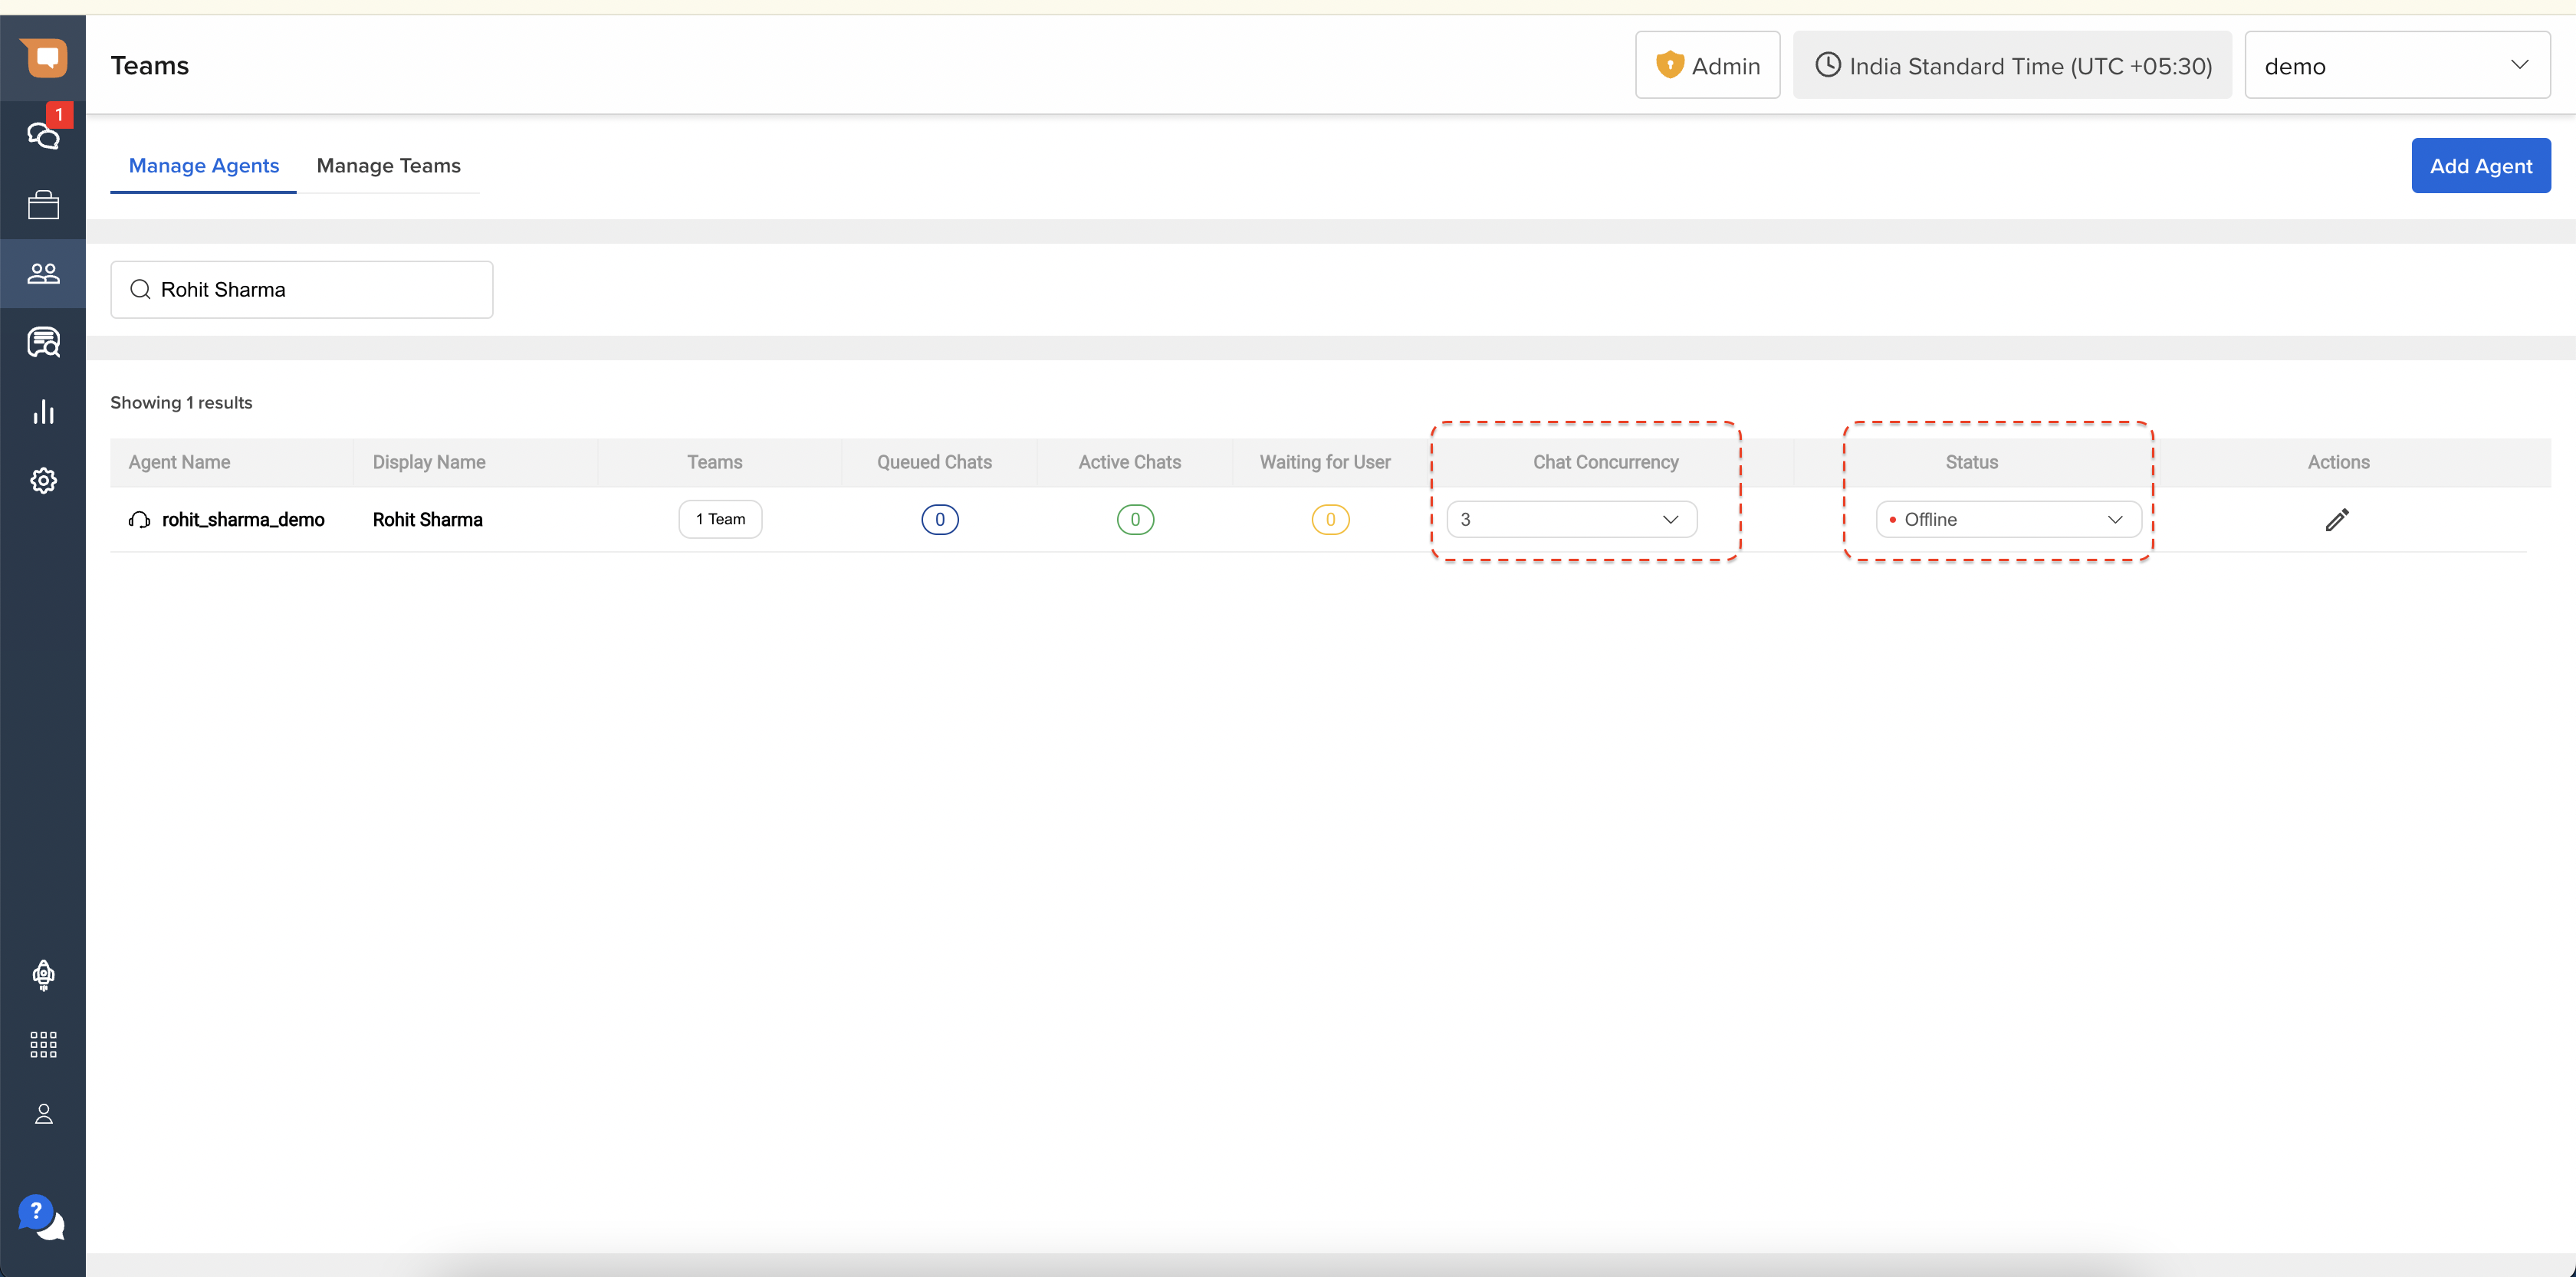
You can also directly modify the following settings for an Agent directly from the Manage Agents screen by using the action buttons present in the Agent row.
- Chat Concurrency
- Agent Status
Remove Agents
To delete the Agent from your Account, click on “Edit” icon on the Agent row, and then click on the “Delete Agent” button on the top right corner of the modal.
Note - Once an Agent is deleted, that Agent is removed from your Account entirely, and all configurations mapped to that Agent are also removed from the system.
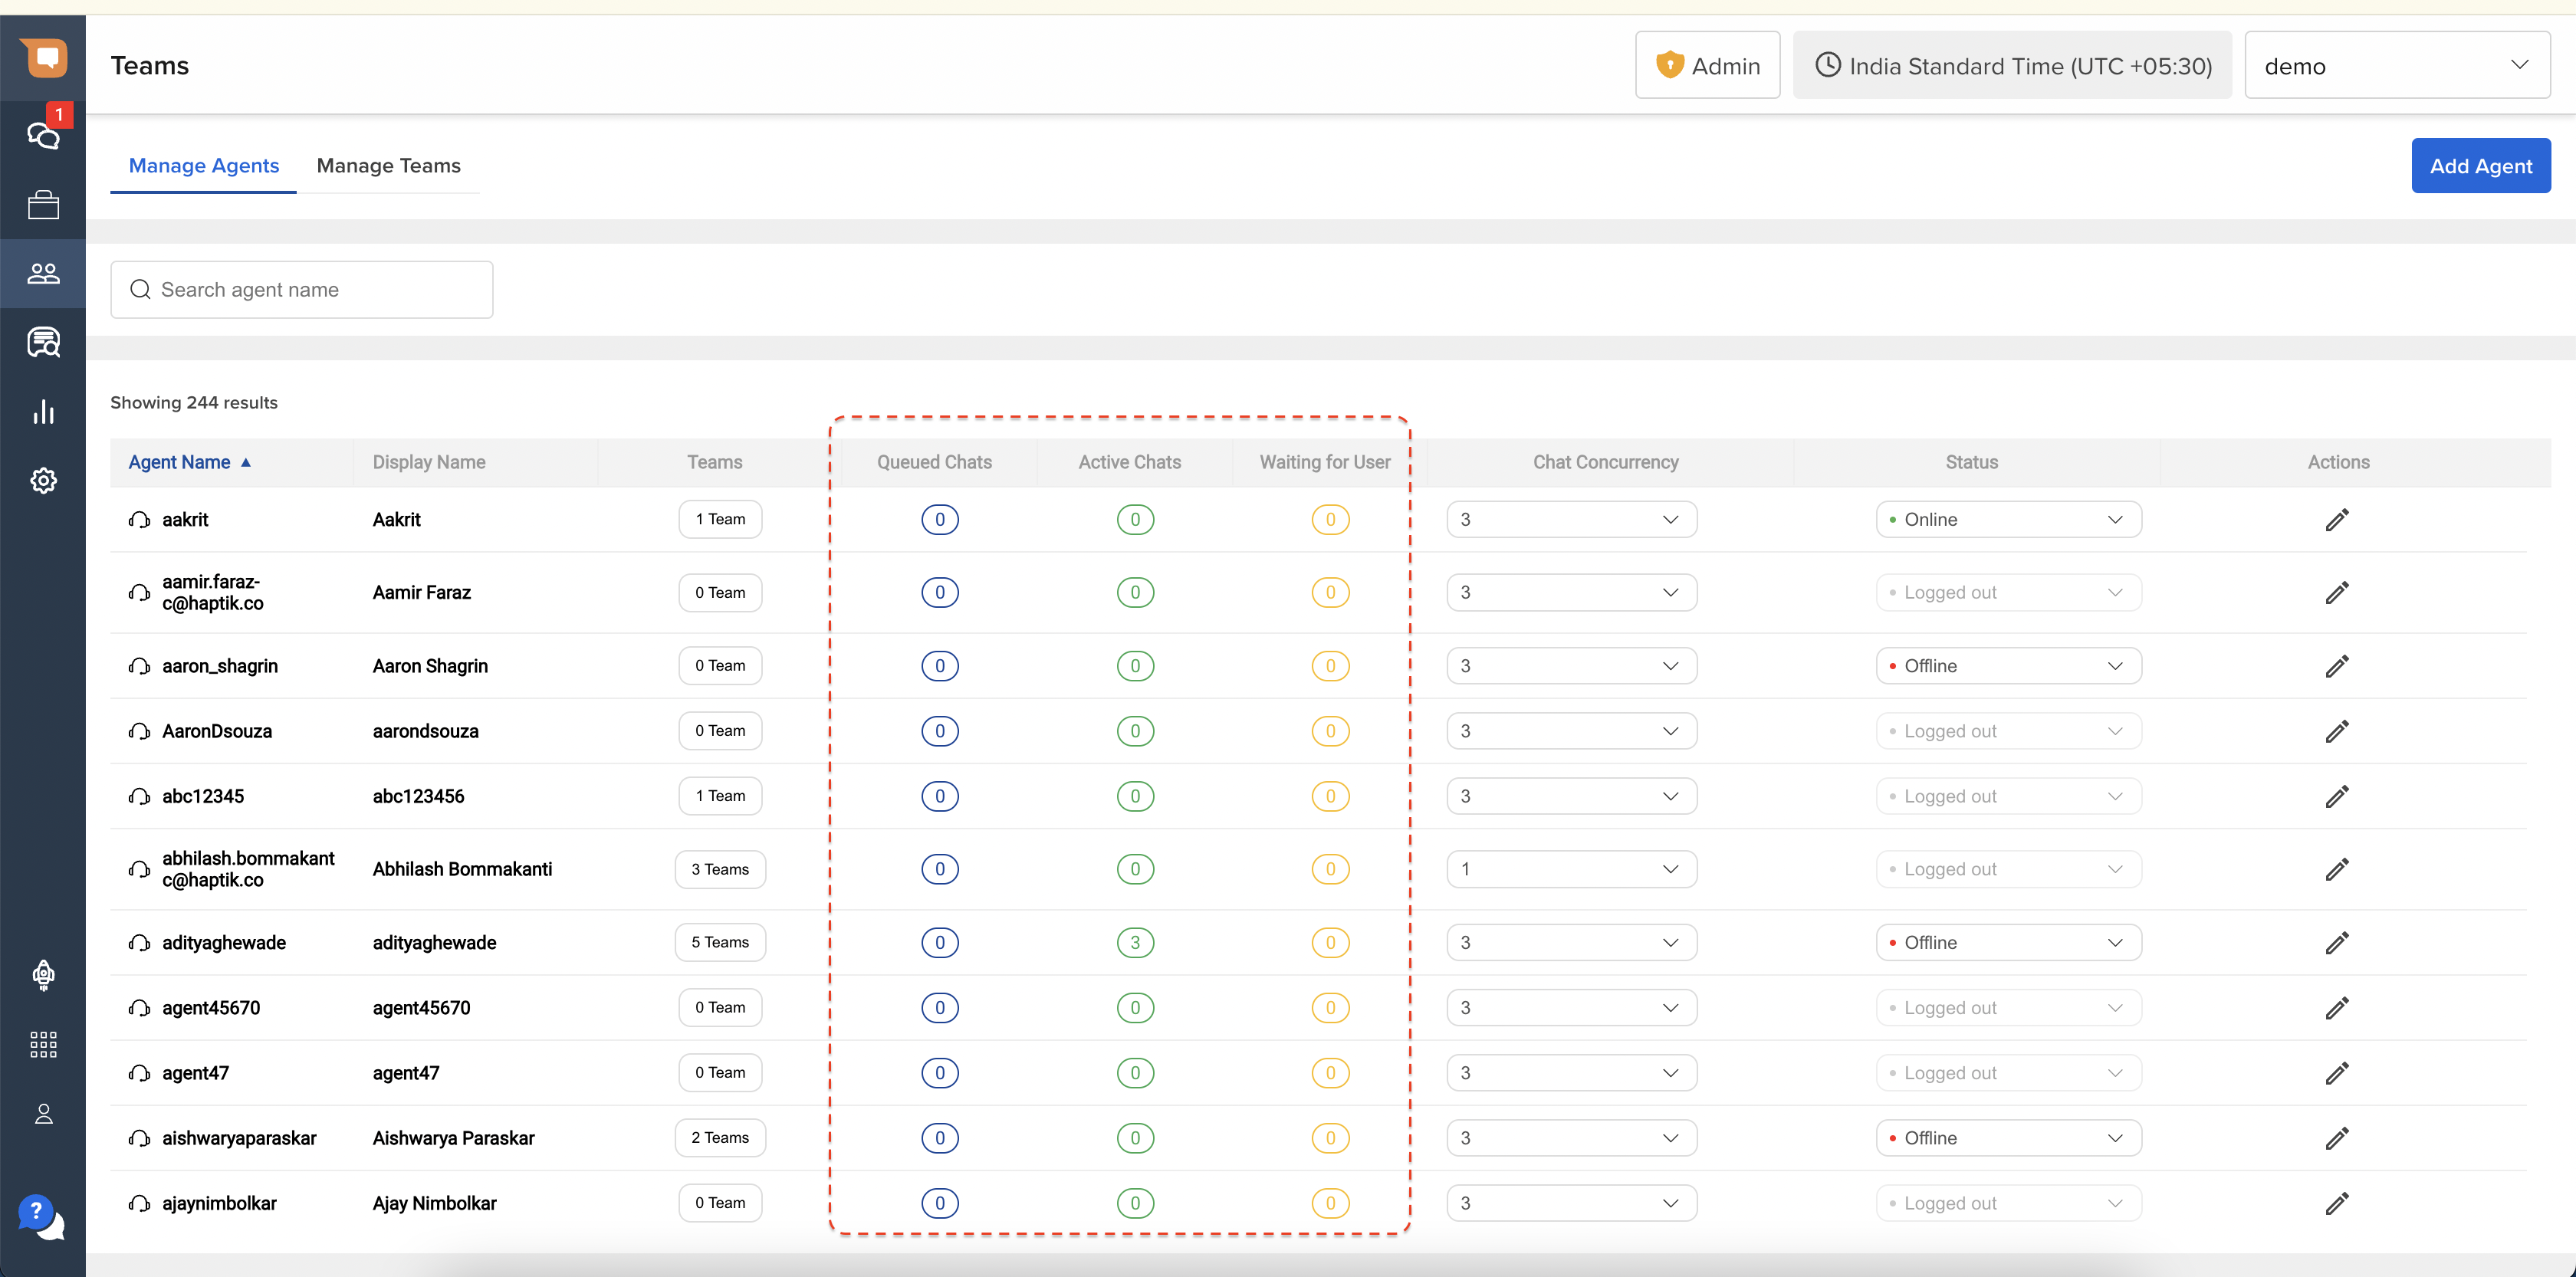
View Queue Stats
Once an Agent is assigned to a Team that is active, and is receiving chats, you will be able to see a real-time status of all the chats that are in an Agent's queue, in that Agent's corresponding row.
- Queued Chats - Indicates the number of chats waiting in the Agent Queue
- Active Chats - Indicates the number of chats that the agent is actively involved in. Active chats occupy the concurrency of an Agent. The maximum number of Active Chats for an Agent correlates with the Chat Concurrency assigned to that Agent.
- Waiting for User - Indicates the number of chats waiting in the Inactive Queue for that Agent. These chats remain in this queue till they are either auto-closed due to User inactivity timeout, or become active once again (in which event, they are assigned to the Agent Queue). These chats are reassigned to the Team Queue in the event the Agent is no longer available to accept new chats (indicated by the “Offline” status).