What is Zoho integration? How to set up Haptik and Zoho integration?

Written by Soham Amburle
Updated on August 26th, 2022
- Getting Started
- Bot Building
- Smart Agent Chat
- Conversation Design
-
Developer Guides
Code Step Integration Static Step Integration Shopify Integration SETU Integration Exotel Integration CIBIL integration Freshdesk KMS Integration PayU Integration Zendesk Guide Integration Twilio Integration Razorpay Integration LeadSquared Integration USU(Unymira) Integration Helo(VivaConnect) Integration Salesforce KMS Integration Stripe Integration PayPal Integration CleverTap Integration Fynd Integration HubSpot Integration Magento Integration WooCommerce Integration Microsoft Dynamics 365 Integration
- Deployment
- External Agent Tool Setup
- Analytics & Reporting
- Notifications
- Commerce Plus
- Troubleshooting Guides
- Release Notes
Table of Contents
Prerequisites for having a bot with Zoho SalesIQ integrationHow to set up Zoho SalesIQ + Haptik Integration?1. Adding details in the Configure Zoho SalesIQ section on Haptik2. Publishing the Zobot on Zoho SalesIQ3. Making the Bot Widget available on the Website4. Integrating Zoho SalesIQ with Zoho DeskZoho makes web-based business tools. These tools include CRM Platforms, Online Workspace for Teams, Marketing Platforms, Human Resource Solutions, Business Analytics, and so on.
Haptik has done Zoho integration mainly focussing on two items, Zoho SalesIQ and Zoho Desk. Zoho SalesIQ is a live agent platform where agents can handle users' queries. Zoho Desk is a ticketing system, wherein every chat that an agent handles on the SalesIQ dashboard is added as a ticket, along with the chat transcripts.
These two platforms work hand-in-hand to provide a seamless experience to businesses, and when you integrate this with Haptik, you can leverage Haptik's bot with agent chat and ticketing system to provide a unified automated support experience on a single interface.
Prerequisites for having a bot with Zoho SalesIQ integration
Following are the prerequisites:
- A bot on Haptik. You can read this article to build your own bot.
- A registered account on Zoho SalesIQ. You can check the pricing, here.
How to set up Zoho SalesIQ + Haptik Integration?
The steps for Setup are divided into different sections.
- Adding details in the Configure Zoho SalesIQ section on Haptik.
- Publishing the Zobot on Zoho SalesIQ.
- Making the bot widget available on the website.
- Integrating Zoho SalesIQ with Zoho Desk.
1. Adding details in the Configure Zoho SalesIQ section on Haptik
Step 1: Once you have your bot ready on Haptik, you will have to navigate to Agent Escalation > Zoho SalesIQ, and click on the Authorize button, as shown.
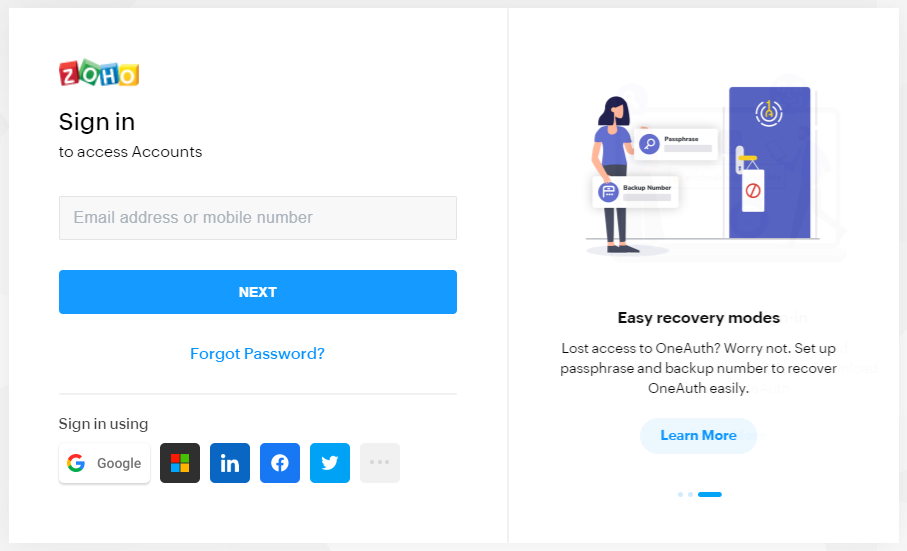
Step 2: After clicking on Authorize, you will be asked to Sign in to Zoho SalesIQ by using your credentials, as shown.
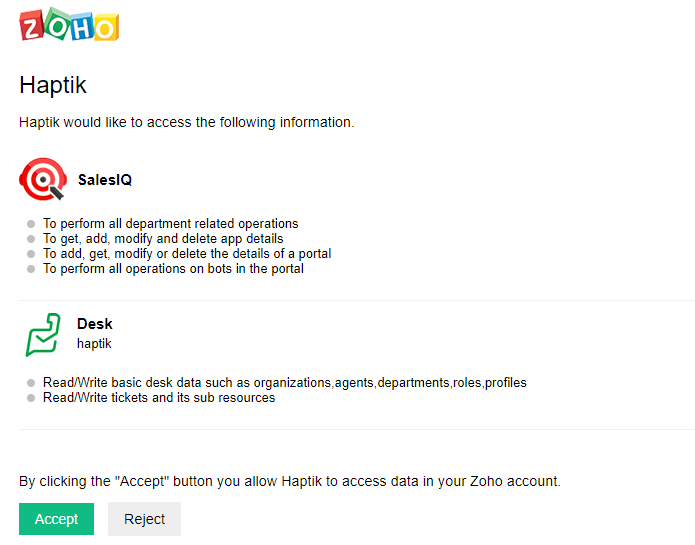
Step 3: Once you have signed in, you will land on the following page, where it will ask you for your consent. You can go through that page to understand it thoroughly and click on the Accept button, as shown.
Step 4: Once you have clicked on the Accept button, you will land on the Configure Zoho SalesIQ page on Haptik's Agent Escalation section, and here you have to select the portal. You will see Haptik as a portal here, which is pre-configured on Zoho. You will have to select Haptik and press Next, as shown.

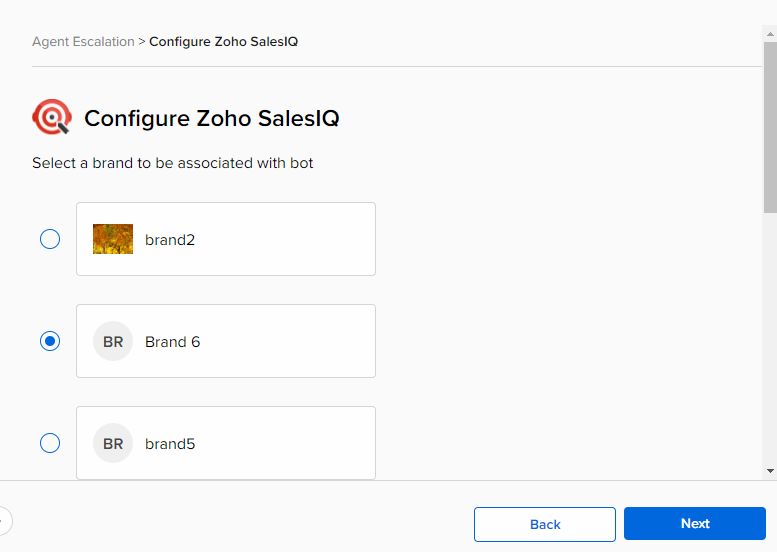
Step 5: After you have selected Next in the previous step, you will land on the following page, where you have to select a brand(formerly known as App). There can be multiple brands listed here, but you can only select one brand. Once you have selected a brand, click on the Next button, as shown.
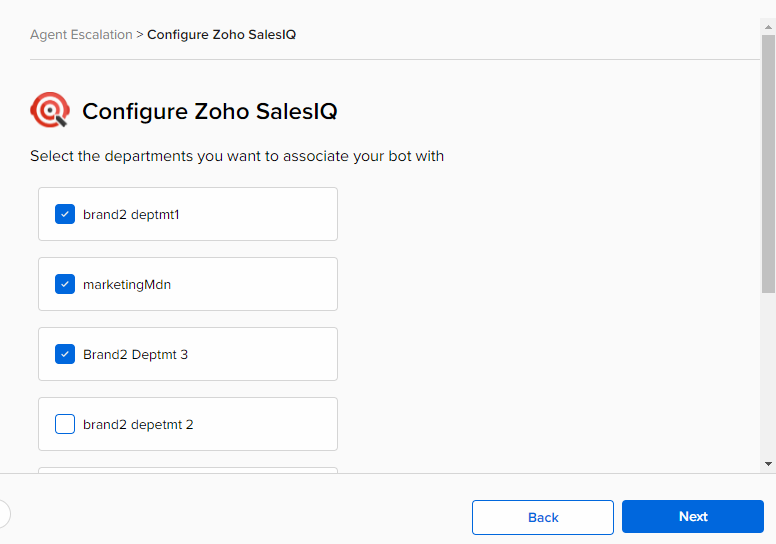
Step 6: Next, you will have to select the Department. A brand can have multiple departments. After selecting the required department/departments, click on the Next button, as shown.
Step 7: Now that you have selected the departments, you will land on the following page where you have to populate certain fields that are shown in the image below.
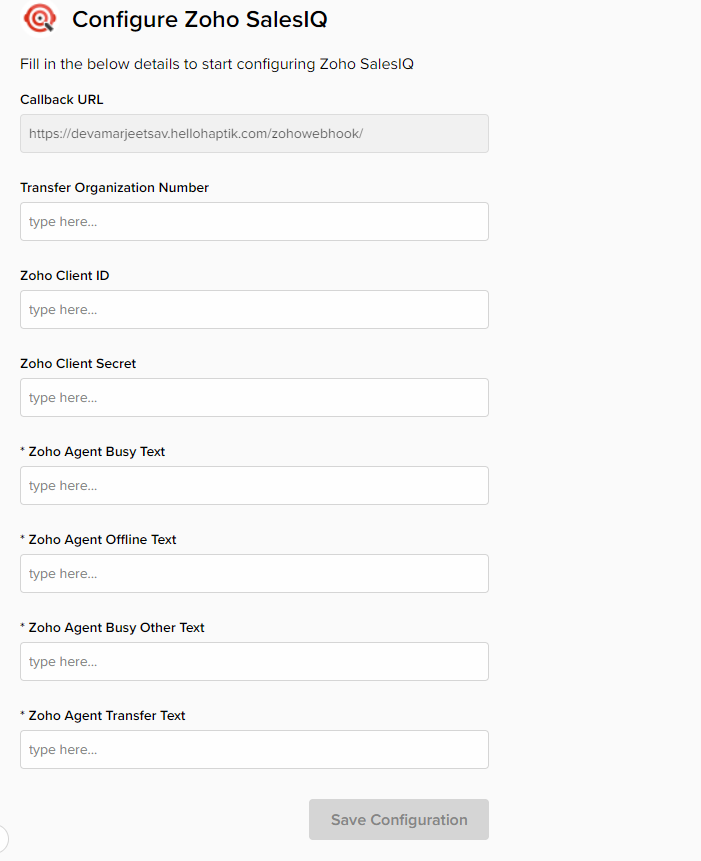
There are certain fields that are mandatory here, which will be required if this is an Agent Handover integration. In these fields, you can add any string, and this string will be sent to the user as a message, in their respective cases -
- Zoho Agent Busy Text: The message added here will be sent to the user when the agent is busy and is unable to accept the user's chat.
- Zoho Agent Offline Text: The message added here will be sent to the user when the agent is offline.
- Zoho Agent Busy Other Text: The message added here will be sent to the user when an error comes up in the backend. In this case, this text added here will be sent.
- Zoho Agent Transfer Text: The message added here will be sent to the user when the user's chat is transferred from the bot to an agent.
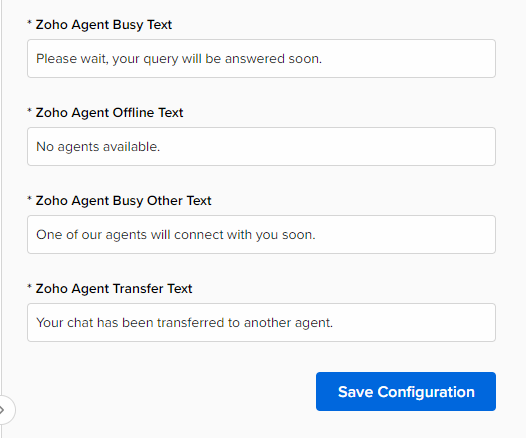
Once you have populated the above fields in the Configure Zoho SalesIQ, you can click on the Save Configuration button, as shown.
Step 8: After clicking on Save Configuration, a Zobot will be created on Zoho SalesIQ. You can simply click on Zoho SalesIQ link on the configuration page to navigate to your Zobot.
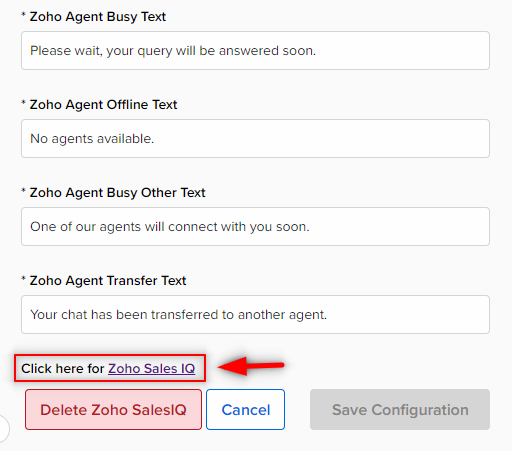
Step 9: After clicking on the Zoho SalesIQ link, you will be taken to your newly created Zobot on Zoho SalesIQ, as shown.
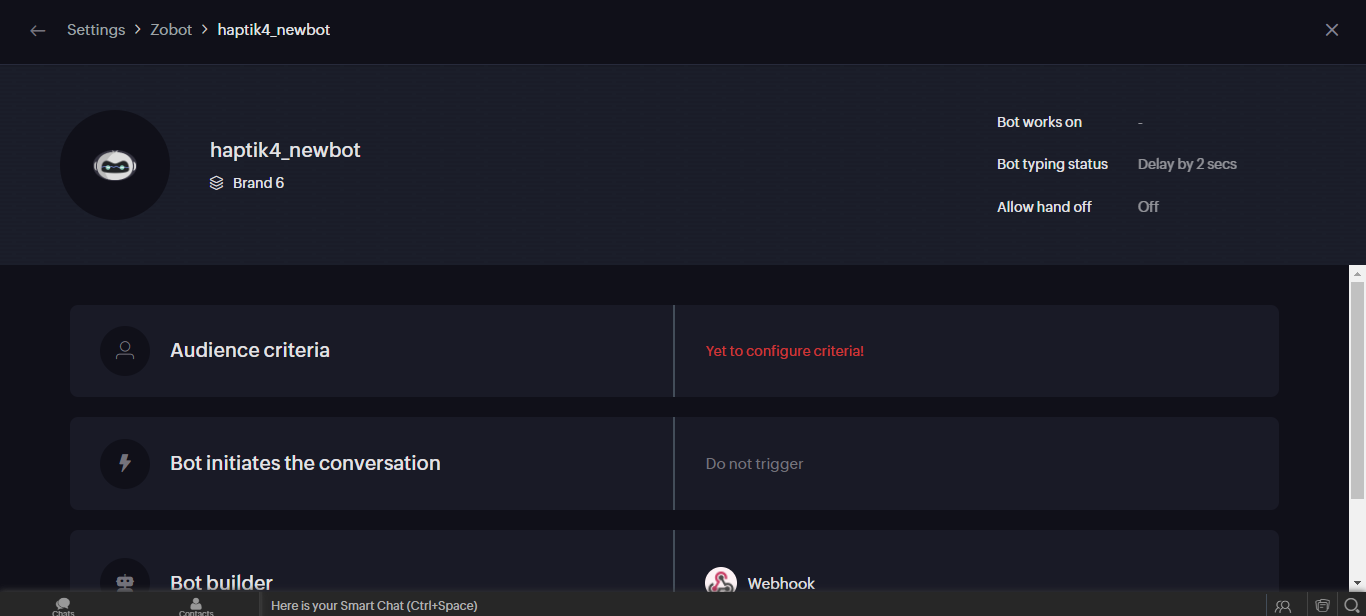
The Zobot that is created is in the draft state currently. Let us understand how to publish it, in the next section.
2. Publishing the Zobot on Zoho SalesIQ
As shown, the Zobot that is created in the previous section is in the draft state, and now you need to publish it. Let us understand that in the further steps.

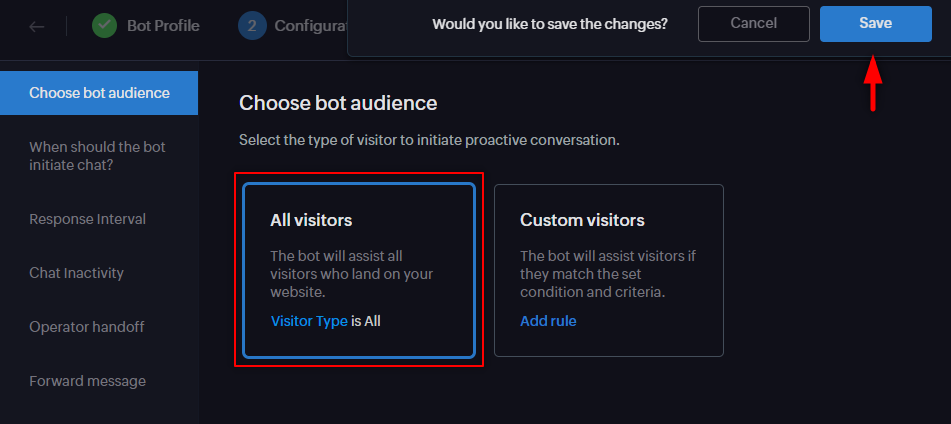
Step 1: Open your Zobot, select Audience criteria, and under Choose bot audience, select All visitors and Save it, as shown.
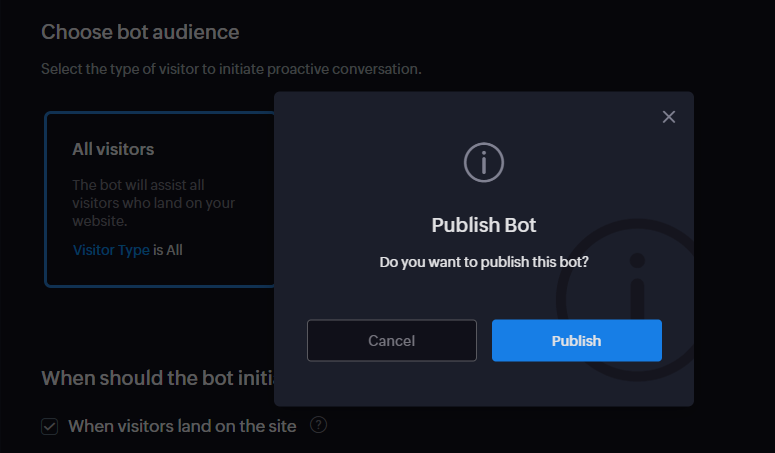
Step 2: After saving, you will receive a pop-up asking whether you want to publish the bot. Select Publish, as shown.
Once you have published your bot, your configuration is complete. Now, you need to follow certain steps in order to make your bot widget available on your website. Let us check that in the following section.
3. Making the bot widget available on the website
Since your configuration is complete, you need to make sure your bot widget is available on your website, for your users to communicate with your bot. In order to do that, you will have to follow certain steps mentioned below.
Step 1: Open your Zoho SalesIQ account, from here, and navigate to Settings > PERSONALIZE > Brands(Websites) > (Select Brand name) > Installation > Website, as shown.
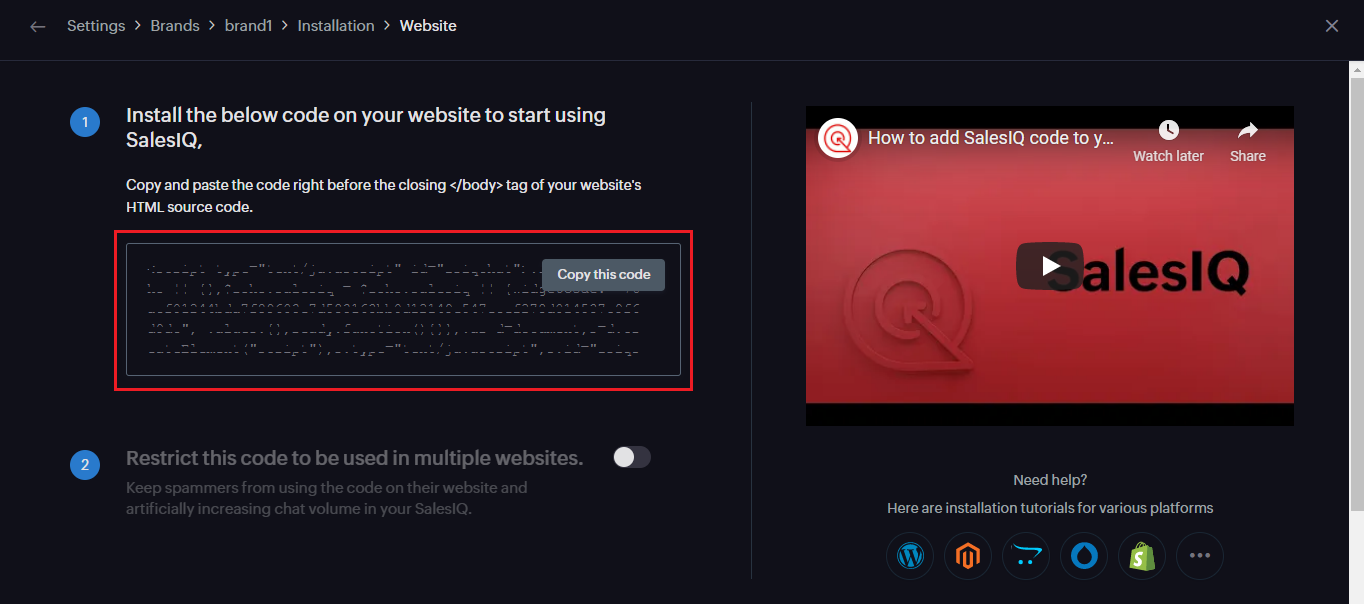
Step 2: Next, you need to copy the code that is highlighted in the above image, and paste it right before the closing </body> tag of your website's HTML source code, and save it. Now, you are done and when you navigate to your website, you will see the bot widget in it, as shown.

You can now test your bot. If you want to enable the Ticketing solution, you can check the next section which is Integrating Zoho SalesIQ with Zoho Desk.
4. Integrating Zoho SalesIQ with Zoho Desk
You can step up your customer support by adding the power of live chat with a ticketing system to get full-fledged help desk software. This would create the ultimate, unified customer Help Desk suite. Together Zoho Desk and Zoho SalesIQ deliver a complete view of all your support interactions logged in one, organized database.
Step 1: In order to integrate Zoho SalesIQ with Zoho Desk, navigate to your bot on Haptik, and select Zoho SalesIQ under Agent Escalation, and you will land on the Configure Zoho SalesIQ page, as shown.

Step 2: Here, in the Configure Zoho SalesIQ section, you will have to populate these three fields, in order to enable Ticketing -
-
Transfer Organization Number(OPTIONAL): For Transfer Organization Number, navigate to Zoho SalesIQ dashboard > Settings > Department, wherein you will have to select the Department, after which the Department details page will open. Here, you will get the Transfer Organization Number, from the URL. It is an 18-digit number, that you will find at the end of the URL as shown.

- Zoho Client ID: Zoho Client ID will be provided by the Zoho Team.
- Zoho Client Secret: Zoho Client ID will be provided by the Zoho Team.
Once you have populated these, click on Save.
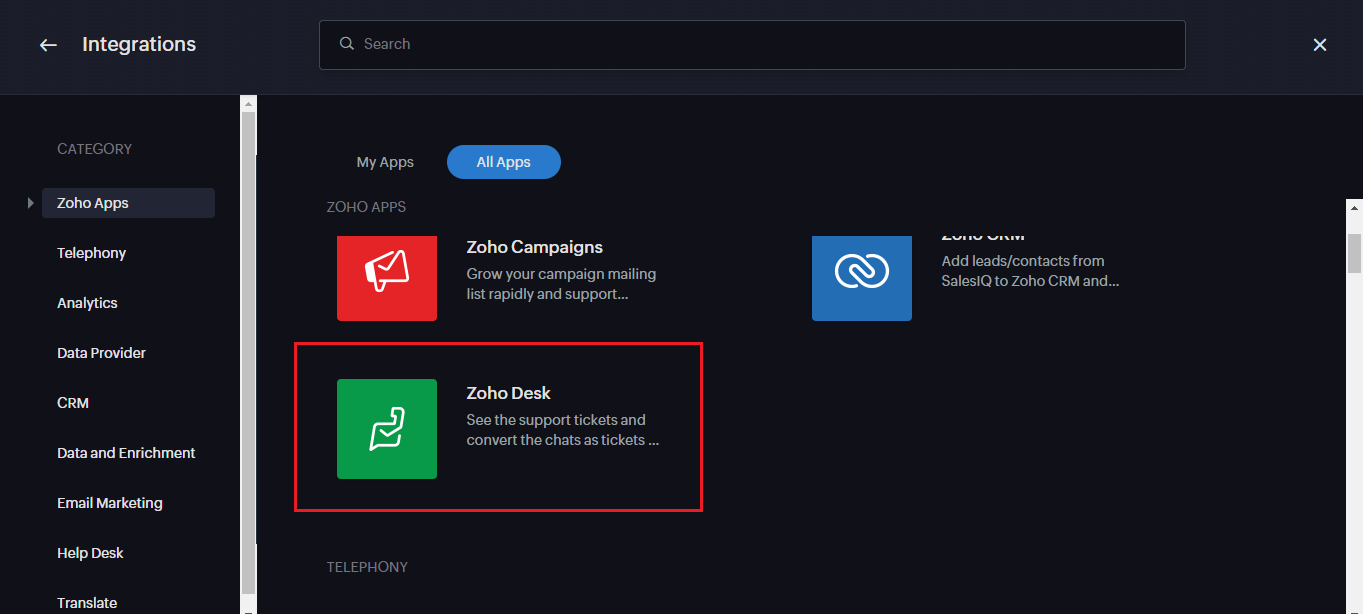
Step 3: Next, navigate to Zoho SalesIQ dashboard > Settings > Integrations > All Apps, and select Zoho Desk, as shown.
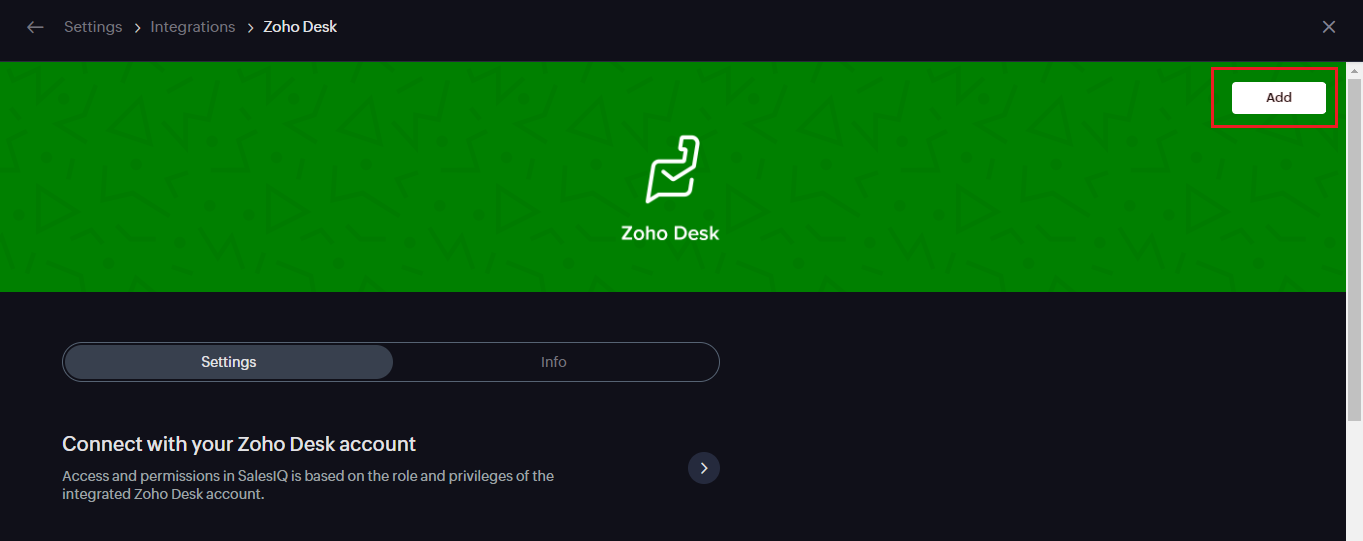
Step 4: Select Add button, in order to add Zoho Desk, as shown.
Step 5: After Adding Zoho Desk, you can follow the instructions given in the Settings section of Zoho Desk, as shown. You can also check this link, to know more about integrating Zoho SalesIQ with Zoho Desk.
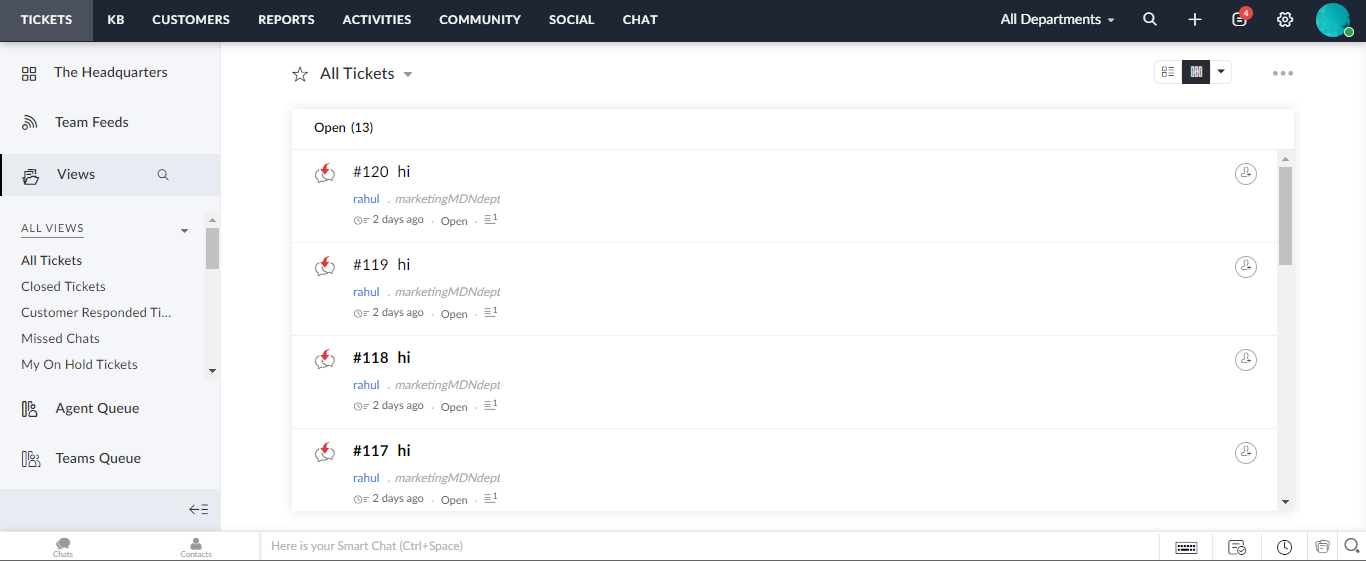
Step 6: Once you have successfully integrated Zoho SalesIQ with Zoho Desk, you can now move to the Zoho Desk dashboard, by clicking on the link, here.
On Zoho Desk Dashboard, you will be able to see each chat that has taken place on the bot. Every chat on the bot is created as a ticket and added to the Zoho Desk, wherein you can check the chat transcripts to better understand the user's query. Apart from this, Zoho Desk offers many features, that you can check here.
Once you have followed all the above steps, you are done with the integration, and now you can test your bot to check its behavior, and if everything is working as expected. You can check this article, which will give you an understanding of how this integration actually works when a user requests to chat with an agent.

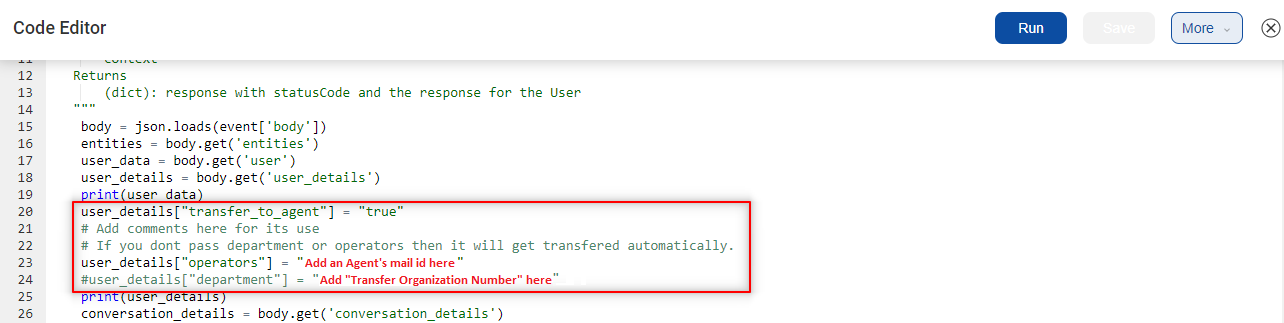 Here, the department_number is the Transfer Organization Number. It is department-specific. Check Section 4. Integrating Zoho SalesIQ with Zoho Desk to get more details on this.