How to log into Haptik?
- Getting Started
- Bot Building
- Smart Agent Chat
- Conversation Design
-
Developer Guides
Code Step Integration Static Step Integration Shopify Integration SETU Integration Exotel Integration CIBIL integration Freshdesk KMS Integration PayU Integration Zendesk Guide Integration Twilio Integration Razorpay Integration LeadSquared Integration USU(Unymira) Integration Helo(VivaConnect) Integration Salesforce KMS Integration Stripe Integration PayPal Integration CleverTap Integration Fynd Integration HubSpot Integration Magento Integration WooCommerce Integration Microsoft Dynamics 365 Integration
- Deployment
- External Agent Tool Setup
- Analytics & Reporting
- Notifications
- Commerce Plus
- Troubleshooting Guides
- Release Notes
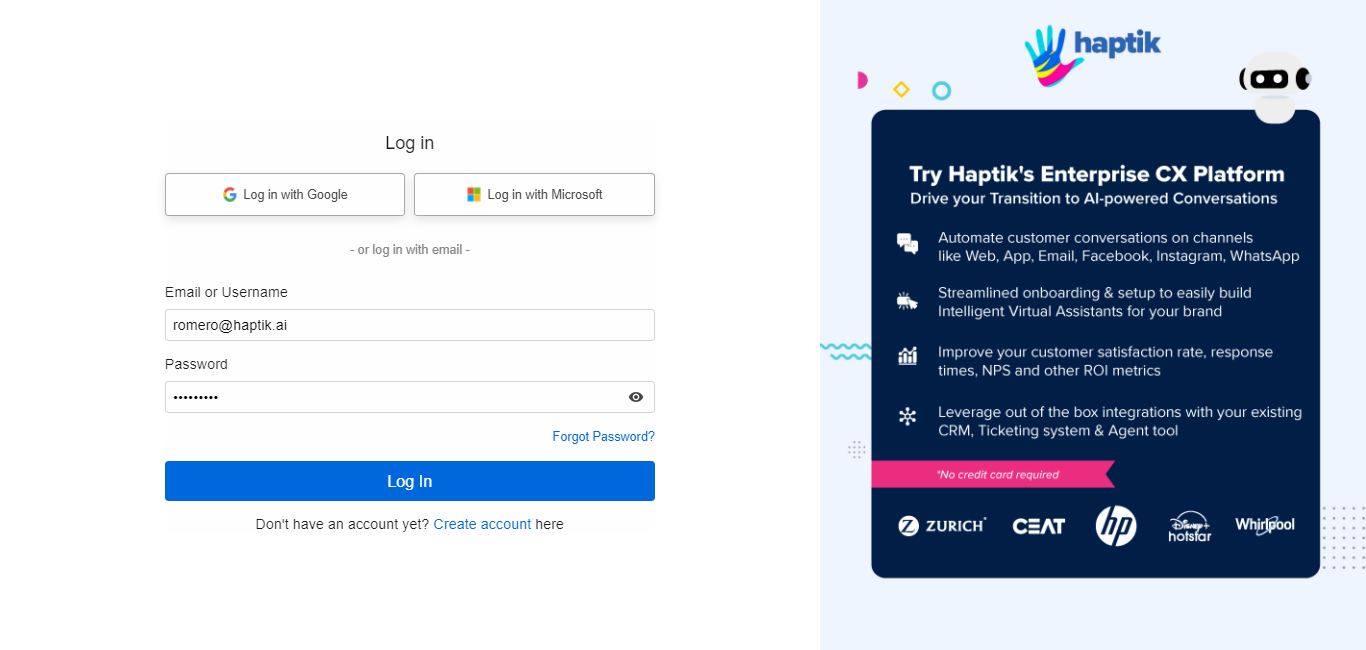
In order to login to the Haptik, visit the link provided by your Haptik SPOC and it will lead you to the login page, as shown.

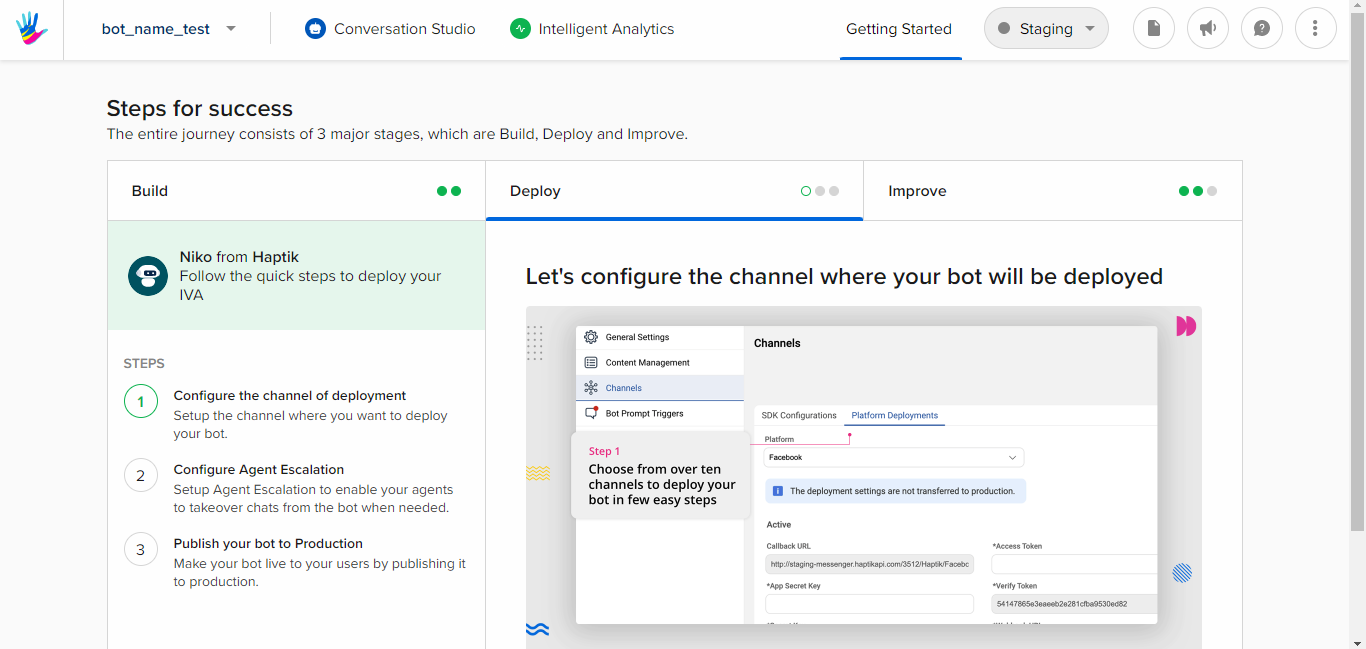
You have successfully logged in to the platform. You will now land on the page as shown below:

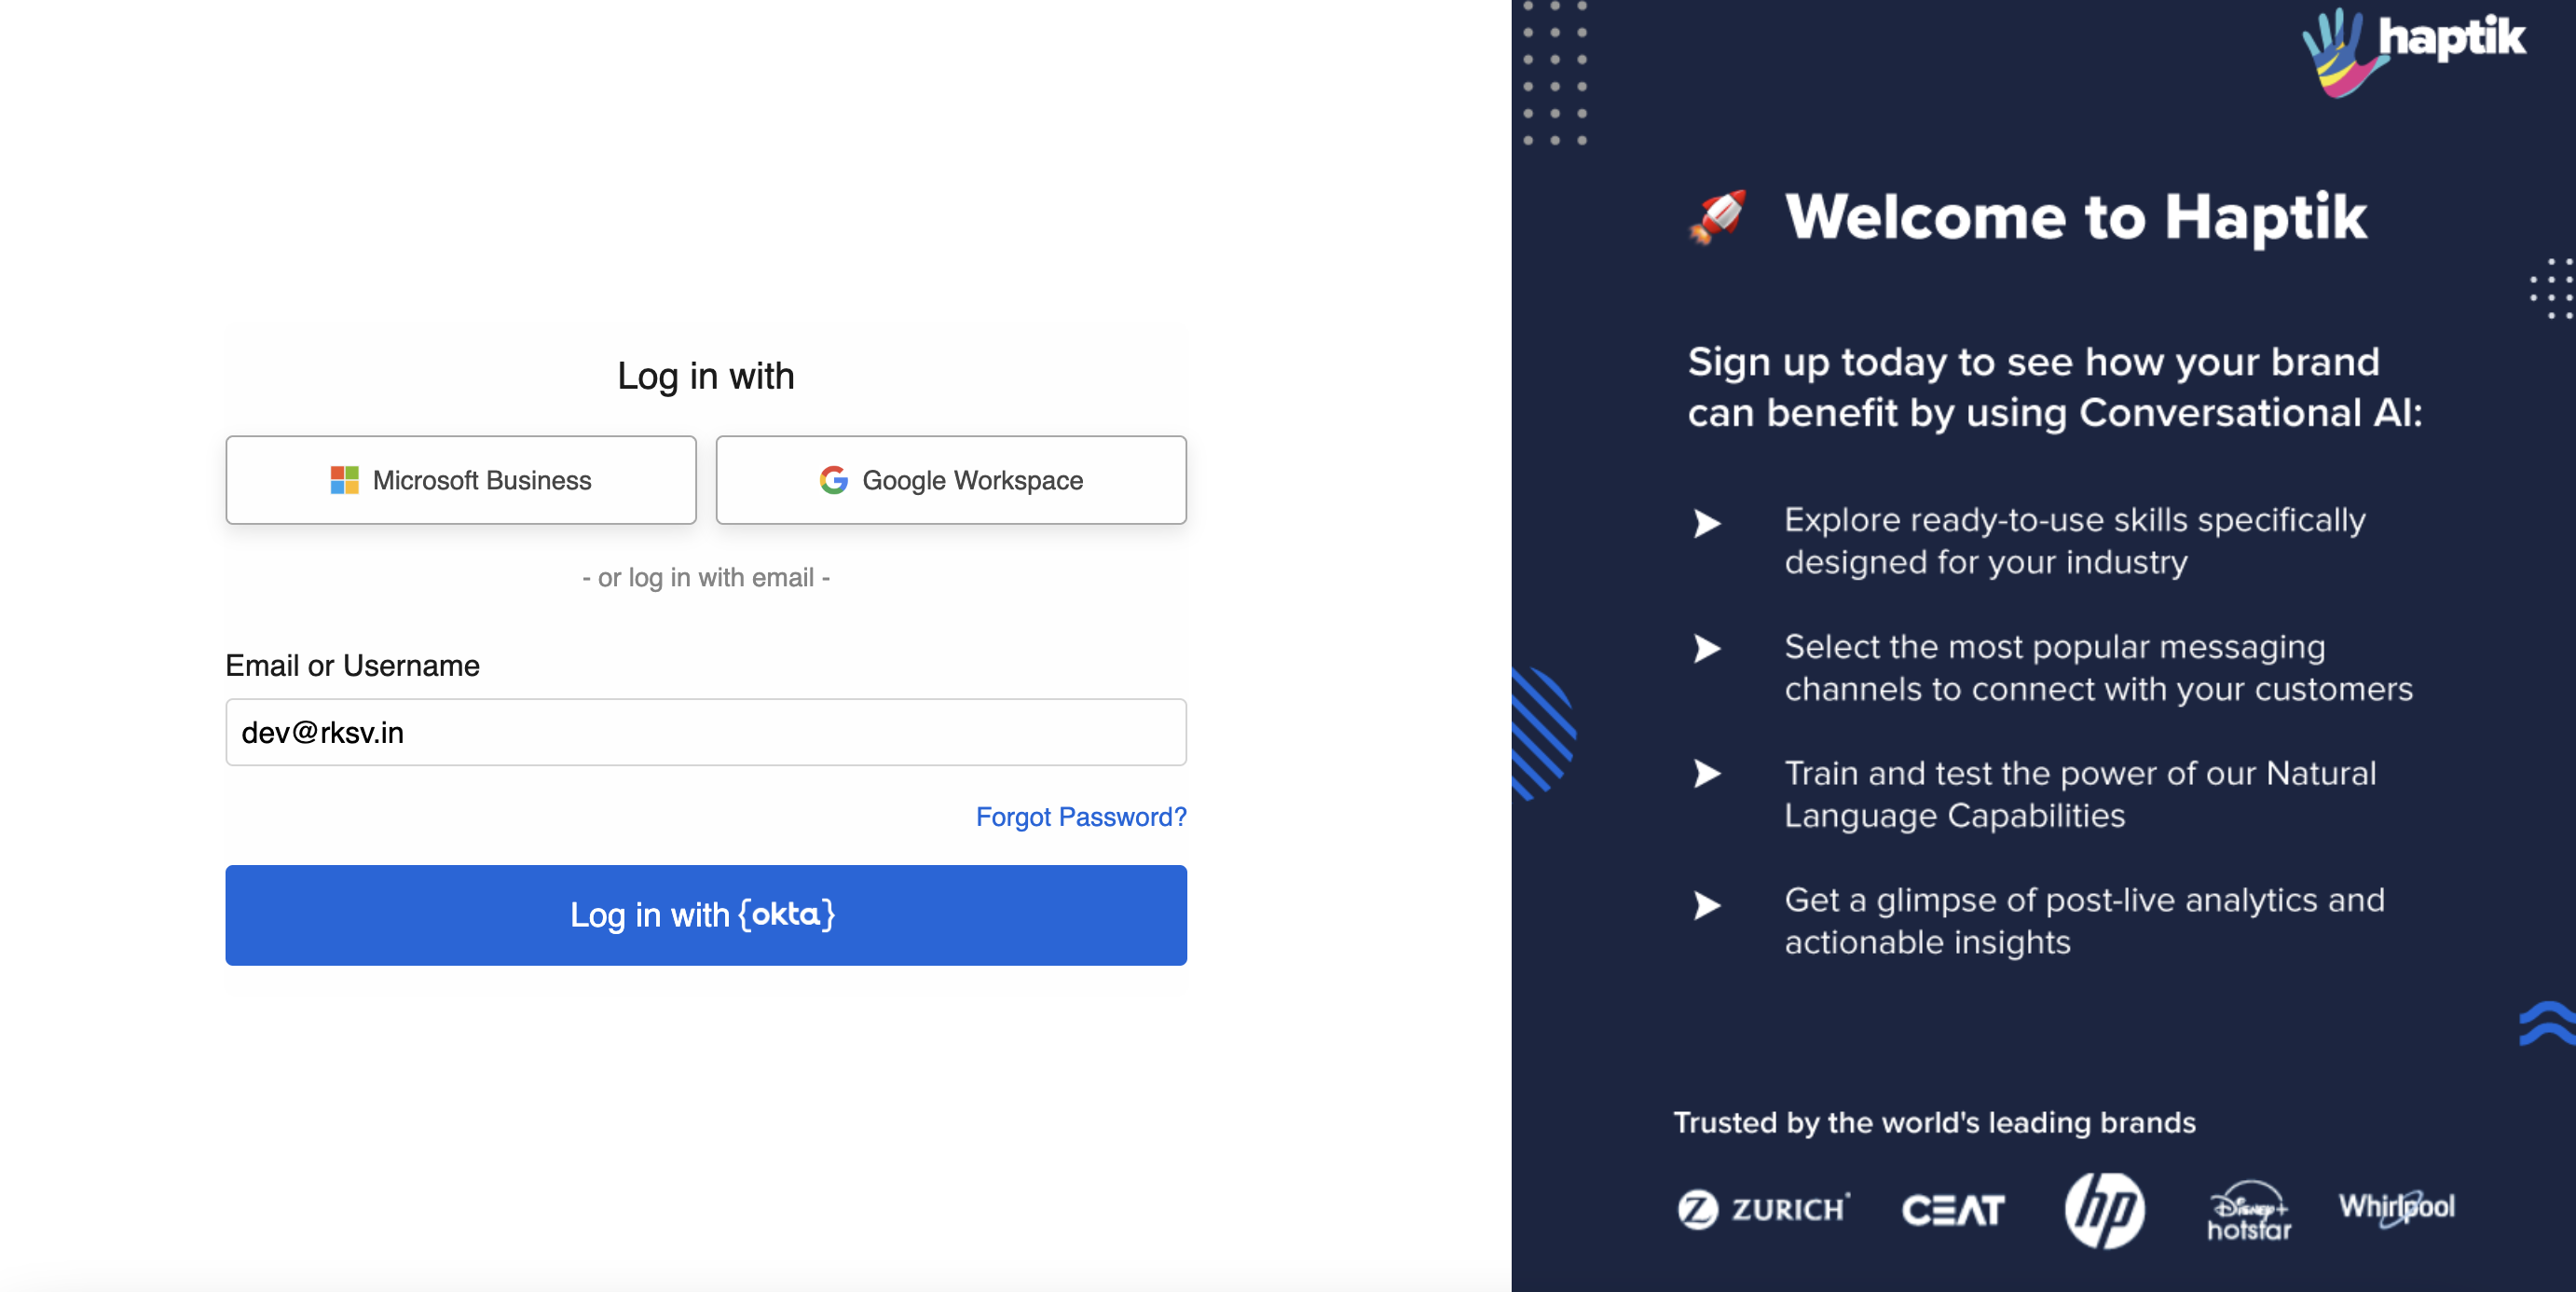
Brands using OKTA as an identity management and authentication tool may now use OKTA for signing in to the Haptik platform. Connect with your Haptik SPOC to get this setup.
Once the setup is complete, employees will see an option to log in with OKTA when they enter the email address with their brand’s domain name. Thus, it enables authentication using OKTA credentials instead of maintaining credentials with Haptik.

You can follow the steps under the categories of Build, Deploy, and Improve, and get going with the platform or directly navigate to Conversation Studio or Intelligent Analytics tools.
You can get started on building a new bot or making changes in your existing bots, by following the steps mentioned in this article.
