How to Set Up Stripe Integration

Written by Soham Amburle
Updated on September 9th, 2022
- Getting Started
- Bot Building
- Smart Agent Chat
- Conversation Design
-
Developer Guides
Code Step Integration Static Step Integration Shopify Integration SETU Integration Exotel Integration CIBIL integration Freshdesk KMS Integration PayU Integration Zendesk Guide Integration Twilio Integration Razorpay Integration LeadSquared Integration USU(Unymira) Integration Helo(VivaConnect) Integration Salesforce KMS Integration Stripe Integration PayPal Integration CleverTap Integration Fynd Integration HubSpot Integration Magento Integration WooCommerce Integration Microsoft Dynamics 365 Integration
- Deployment
- External Agent Tool Setup
- Analytics & Reporting
- Notifications
- Commerce Plus
- Troubleshooting Guides
- Release Notes
Table of Contents
What is Stripe?
Stripe is a payment solution that allows businesses to accept, process, and disburse payments.
Haptik has come up with Stripe Integration using which you can add payment solutions to your bot. Once this integration is set up on your bot, you can collect payments from your users by providing them a payment link over conversations, generated using APIs. It is a highly convenient way to accept payments from users.
Prerequisites for using Stripe Integration
- A registered account on Stripe. You can read more about it here.
- A bot on Haptik. You can read this article to build your own bot.
- APIs for fetching necessary information from your CRM system.
How to set up?
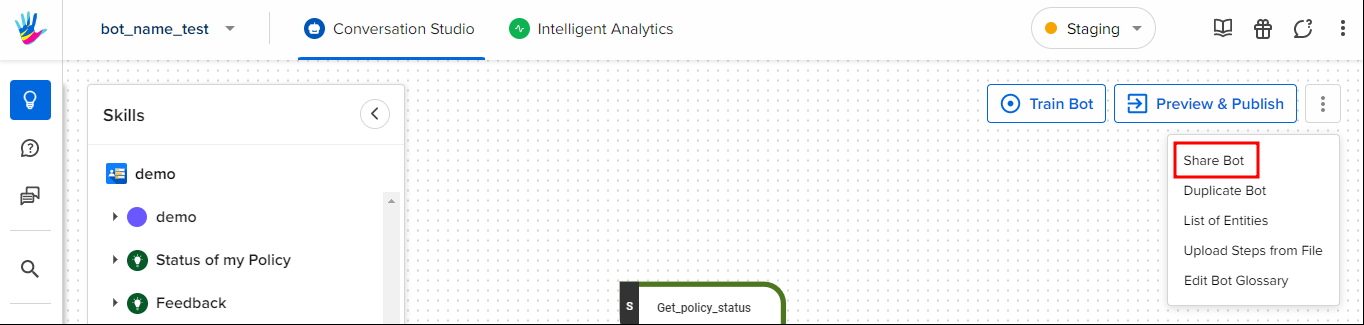
We have packaged Stripe Integration in the form of industry-specific Smart Skill for faster deployments.
The available Smart Skill for Stripe is Stripe Payment. You can make use of this Smart Skill as per your requirement.
How to use the Skill
You can plug this Skill at a point of the bot flow where you would want to collect payments from the user.
For Example: During the cart checkout process.
For testing purposes, you can type the intent “Stripe payment flow” for generating a payment link for a sample amount that has been preconfigured.
How to make changes to the Skill
Since this Smart Skill is for payment purposes specifically, which is why we focus on generating a payment link.
Step 1: We have tried to make the Smart Skill platform agnostic and have incorporated necessary variations for WebSDK and WhatsApp platforms. The flow starts with the user getting a prompt to enter their mobile number on WebSDK, whereas on WhatsApp this prompt gets skipped as we are using the completion_phone_number system entity (captures phone number automatically on WhatsApp).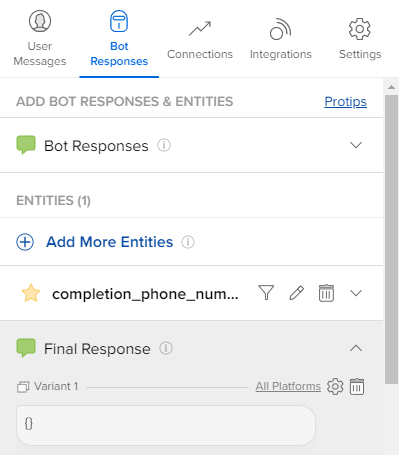
Step 2: Once the phone number is captured, the flow reaches the Stripe Integration Code Step wherein we call a dummy API to fetch the product details from the cart and further generate the payment link.
The following are the functions being used in this Code Step:
Sr no. |
Function |
Description |
|---|---|---|
1 |
fetch_cart_details() |
This function would be used to fetch the cart details of a user, for the demo we have used a dummy postman API. The client can replace this with their own cart APIs. The cart API response must contain the following parameters as seen in the example below, which are required subsequently while generating the payment link. {
"unique_user_id": "1234abcd",
"product_list": [
{
"product_id": "mag123",
"product_name": "maggi noodles",
"price": 10,
"quantity": 5,
"currency": "inr"
},
{
"product_id": "coc123",
"product_name": "coca cola",
"price": 20,
"quantity": 2,
"currency": "inr"
},
{
"product_id": "lay123",
"product_name": "lays",
"price": 5,
"quantity": 6,
"currency": "inr"
},
{
"product_id": "cad123",
"product_name": "cadbury silk",
"price": 150,
"quantity": 2,
"currency": "inr"
}
]
}
|
2 |
generate_price_ids(env_variables) |
This function will generate a list of all the price_ids along with their quantities for each and every product in the cart. |
3 |
generate_line_items(env_variables, user) |
This function generates the line_items dictionary which forms the part of the create payment link payload. |
4 |
create_stripe_price_id(env_variables, currency, unit_amount, product_name) |
This function creates a product on the Stripe dashboard and returns a price_id for each product which is then used to create a payment link. For more information, refer to this document. |
5 |
create_stripe_payment_link(env_variables, user) |
This function creates a payment link and returns the same using the price ids generated in the create_stripe_product(env_variables).\
For more information, refer to this document |
6 |
update_payment_intent_metadata(env_variables, user, pay_intent_id) |
This function updates the payment intent object with the metadata fields. |
7 |
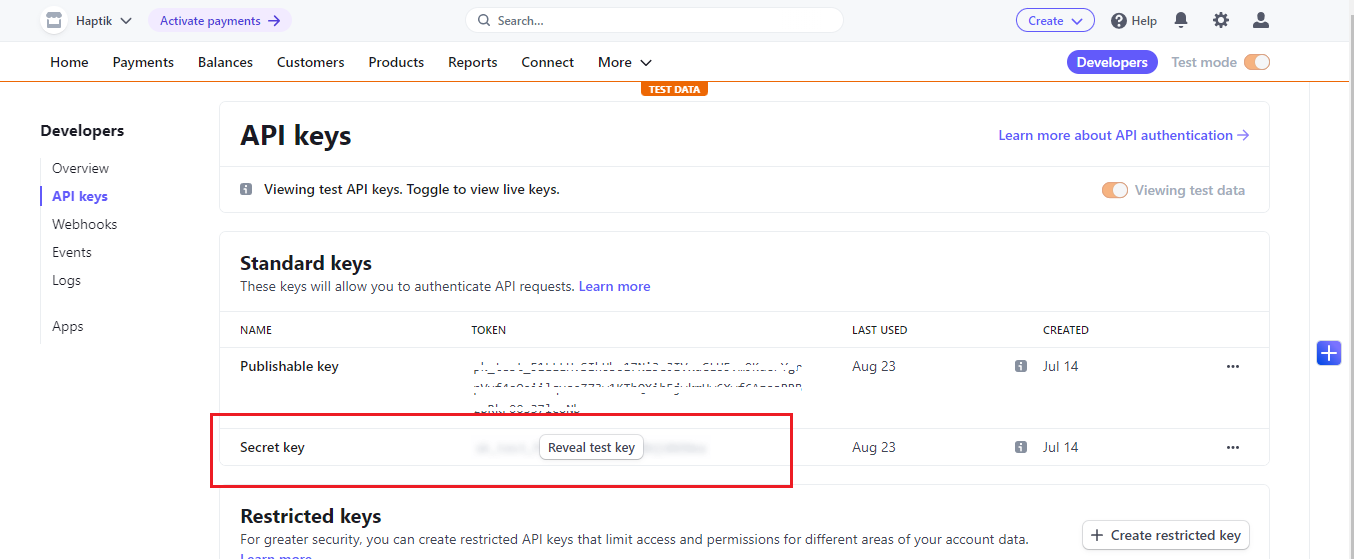
get_auth_token(env_variables) |
This function generates a base64 encoded token using the Stripe secret_key for basic auth Stripe API calls. |
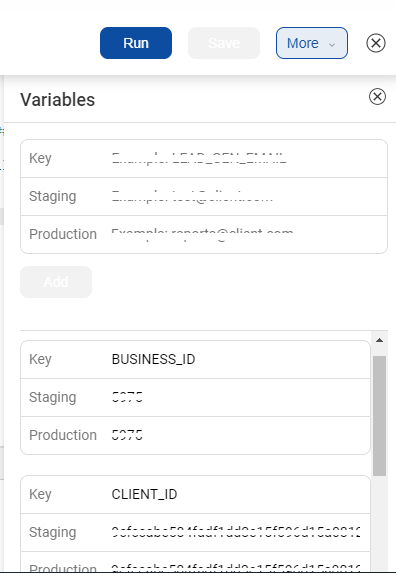
Step 3: Next, you need to store the following fields in the Environment Variables of the Code Step:
- business_id
- client_id
- secret_key
Finally, after you have made the necessary changes, you can test the flow end-to-end.
Beyond this available predefined Skill, you can also build custom use cases by editing this Skill. Whatever changes and updations are required will be done to the Code Steps of this Smart Skill depending on your requirements.
