How to create a new bot on Haptik Platform?
- Getting Started
- Bot Building
- Smart Agent Chat
- Conversation Design
-
Developer Guides
Code Step Integration Static Step Integration Shopify Integration SETU Integration Exotel Integration CIBIL integration Freshdesk KMS Integration PayU Integration Zendesk Guide Integration Twilio Integration Razorpay Integration LeadSquared Integration USU(Unymira) Integration Helo(VivaConnect) Integration Salesforce KMS Integration Stripe Integration PayPal Integration CleverTap Integration Fynd Integration HubSpot Integration Magento Integration WooCommerce Integration Microsoft Dynamics 365 Integration
- Deployment
- External Agent Tool Setup
- Analytics & Reporting
- Notifications
- Commerce Plus
- Troubleshooting Guides
- Release Notes
Table of Contents
Making Your First BotStage 1: Create a new IVA.Stage 2: Fill in the bot name and account details.Stage 3: Click on Submit.Stage 4: Clicking on Conversation Studio.Advanced SettingsMaking Your First Bot
To start building your first bot, log in to the Haptik platform using credentials that were shared with you via email. Once you've successfully logged in, you will land on the Getting started page.
You can either start creating your bot through the Checklist on this page, or you can navigate to the conversation studio tool.
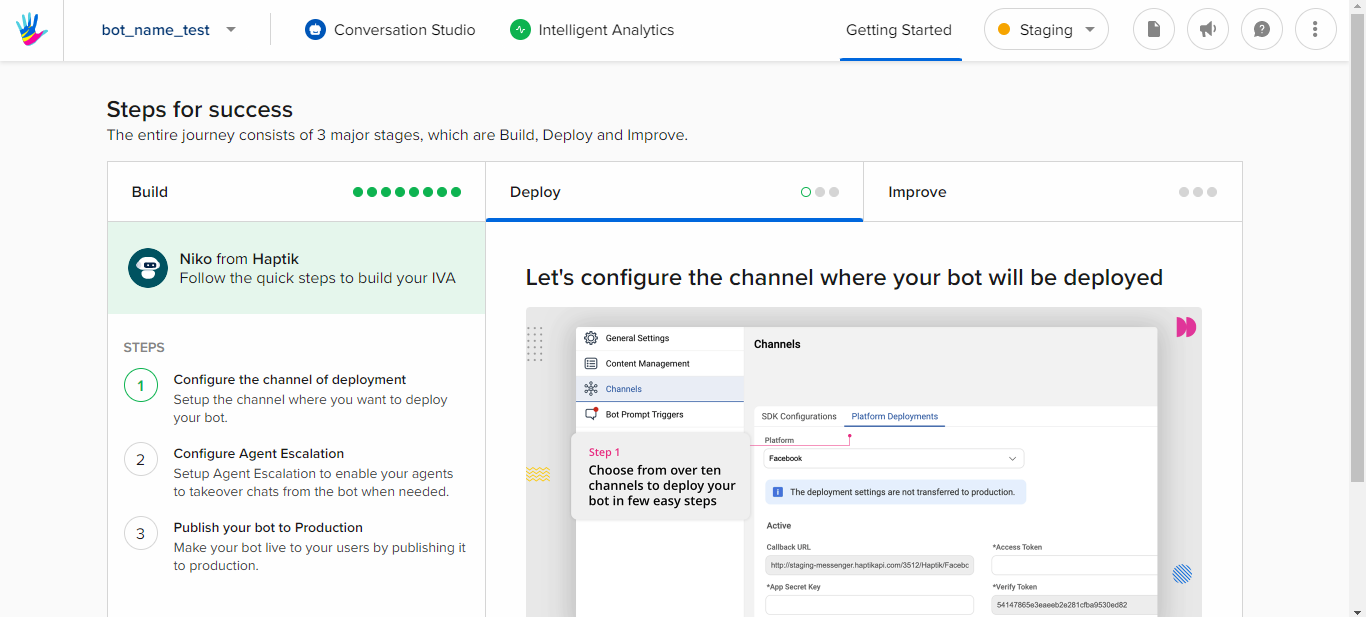
Following are the stages to successfully creating your first bot.
Stage 1: Create a new IVA.
If you are a first-time user, then you would land on the following page post signing up to the Haptik platform. Here, you can add a name to your bot. This page will lead you to the Getting started page.
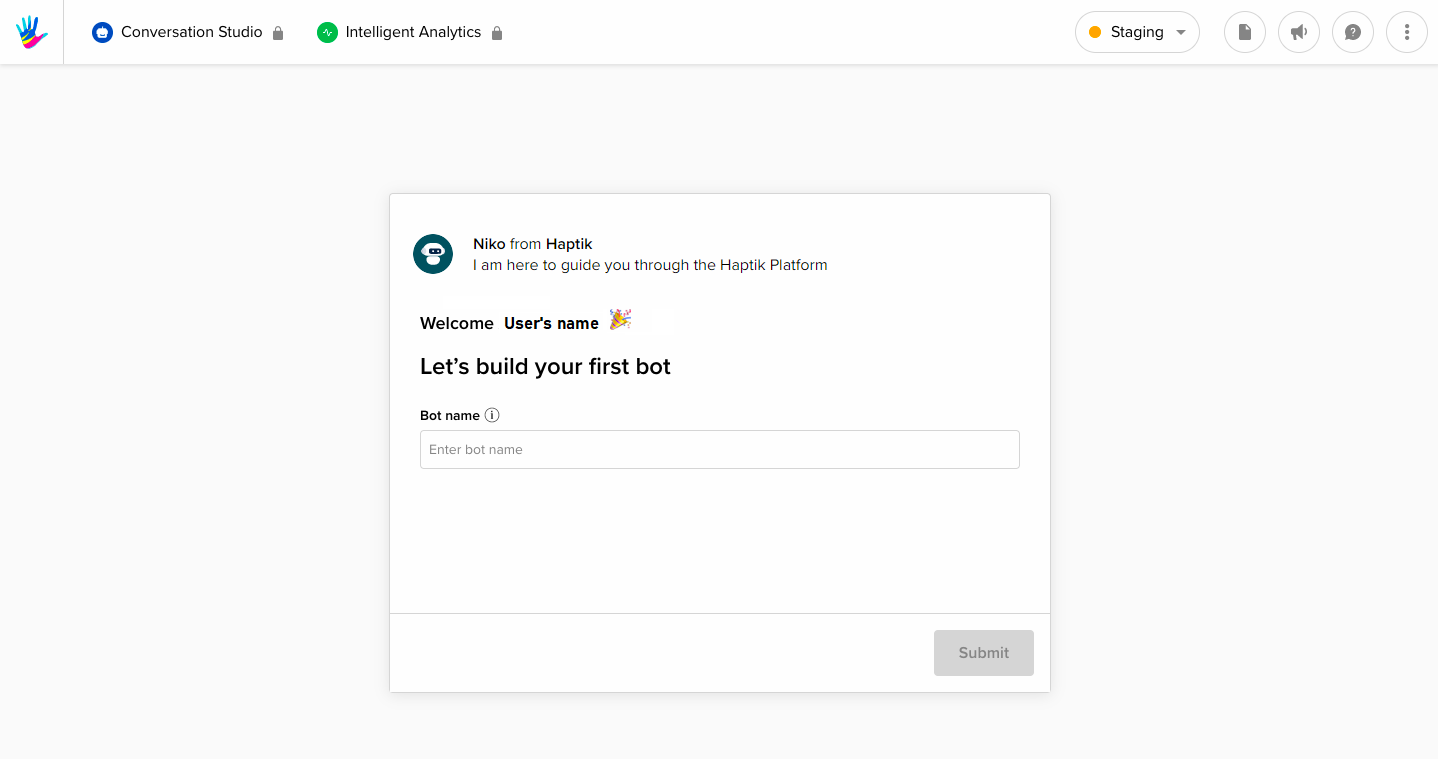
If you are a logged-in user, and you want to create a new IVA, you can simply click on the Create new IVA button as shown -
It is located in the upper left-hand corner of the page.

Stage 2: Fill in the bot name and account details.
These are the basic details that you would have to fill
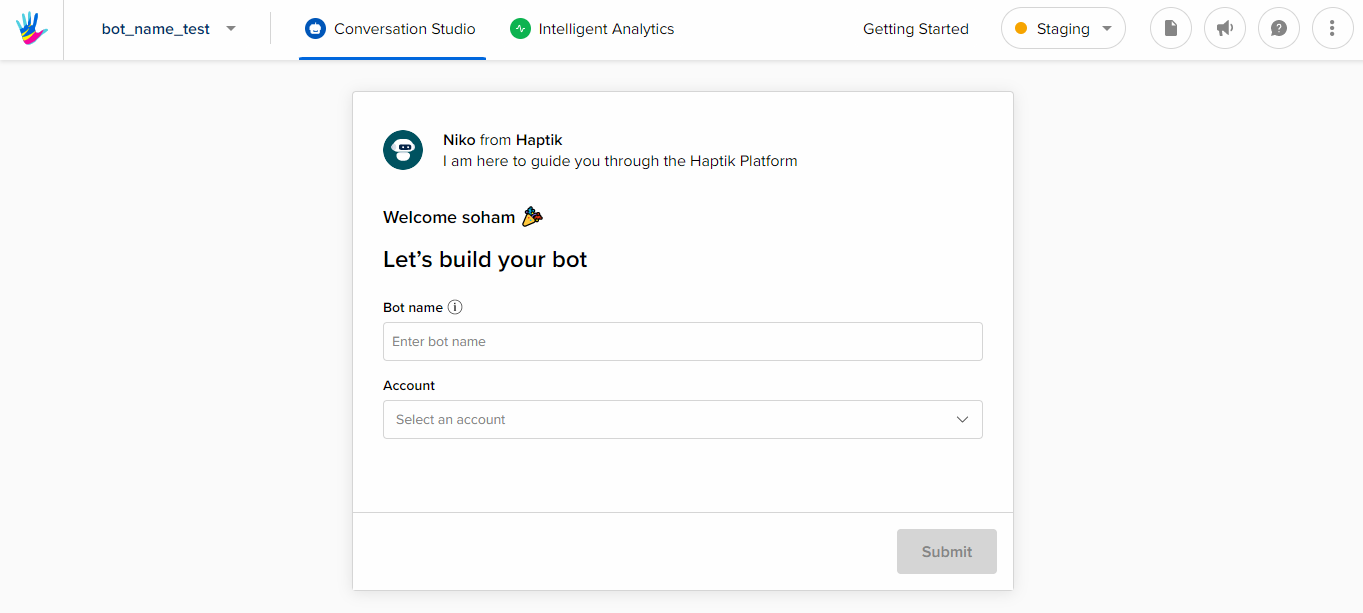
- Bot Name (in chatflow): Give your bot a name. This is visible on the chat window for the end users.
So when the user asks "Who are you?". The bot replies with "I'm Jio".
Account: A account is the Conversation Studio's largest unit, and can be deployed in multiple locations (i.e. a website, Android and iOS Apps, Facebook Messenger, Whatsapp, Google Business Manager, etc.). Usually, it's your organization's name or project's name.
Stage 3: Click on Submit.
Once you have added the bot name and selected the partner, click on the submit button and you will be directed to the getting started page, as shown.
You can either navigate to Conversation Studio, or you can simply follow the checklist steps for adding functionalities to your bot.
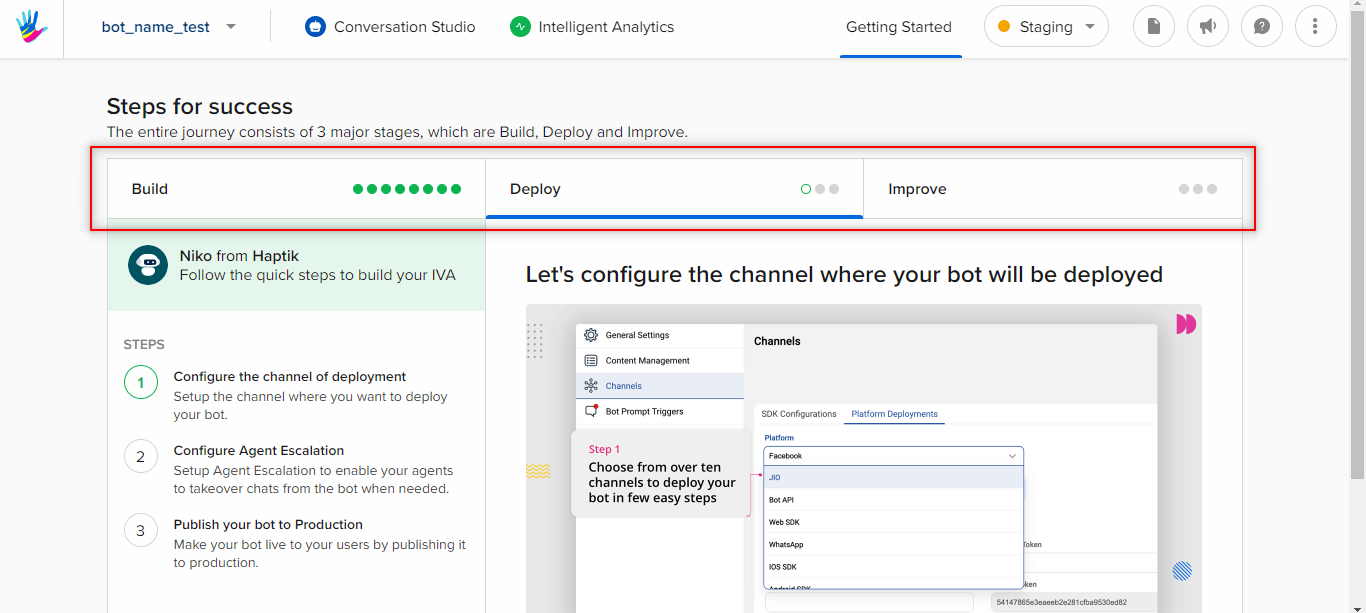
Stage 4: Clicking on Conversation Studio.
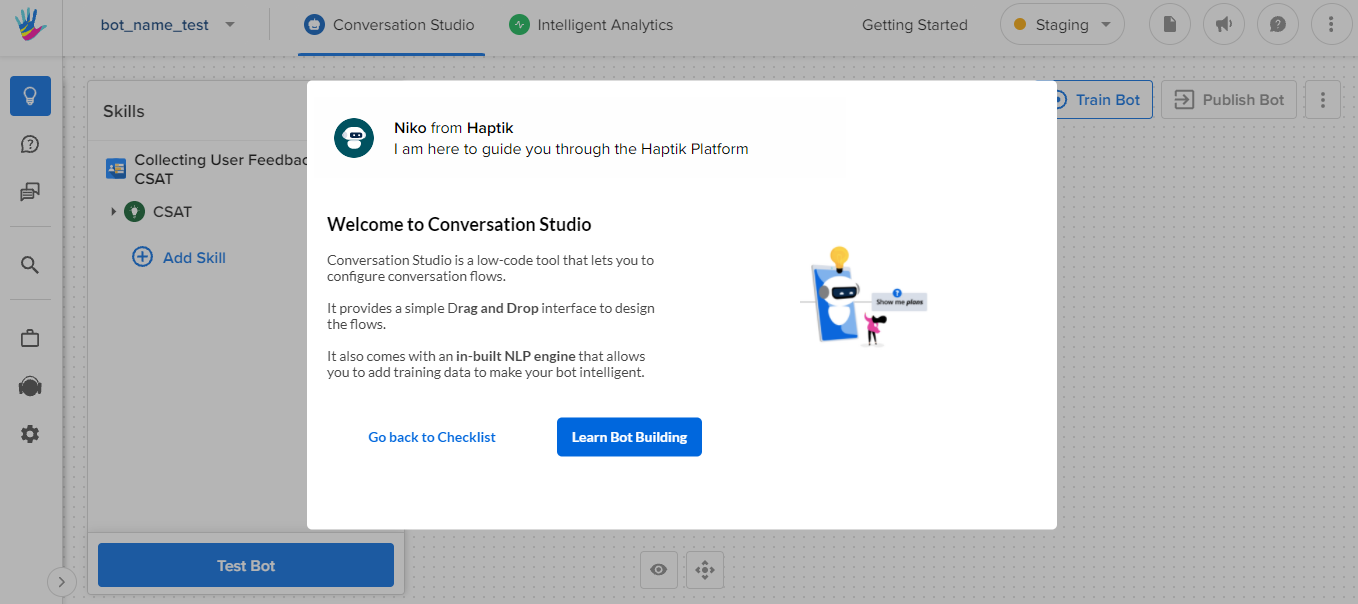
This would take you to the bot building page, where you'll see this pop-up, that will give you a step-by-step guide for building your bot.
Advanced Settings
Now you have your bot structure ready!

Every bot comprises 3 components -
- Skills - It is a collection of skills that enable your bot to handle user queries.
- FAQs - It is a collection of all frequently asked questions to enable your bot to handle all common user queries that don't need a complex conversation journey.
- Small Talks - It has all general conversational capabilities that enable your bot to have informal conversations like "What is the weather like", "Tell me a joke".

