Getting Started on Haptik
- Getting Started
- Bot Building
- Smart Agent Chat
- Conversation Design
-
Developer Guides
Code Step Integration Static Step Integration Shopify Integration SETU Integration Exotel Integration CIBIL integration Freshdesk KMS Integration PayU Integration Zendesk Guide Integration Twilio Integration Razorpay Integration LeadSquared Integration USU(Unymira) Integration Helo(VivaConnect) Integration Salesforce KMS Integration Stripe Integration PayPal Integration CleverTap Integration Fynd Integration HubSpot Integration Magento Integration WooCommerce Integration Microsoft Dynamics 365 Integration
- Deployment
- External Agent Tool Setup
- Analytics & Reporting
- Notifications
- Commerce Plus
- Troubleshooting Guides
- Release Notes
When you log in to Haptik, you would be directed to the Getting Started page. This is a checklist or a walkthrough of steps that ensure successful bot building, deployment, and further improvement of your bot.
The entire journey consists of 3 major steps -
- Build
- Deploy
- Improve
Let us now understand each step in detail.
A. Build
As the name suggests, Build is where you build your bot from scratch. The build stage has three checkpoints -
-
Add skills to your bot - Here you can add skills to your bot, depending on your business. There are various pre-built skills available in our library. You can start adding skills by selecting the Add Skill button.
To know more about skills, click here.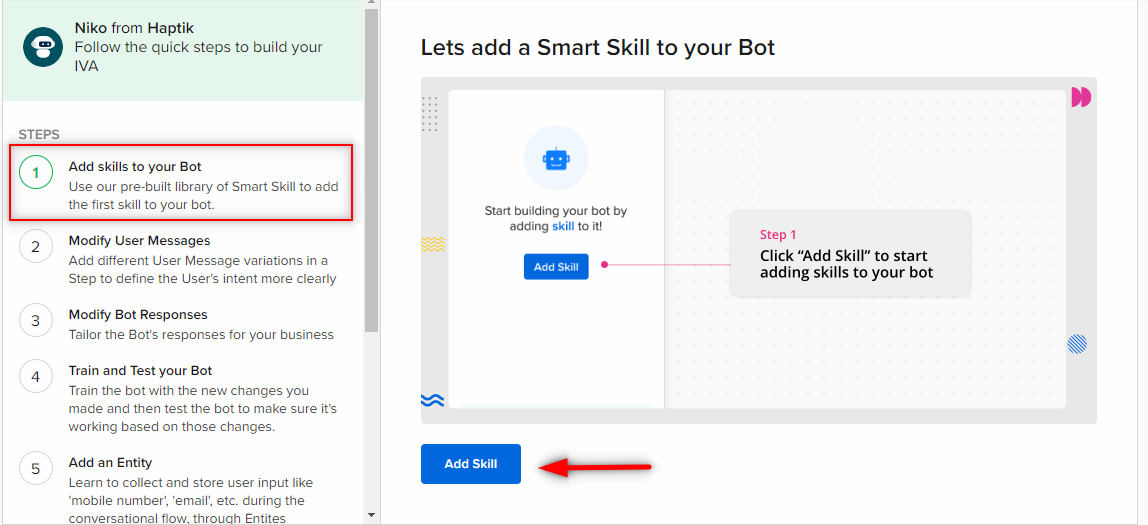
-
Modify User Messages: Here, you can edit the User Messages section of your Bot's Steps. User Messages would make it easier for the bot to understand the user's intent. You can simply click on the Modify User Messages button and it will take you to your bot's page.
To know more about User Messages, click here.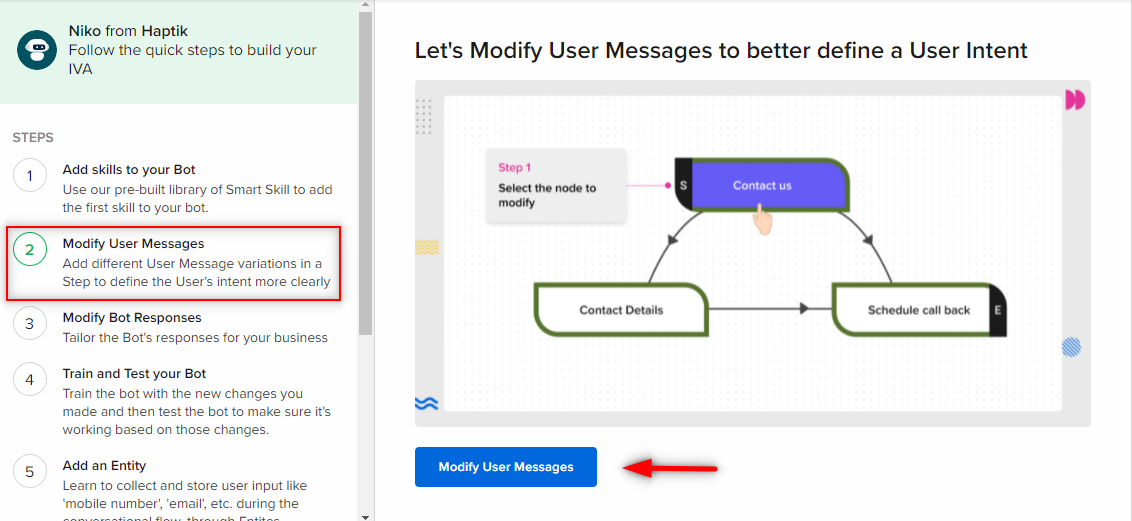
-
Modify Bot Responses: Here, you can edit the Bot Responses section of your bot. Bot Responses are the responses that the bot would send to the user in a conversation. You can edit Bot Responses by clicking on Modify Bot Responses button.
To know more about Bot Responses, click here.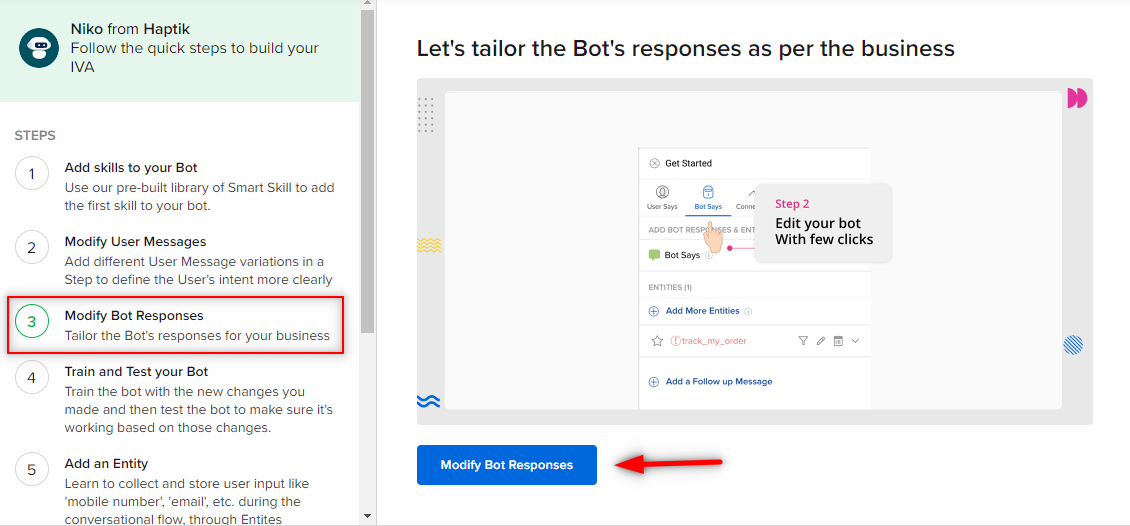
-
Train and Test your bot - This is a very important checkpoint. Every time you make any updations on your bot, you must train your bot, and later test it so as to ensure the updates you have made are smoothly working. You can start training and testing your bot by selecting the Train and Test button.
To know more about Training your bot, click here, and to know more about testing your bot, click here.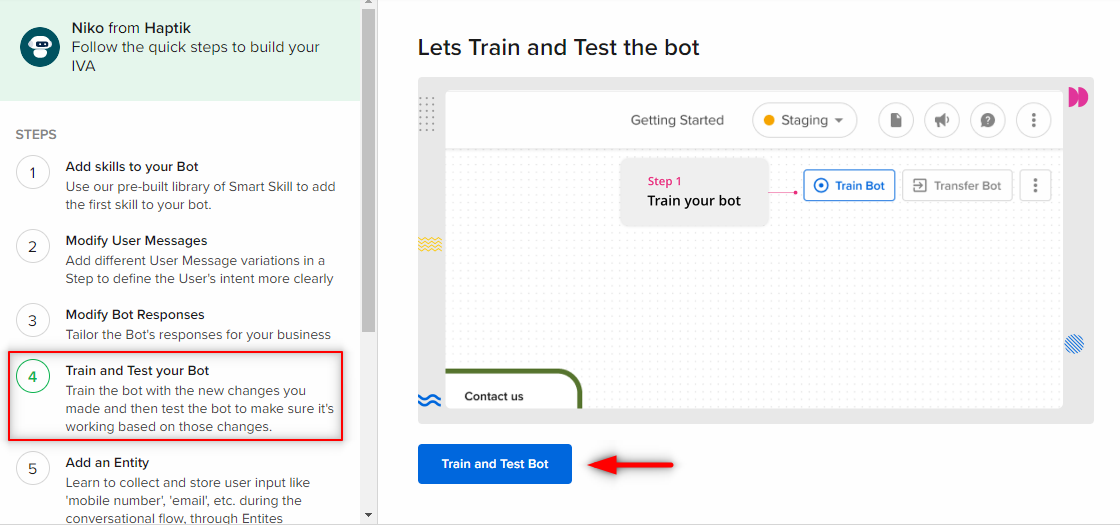
-
Add an Entity: Entity will help you save user's information. This step highlights adding entities that store users' information used for further operations in the bot flow. You can click on the Add Entities to Bot button.
To know more about Entities, click here.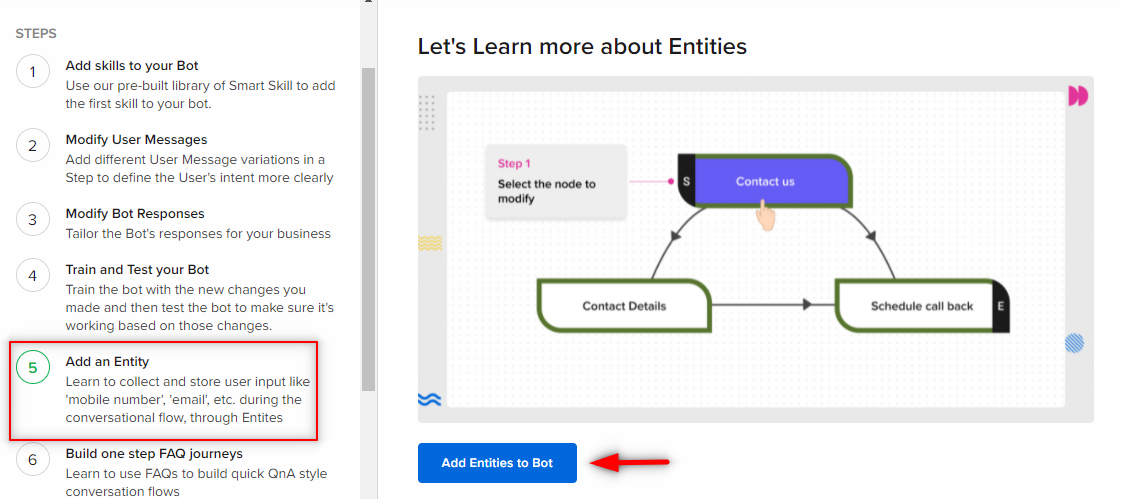
-
Build one-step FAQ journeys: Here, you would be adding the FAQs to your bot. These are the set of questions and answers that your bot could use while interacting with the users, for handling the frequently asked queries. You can click on the Build FAQs button, for adding FAQs.
To know more about FAQs, click here.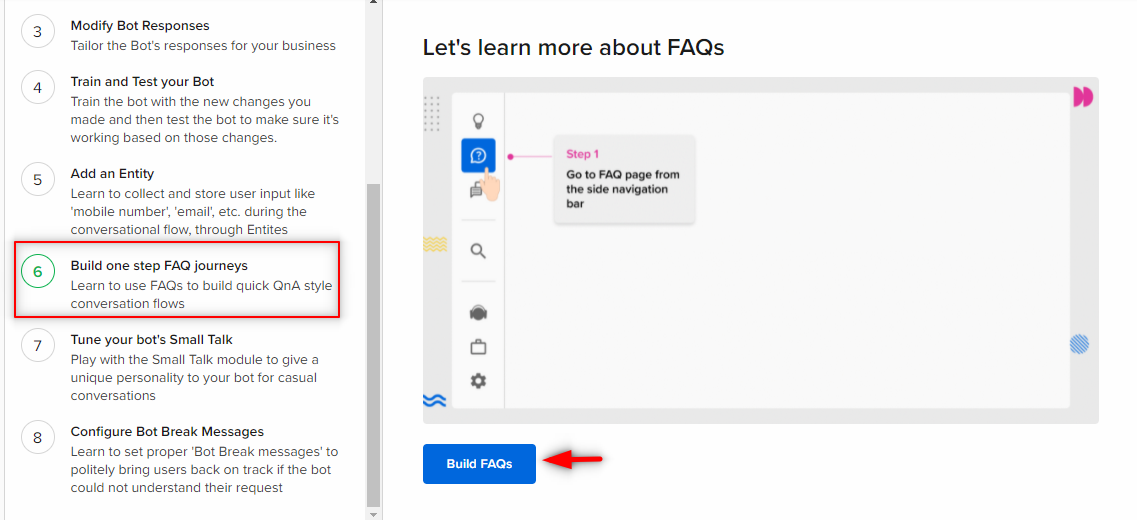
-
Tune your bot's Small Talk: Here, you can modify the small talk module of your bot. Smalltalk is a plugin that enables your bot to have informal conversations like "What is the weather like", "Tell me a joke". This plugin provides 99+ such conversational intents with their predefined responses. You can start modifying this module by clicking on Modify Small Talk button.
To know more about Small Talk, click here.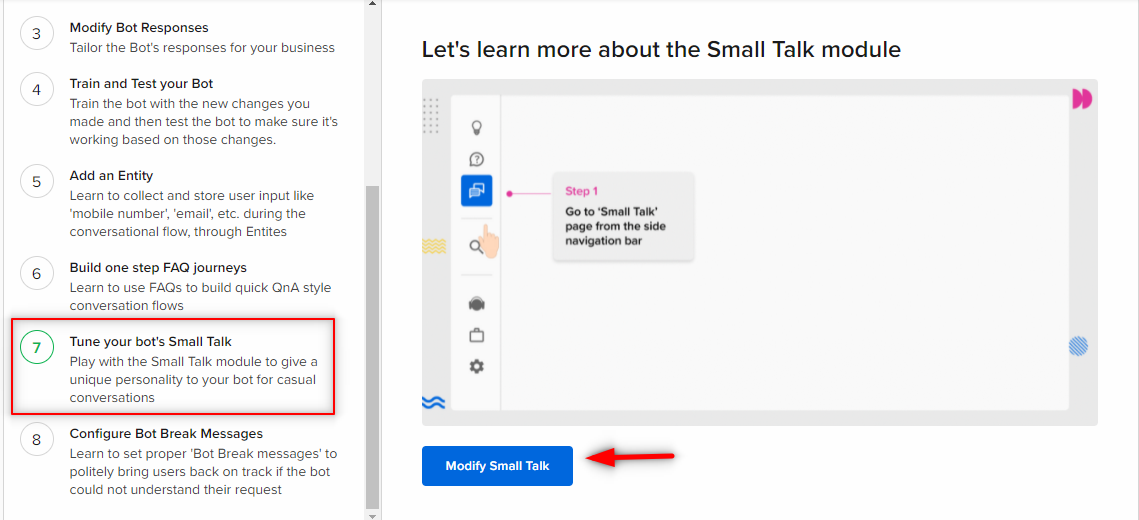
-
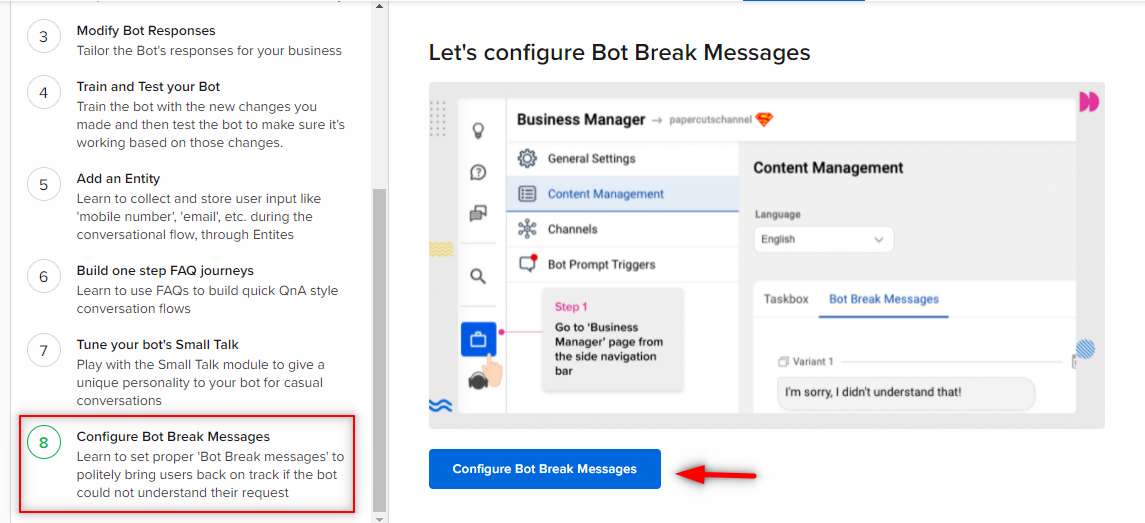
Configure Bot Break Messages: Here, you can configure the Bot Break messages which the bot would send to the users when their query is not understood by the bot. You can start configuring this by clicking on the Configure Bot Break Messages button.
To know more about Bot Break Messages, click here.
B. Deploy
The Deploy stage has three checkpoints -
-
Configure the channel of deployment - Here, you can deploy your bot on the channel of your choice depending on your business requirements. You can start configuring by selecting the Configure Channel button.
To know more about Configuring the Channel of Deployment, click here.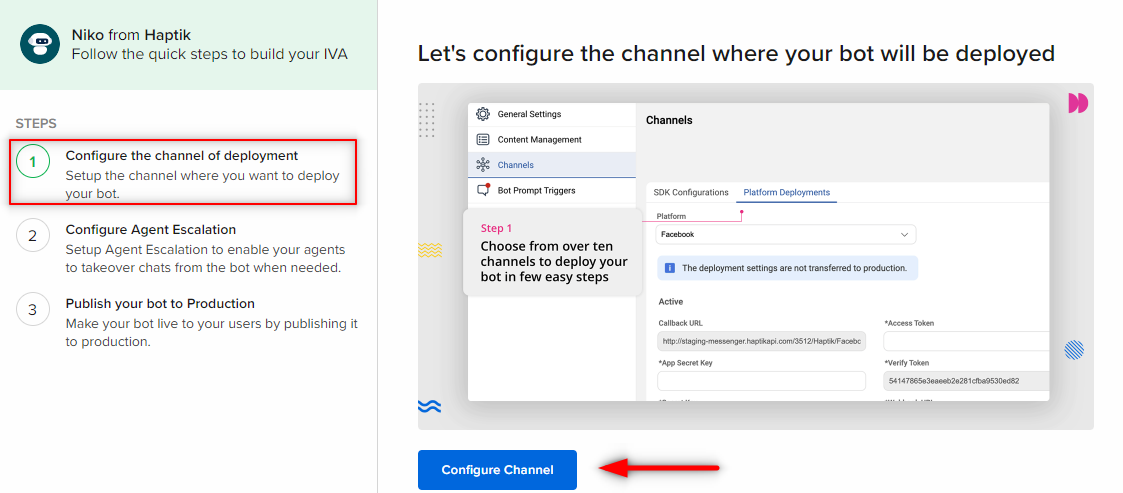
-
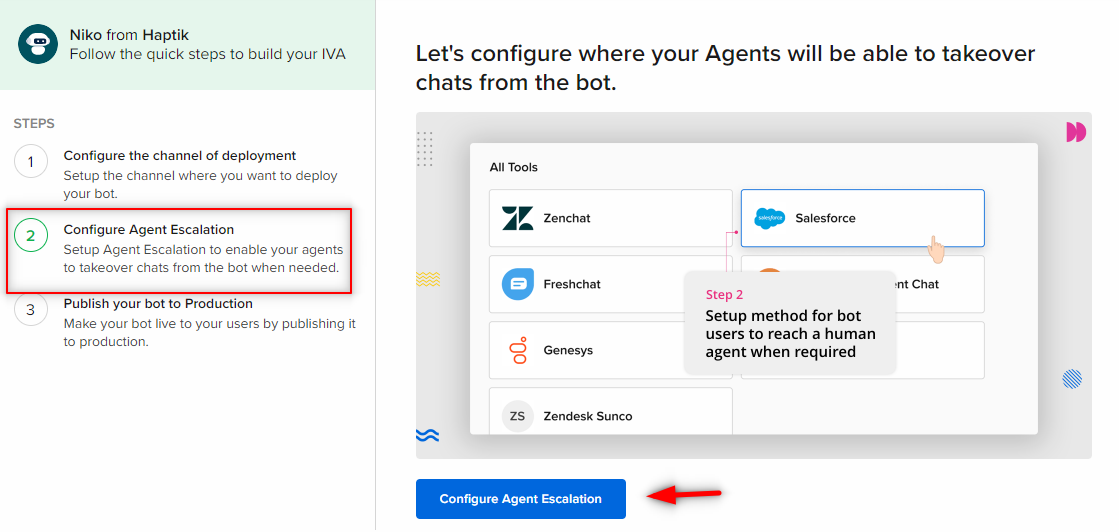
Configure Agent Escalation - Here, you can configure agent handover. If your business has agents for handling user queries, you can configure it here. Every time a bot is not able to solve a user's queries, agent handover would come to the rescue. You can start configuring by selecting the Configure Agent Escalation button.
To know more about Agent Escalation, click here.
-
Publish your bot to Production - Once your bot is completely tested and is ready for release, to your end-users, you can make your bot live by clicking on Publish bot on Conversation Studio.
To know more about Publishing your bot to Production, click here.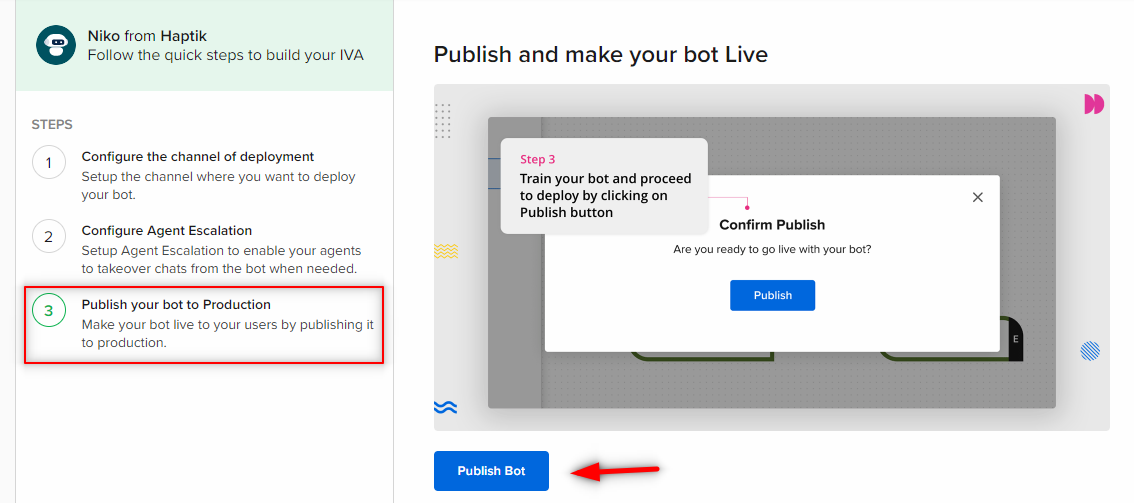
C. Improve
Under Improve stage, you can use Analytics, AI, and reviews from the users to improve your bot.
This stage has three steps -
-
Track important metrics - You can track your bot's performance through various metrics, so as to improve your bot's performance. You can read more about it here. You can navigate to the Analytics page by selecting Get Started button.
To know more about these important metrics, click here.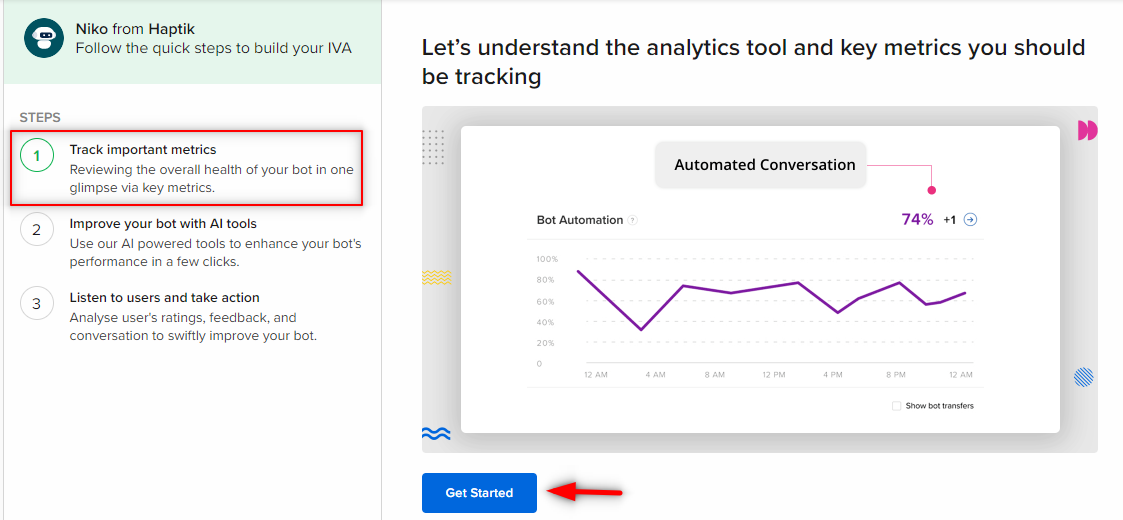
-
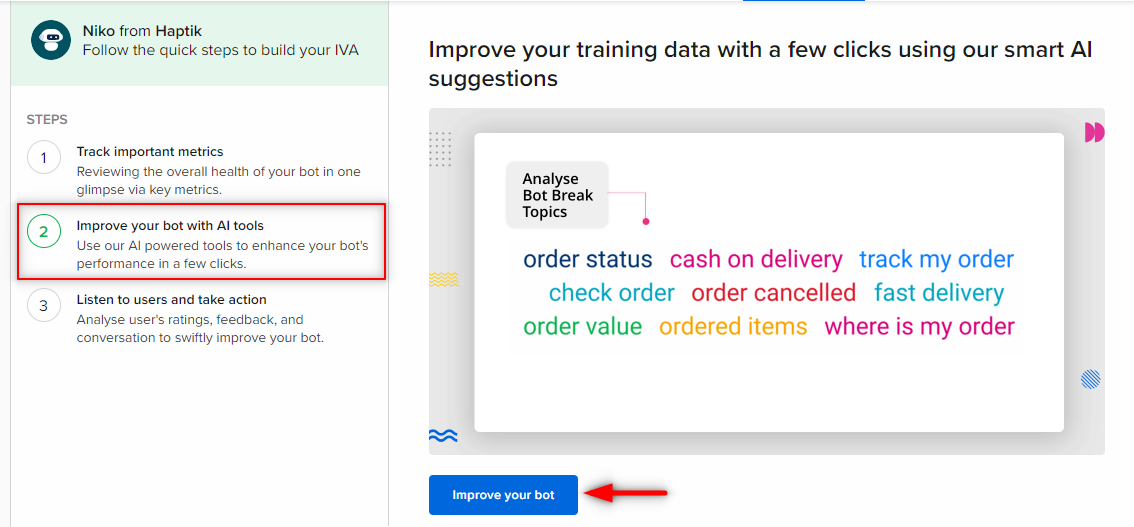
Improve your bot with AI tools - You can use AI tools like Word Analysis, Message Analysis, AI Recommendations, Smart Funnels to further improve your bot in a detailed way, by selecting the Improve your Bot button.
-
Listen to users and take action - In this stage, you can check the ratings you have received, as well as the user reviews, so as to improve your bot, by selecting the Review User Actions button.
To know more, click here.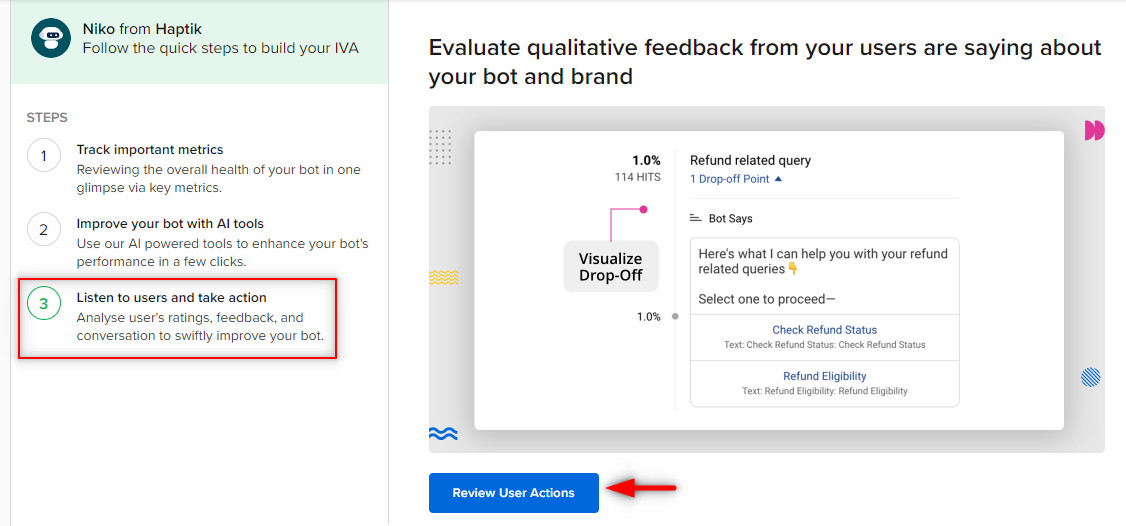
Also on the same screen, you will be seeing a few controls on the top.

-
Bot_name - Bot_name is where you would be able to see your bot's name. It indicates that you are viewing the data of that particular bot. You can also search for your bot, by clicking on the bot_name section.

-
Conversation Studio - You can visit the Conversation Studio page of your bot, by selecting this option.

-
Intelligent Analytics - You can visit the Intelligent analytics page of your bot, by selecting this option.

-
Getting started - Getting started will take you to the checklist page, where you can see the steps of bot-building end to end.

-
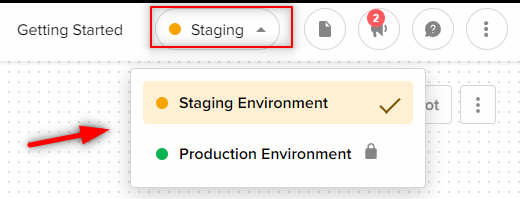
Staging - This dropdown enables you to toggle between staging and production environment. Whether you are able to access an environment would also depend on whether you have access to it or not.
-
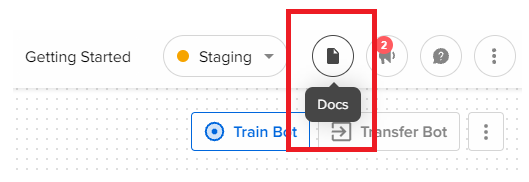
Docs - Docs icon will take you to Haptik's Knowledge Base.
-
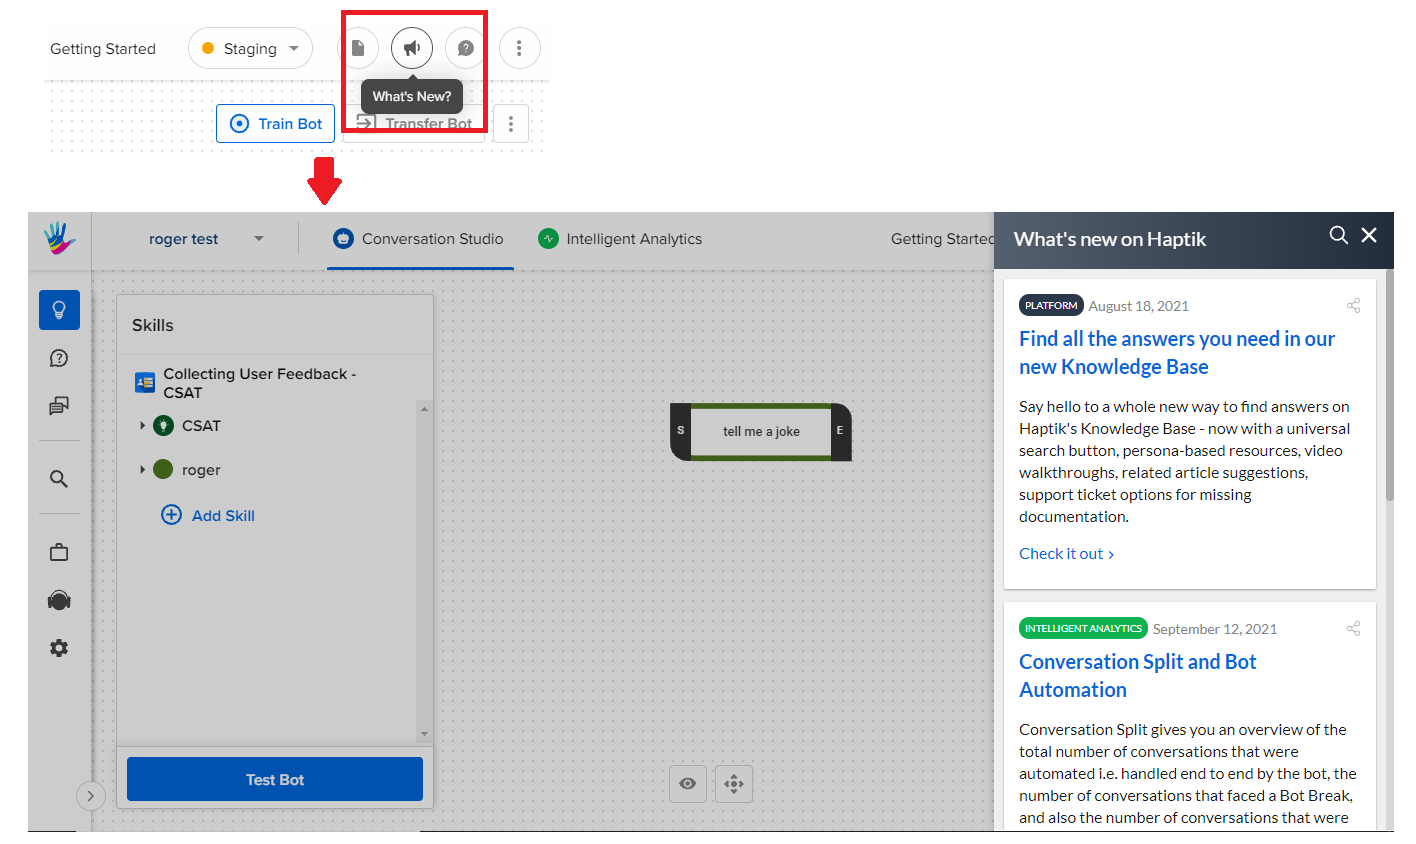
What's new - This icon will show you all the latest updates related to the Haptik platform, as shown -
- The three dots at the rightmost end of the sidebar, would take you to your Profile info page, Admin tools page (if you have the access), or Sign out page.

That's all about Getting Started, now you can explore it yourself. Following the steps, one by one under each section of Build, Deploy and Improve - you can get started on your journey to build your first bot.
If you want to read more articles on how to build your first bot, please refer here.
